Reading Time: 7 minutesCitrix Provisioning Services (PVS) is a great way for running your virtual desktop infrastructure (VDI). In my recent blog here I showed you how to setup Citrix Provisioning Services 7.8.
In this blog I will show you how to create a Windows 10 target device running from Citrix Provisioning Services. I will then use this target device disk (vDisk) as a template (golden image) to create multiple target devices running from the same vDisk. I will cover this in another post using Citrix XenDesktop 7.8. For now let’s focus on creating the Windows 10 Target Device vDisk.
In this post I will show you how to:
- Create a Windows 10 Target Device vDisk
- Configure a Target Device to use said vDisk and boot from PVS
My lab setup:
- Windows 2012 R2 server with Citrix Provisioning Services 7.8 installed (pvs01.vikash.nl)
- Local domain (vikash.nl)
- Domain controller (dc01.vikash.nl)
- Hypervisor Hyper-V 2012 R2
- Windows 10 desktop with latest updates
- All servers and desktops are running as virtual machines
- DHCP running on my router
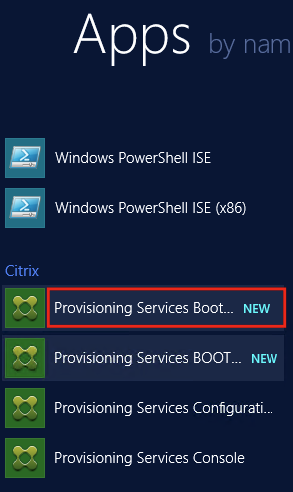
- Citrix Provisioning Services Boot Disk (blog here)
Make sure that the virtual machine configured in Hyper-V for Windows 10 PVS target is setup as Gen 1 (generation 1) virtual machine, and that the network card is a Legacy network adapter. Otherwise the virtual machine will not be able to boot using PVS. Sources tell me that the next version of Citix Provisioning Services will be able to work with Gen 2 (generation 2) virtual machines in Hyper-V.
Target Device Installation
Now we have to install the Citrix Provisioning Services components in the Windows 10 desktop from which we will create the vDisk.
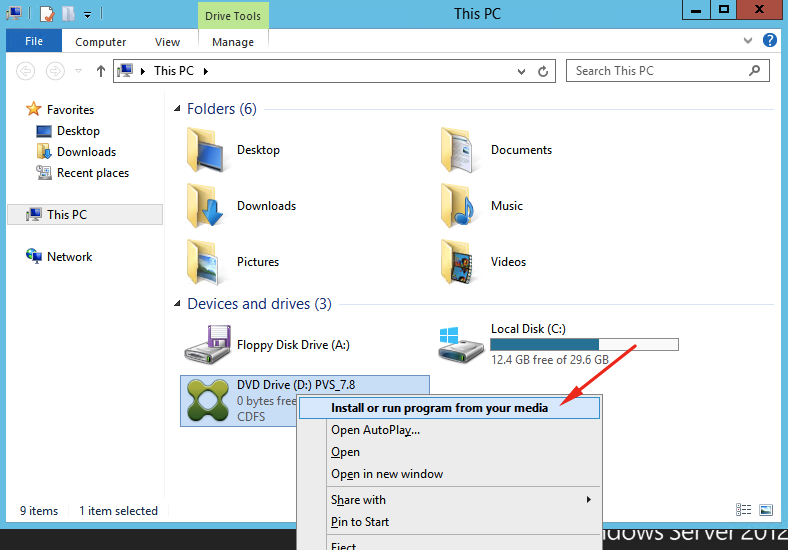
Mount the PVS ISO on the Windows 10 virtual machine.

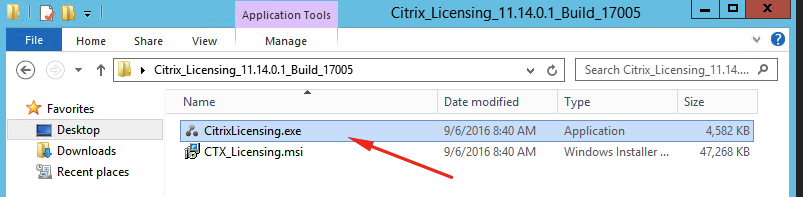
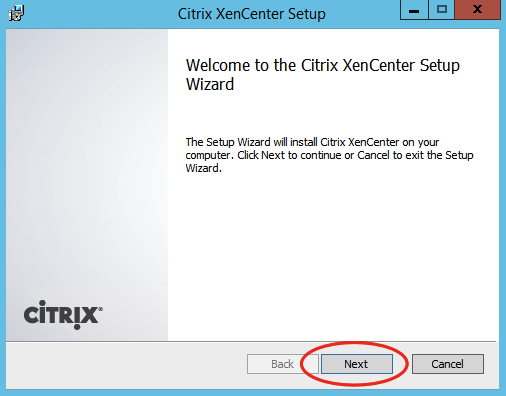
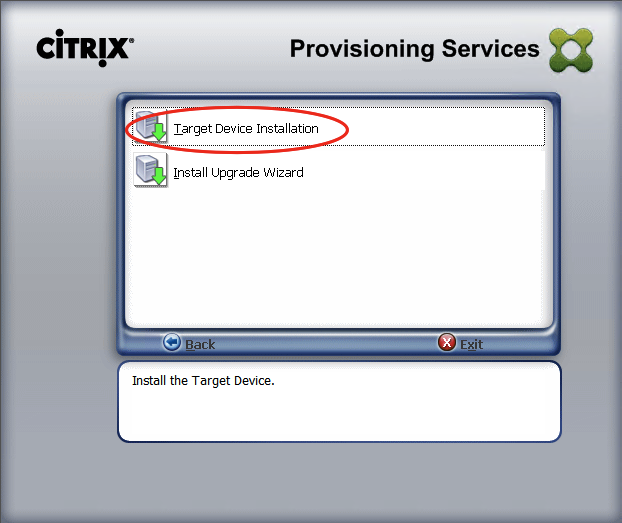
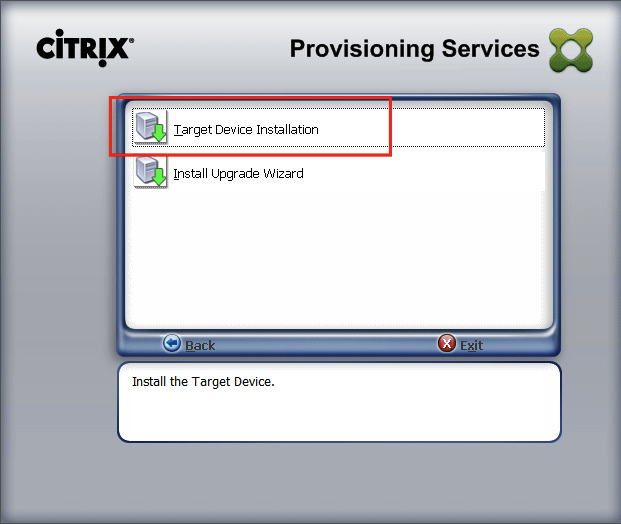
Start the autorun and choose Target Device Installation.
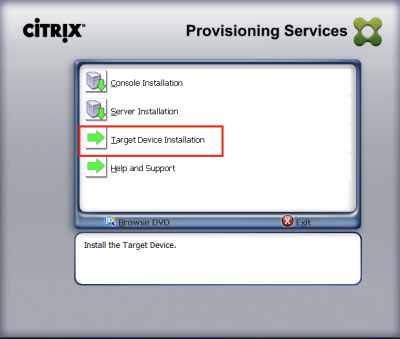
Click on Target Device Installation.

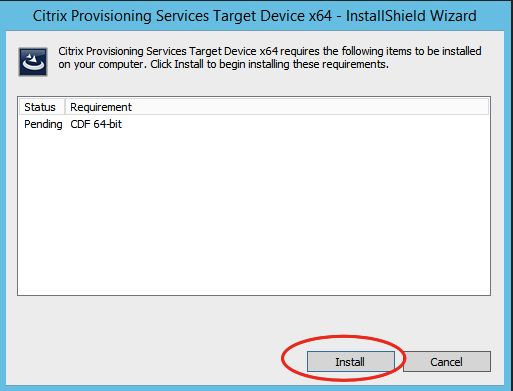
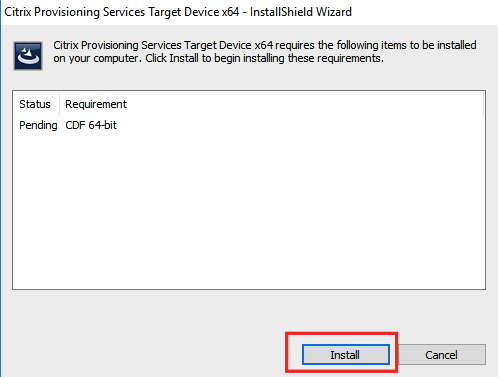
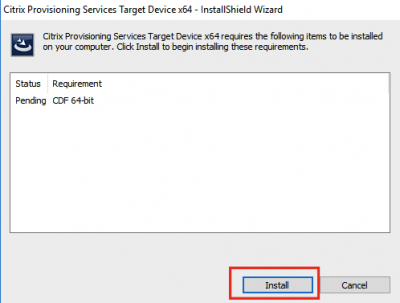
Click Install to install the requirements.
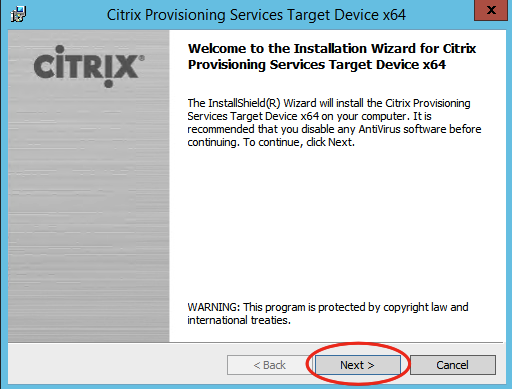
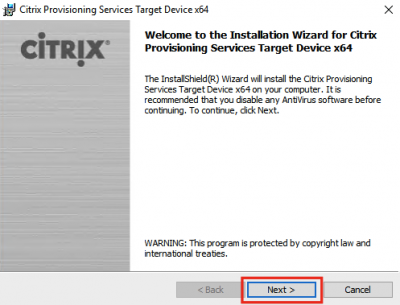
Click on Next to start the installation.
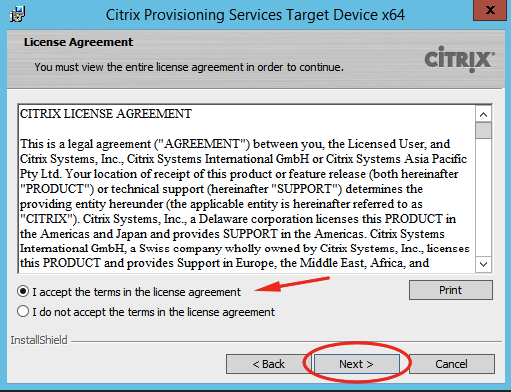
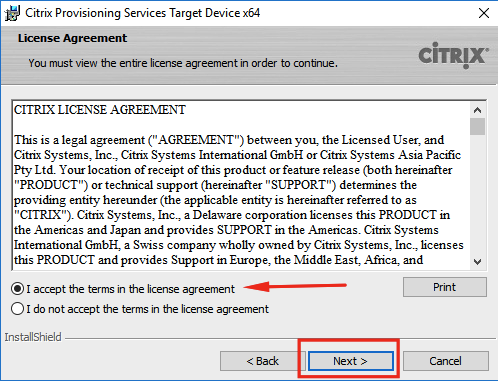
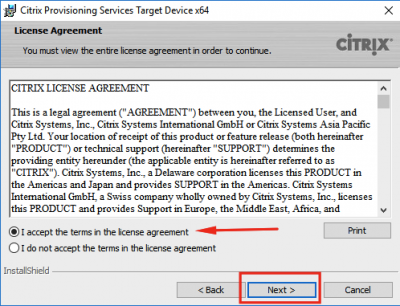
Accept the license agreement and click on Next.
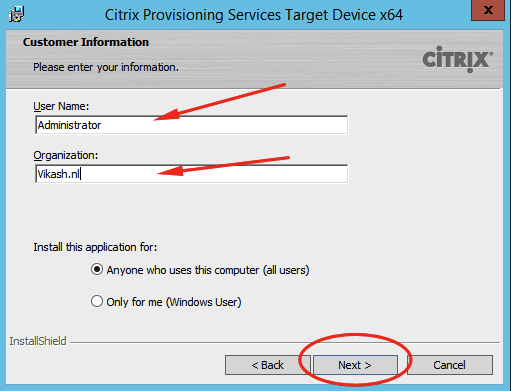
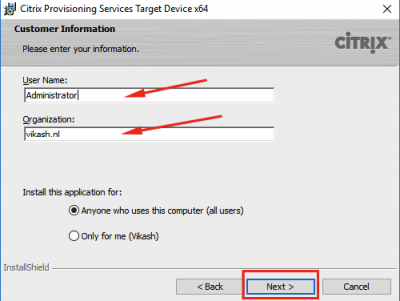
Enter your customer information and click on Next.
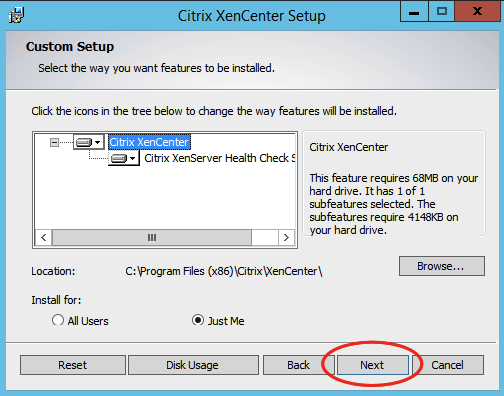
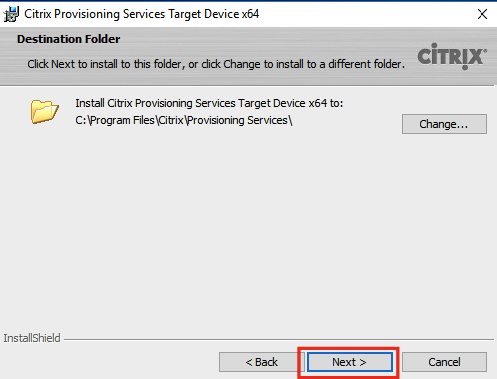
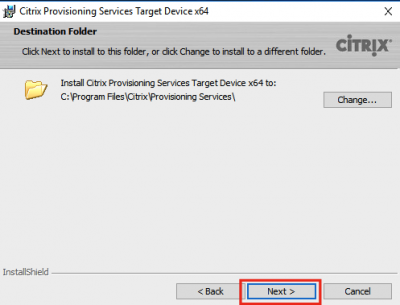
Select the Destination Folder for installation and click on Next.
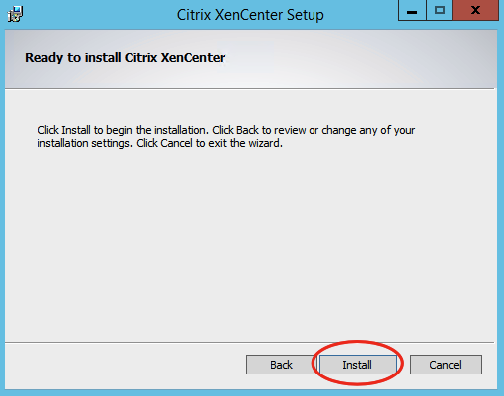
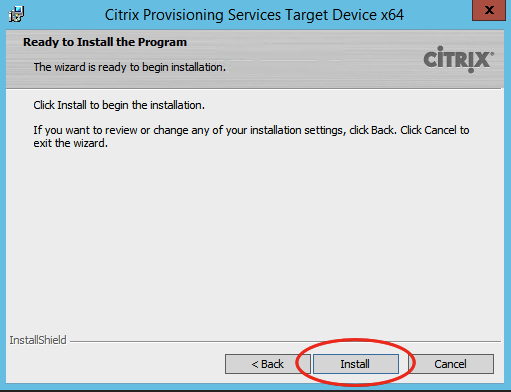
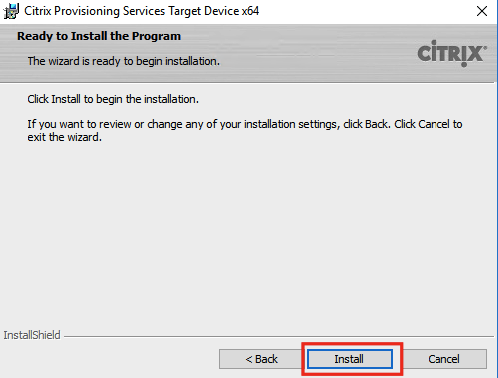
We are now ready to install. Click on Install.

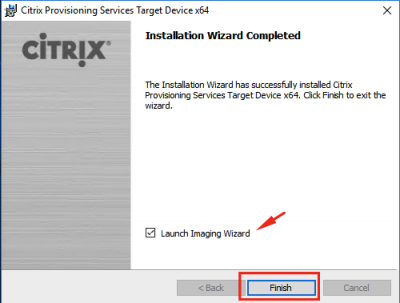
After installation has finished, make sure to select Launch Imaging Wizard option and click on Finish.
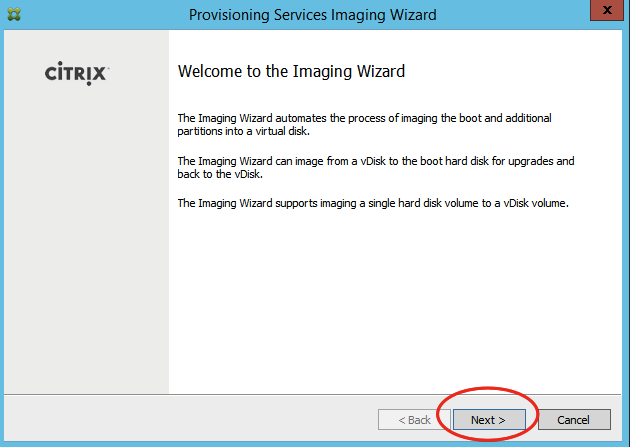
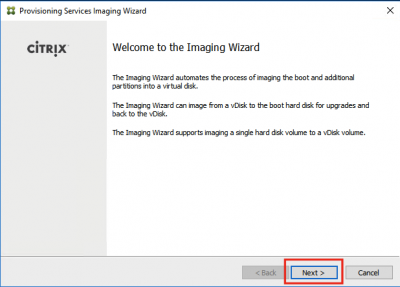
Now the Imaging Wizard will start. Click on Next.
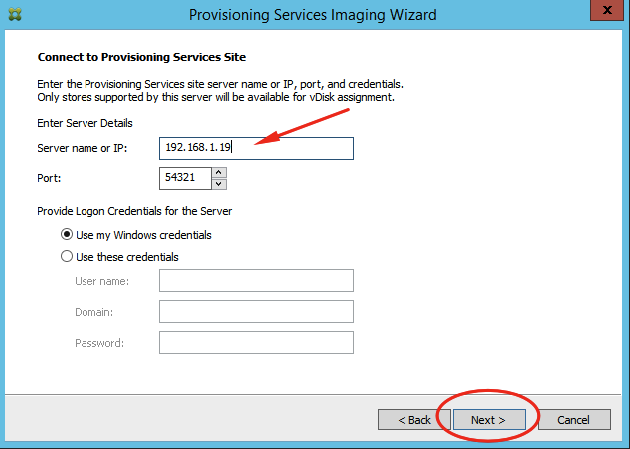
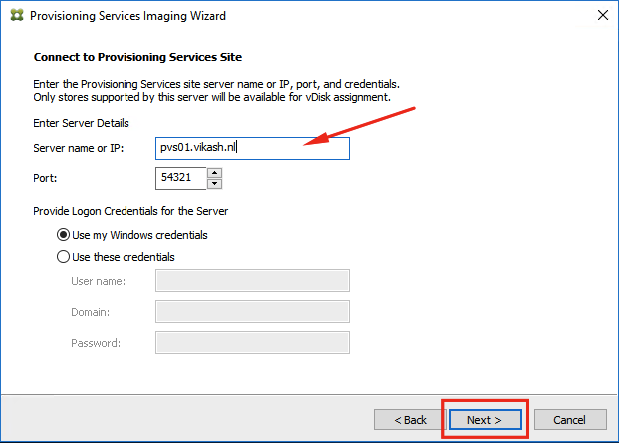
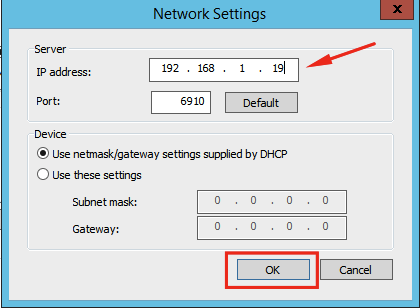
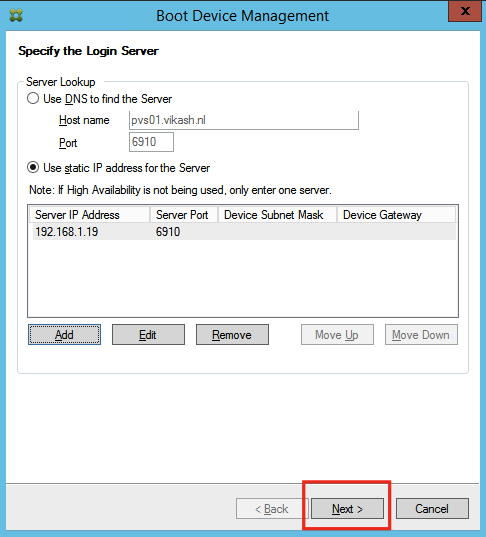
Enter the name of the PVS server. Make sure you have the right port and use the correct credentials for the PVS server. This can be a domain admin account, provided that they have admin rights on the PVS server. Because I am on my homelab I used my Administrator account.

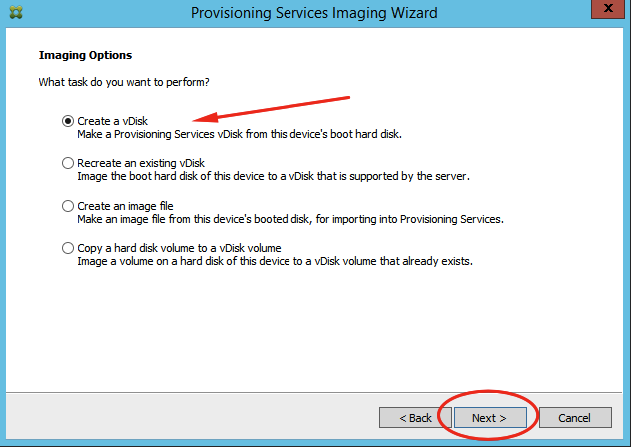
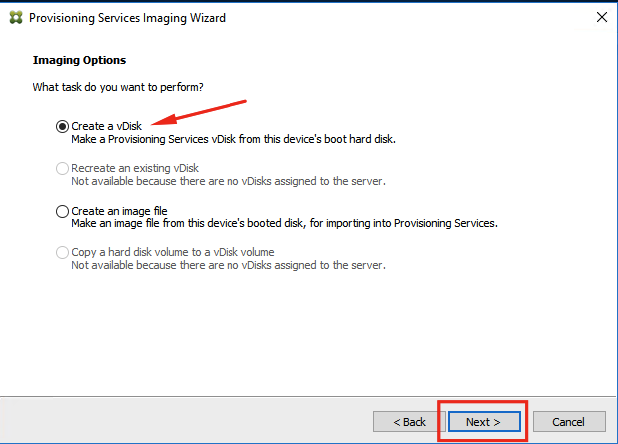
Select Create a vDisk. Click Next.

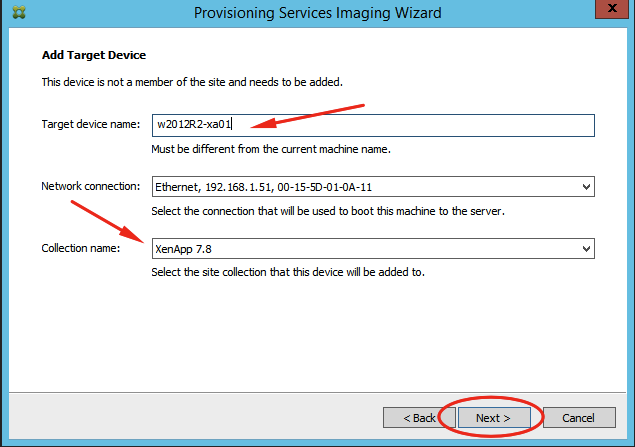
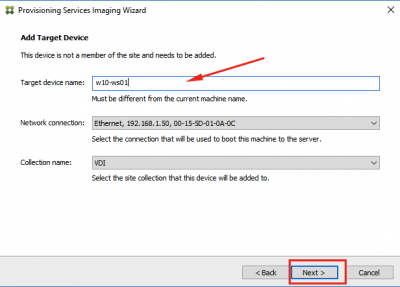
The wizard will create a new target device on the PVS server. Choose a device collection to put the newly created target device in. Click on Next.
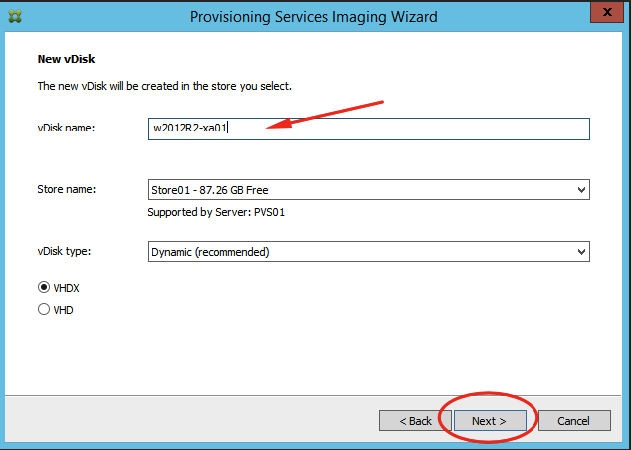
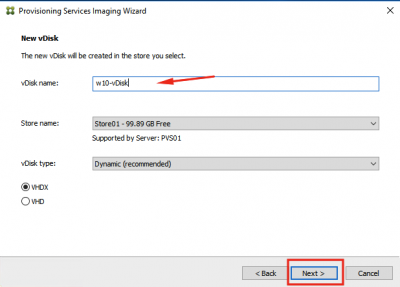
Enter a name for the vDisk. Select the the correct store and choose the vDisk type. Click on Next.
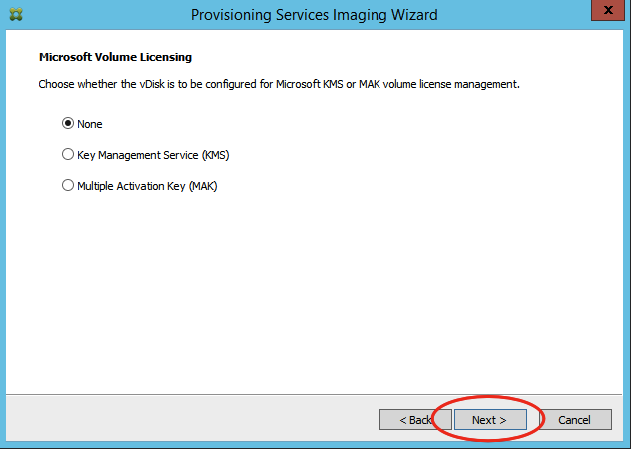
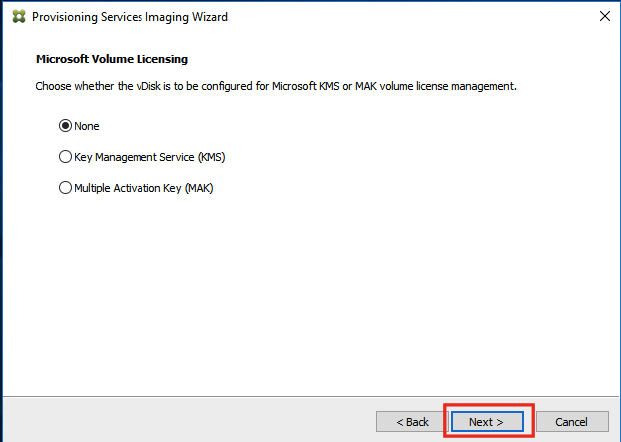
Choose the activation type for Windows 10. This depends on the license model you have from Microsoft. Click on Next.

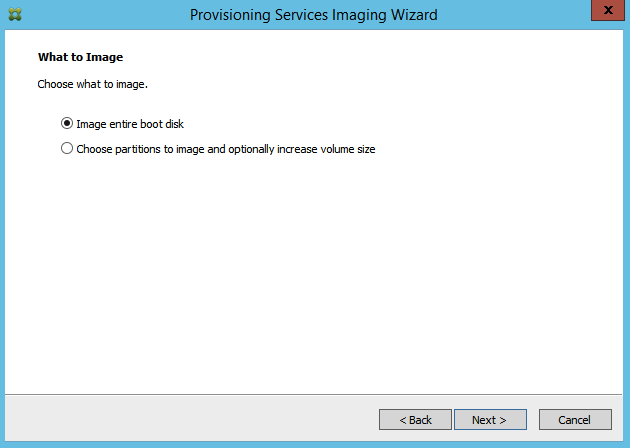
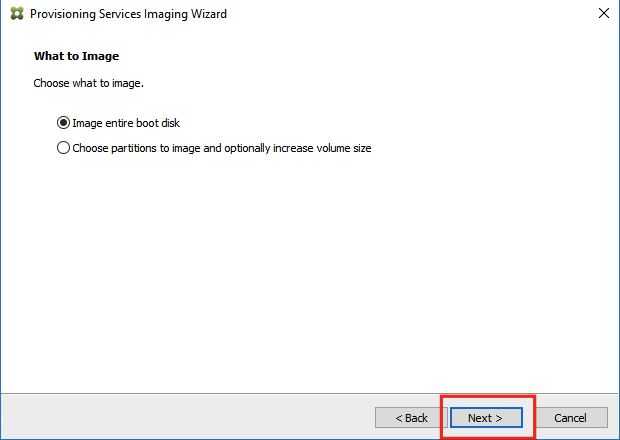
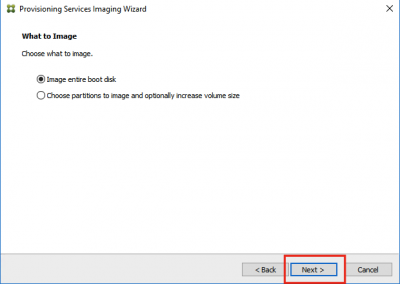
Choose to image the entire boot disk. Click Next.
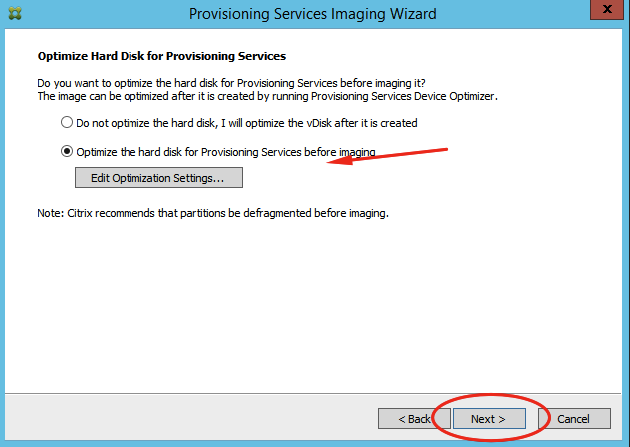
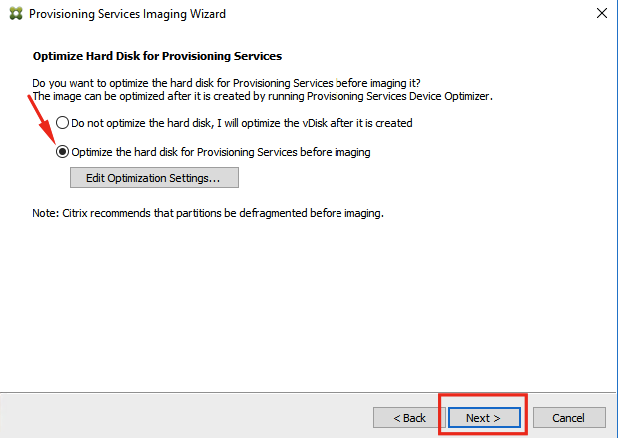
Select the option to Optimize the hard disk and then click on Next. You can adjust the options according to your needs, I choose the defaults because I my experience that is fine.

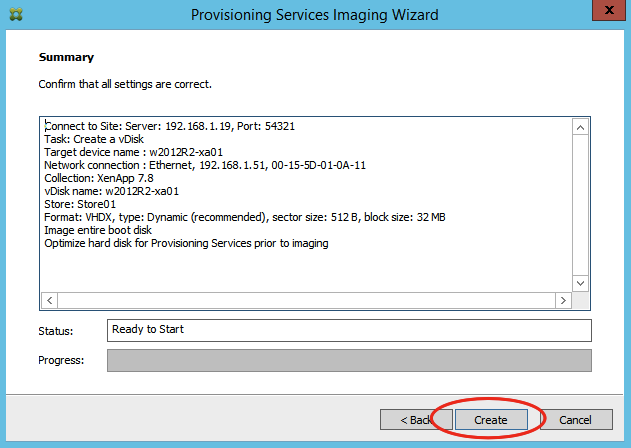
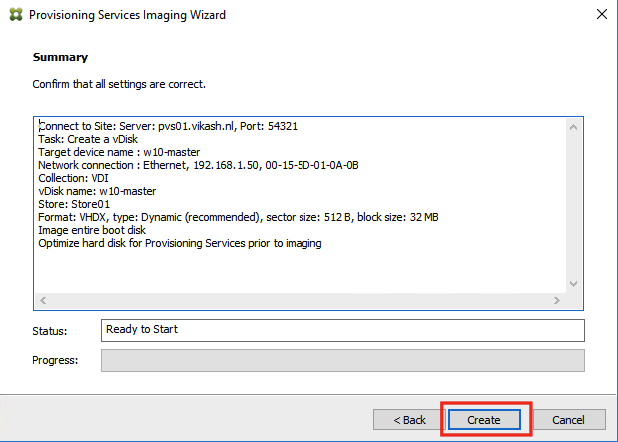
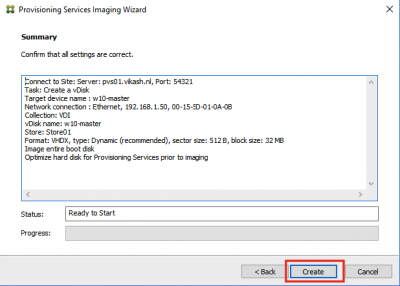
You will be presented with a summary screen. Check that everything is entered according to your needs and then click Create.
The wizard will create the vDisk and the target device on the PVS server, after optimising the virtual machine. It needs to restart the virtual machine to start the imaging process. Click on Continue.

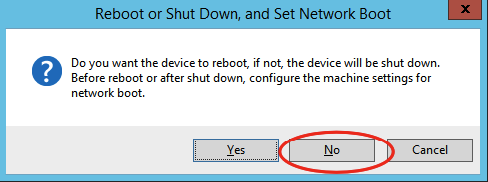
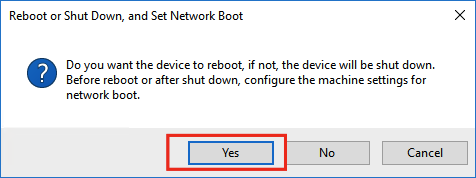
Now you will be asked to reboot the device. If you choose Yes the Imaging Wizard will restart the virtual machine. At this point you have to make sure that the virtual machine will boot from network or the PVS boot iso. If you choose No the virtual machine will be shut down.
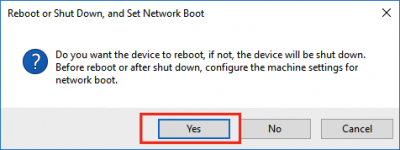
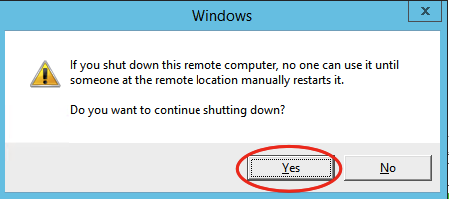
In my case I have to choose No because I can’t change the boot order of a Gen 1 Hyper-V virtual machine while it is powered on. Check if your hypervisor is able to adjust while the virtual machine is powered on.
So I have to adjust the settings of my virtual machine.

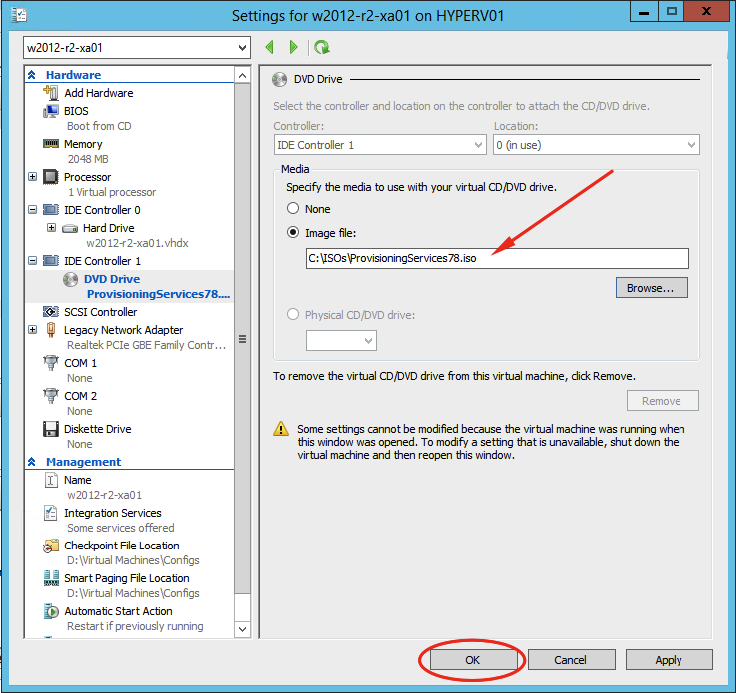
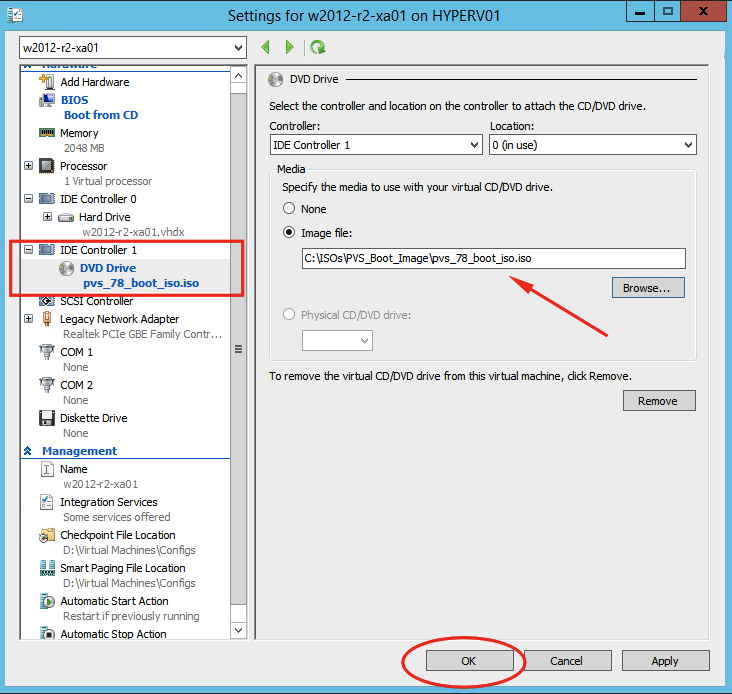
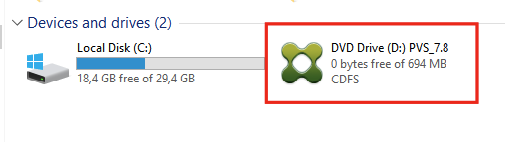
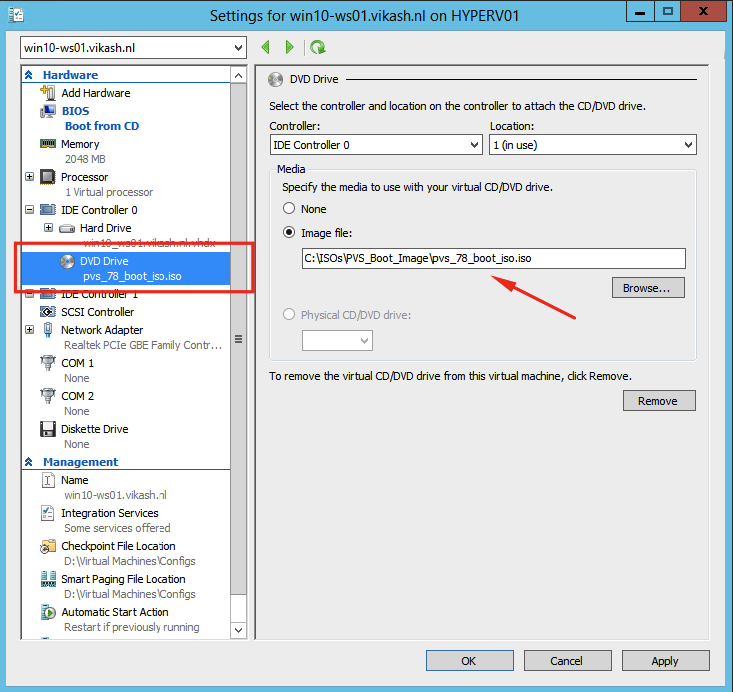
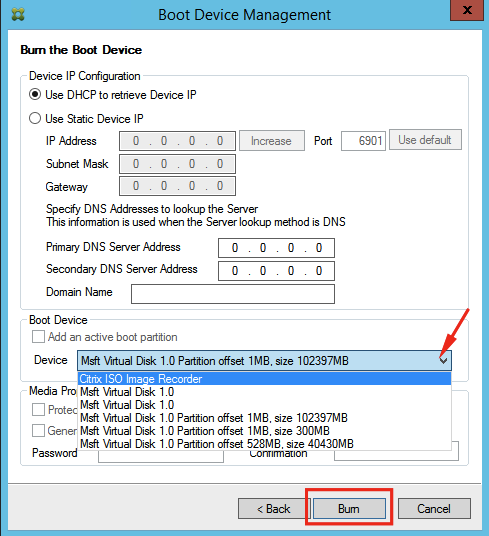
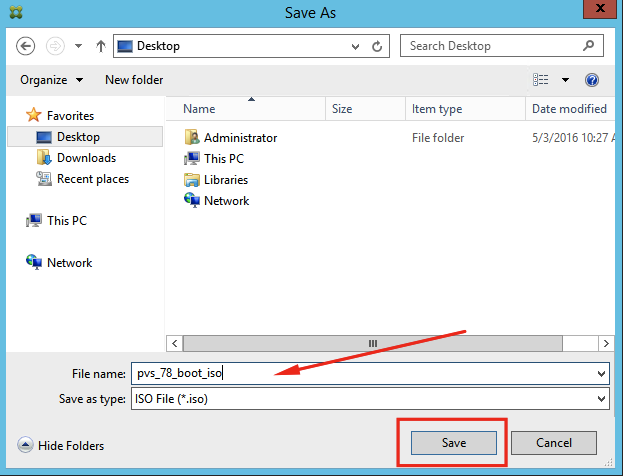
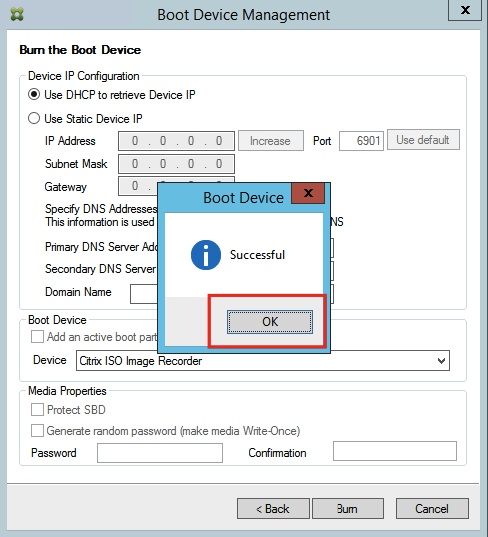
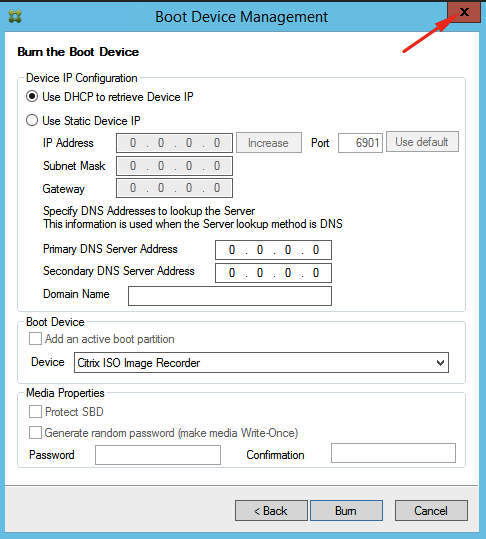
First I have to mount the PVS boot iso. Go to the DVD Drive and select the iso.

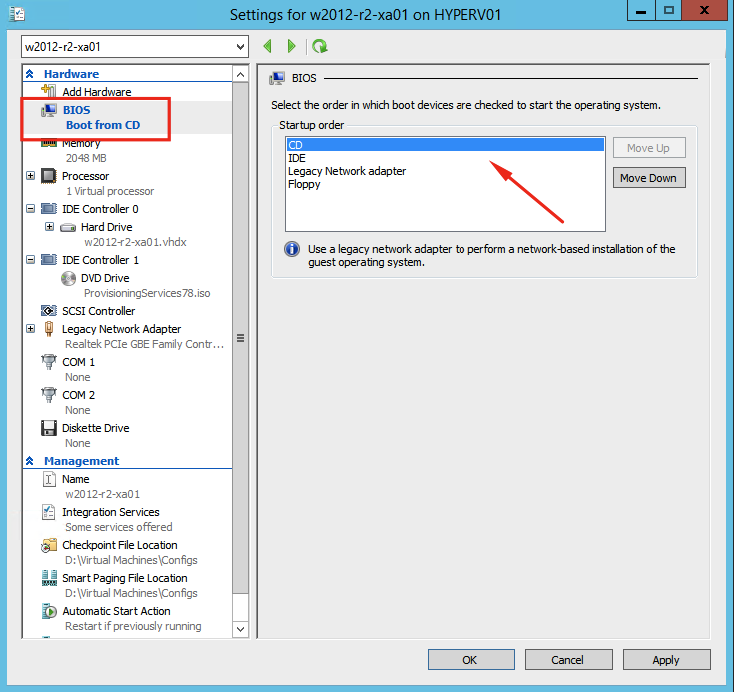
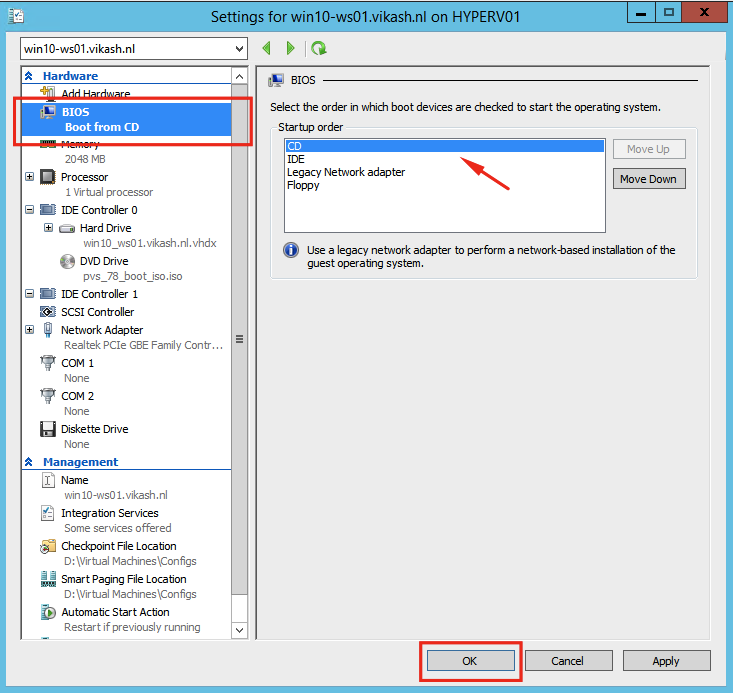
Now we have to adjust the boot order. Go to BIOS, select the CD and move it to the top of the list. Then click OK.

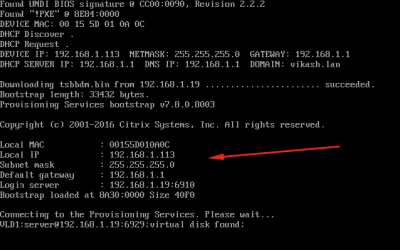
We can now power on the virtual machine. Connect to the console and check that it is booting from the PVS boot iso and connecting to the PVS server.
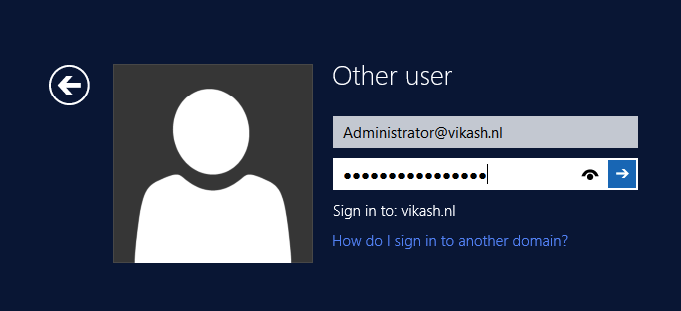
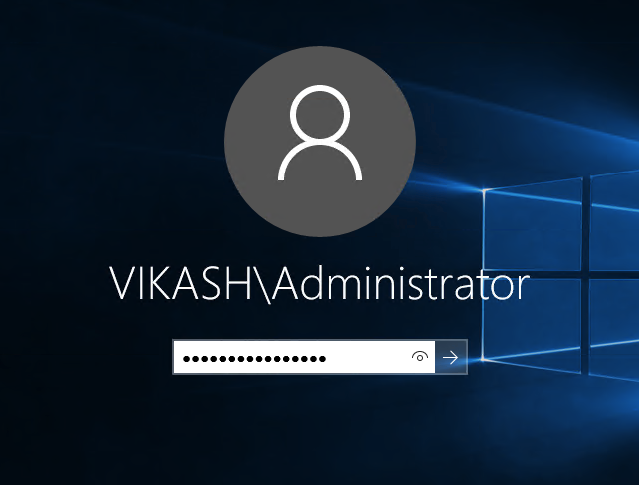
Now logon to the virtual machine so the Image Wizard can continue.

The Image Wizard will continue automatically and start with taking a snapshot.
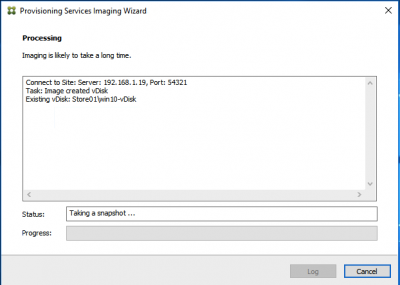
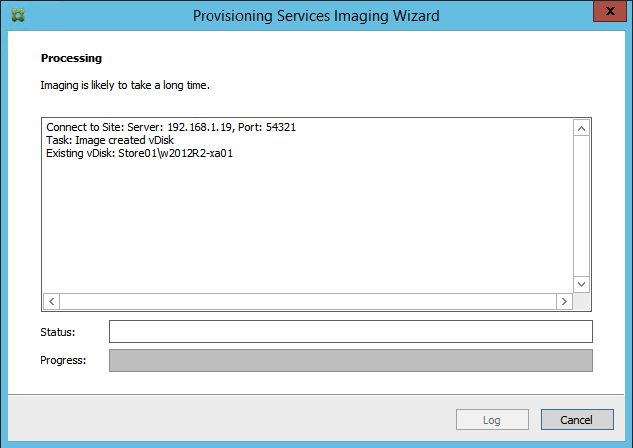
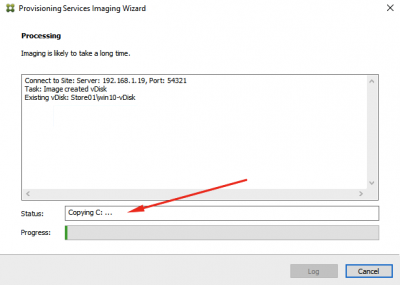
Then the Image Wizard will start the copy process to the PVS server.
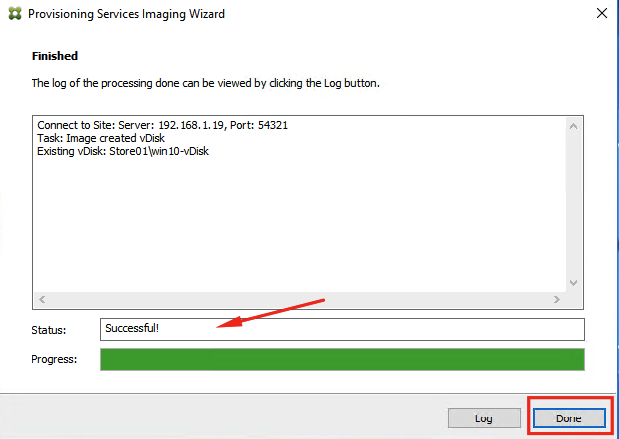
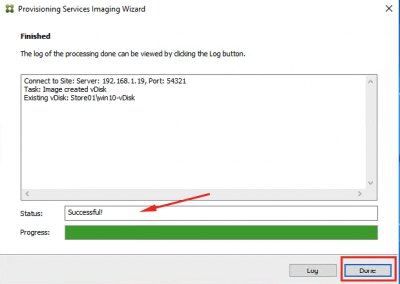
After the Image Wizard completed the copy process successfully click on Done.
Time for testing
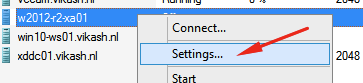
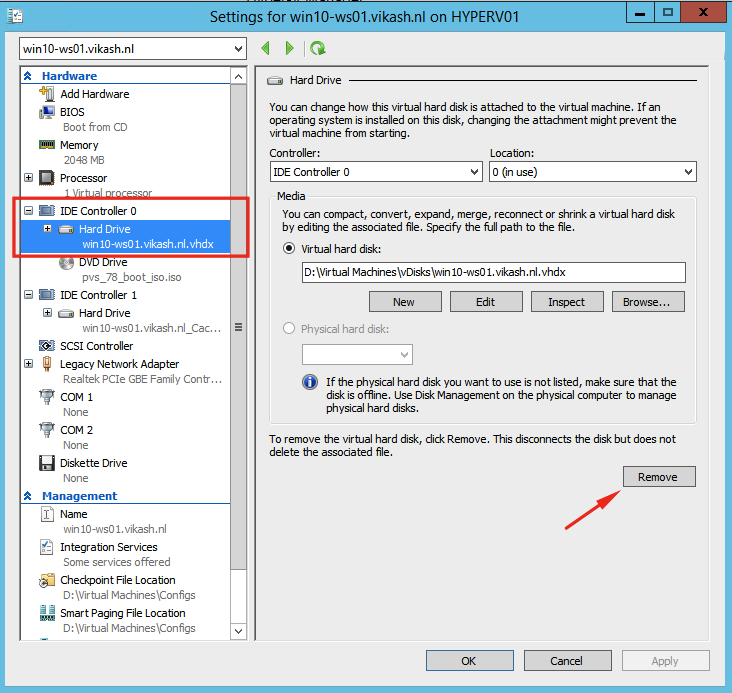
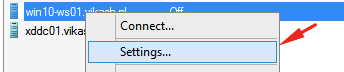
Now shutdown the virtual machine and disconnect the local “physical” disk, because now we want to start from the newly created vDisk from the PVS server. This has to be done using the hypervisor manager, in my case Hyper-V mmc. Go to settings to remove the locally attached “physical” disk.
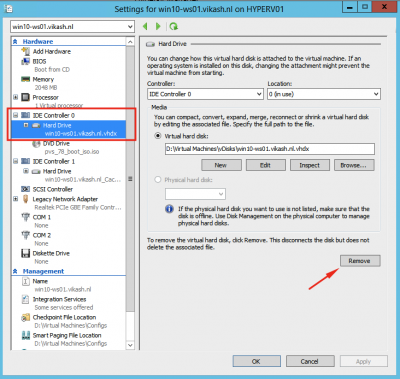
Go to IDE Controller 0 and Remove the disk. This will only disconnect it and make it invisible to the virtual machine, the virtual disk file will not be deleted.
When the target device is created on the PVS server, it is set to boot from hard disk. This is done to complete the image proces but can also be used to make changes to the virtual disk. Now we have to tell the target device that is has to boot from the vDisk.
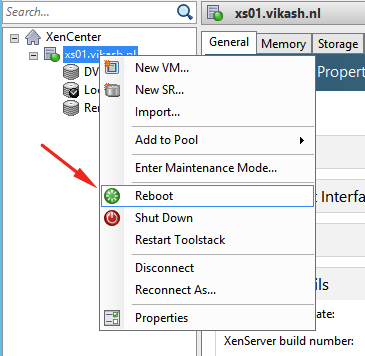
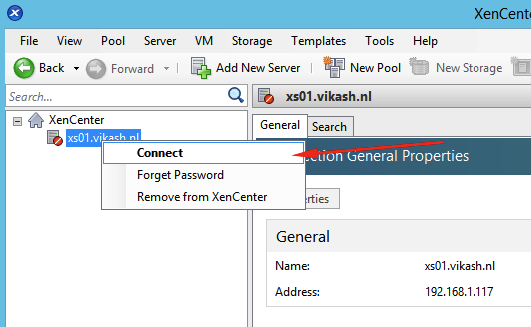
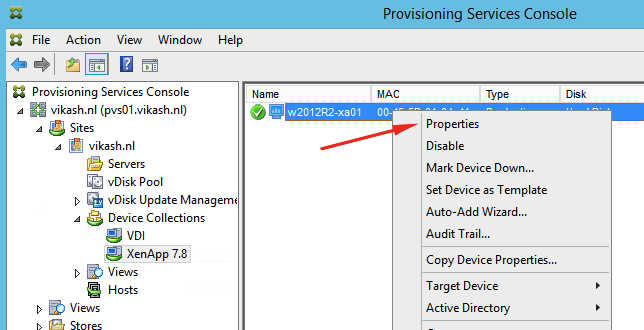
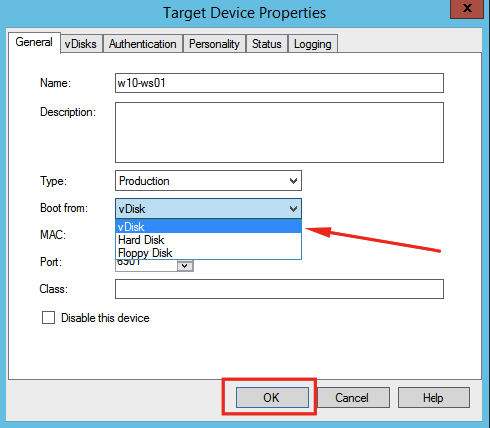
Go to your PVS console and select the Properties from you target device.
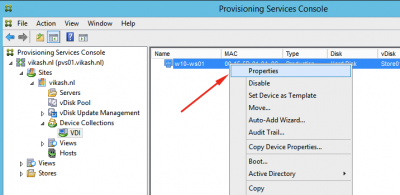
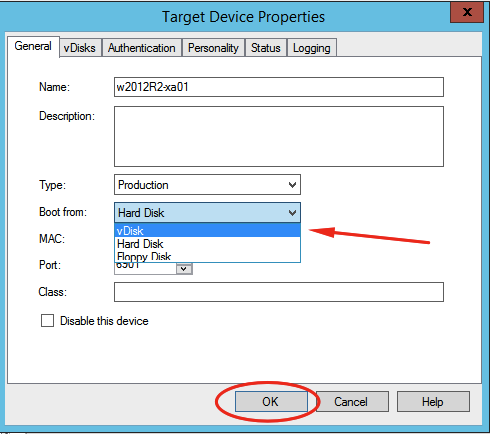
In the General tab choose vDisk in the Boot from dropdown menu. Then click on OK.

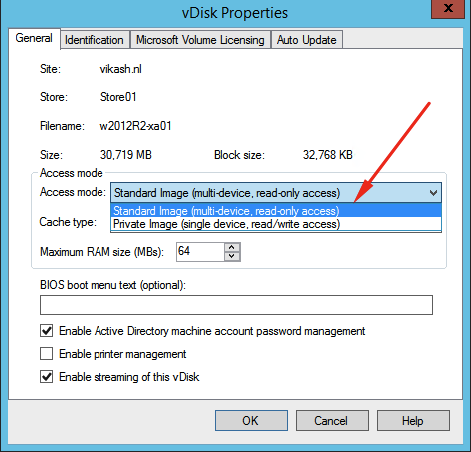
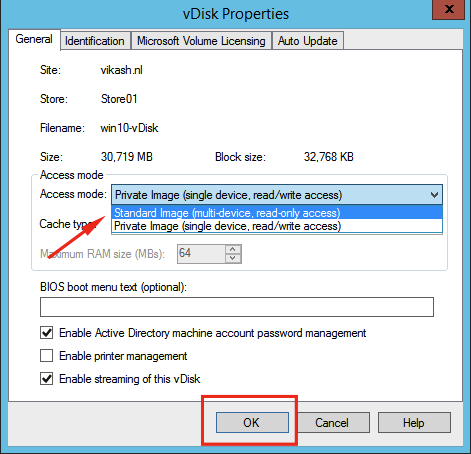
Also we want to set the Access mode for the vDisk to Standard Image. This is necessary if we want to start multiple virtual machines using the same vDisk (in the future). Go to the vDisk Pool in your PVS console and select the Properties for the vDisk we just made.
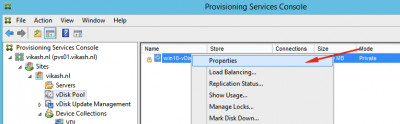
In the General tab set the Access mode to Standard Image. Then click OK.

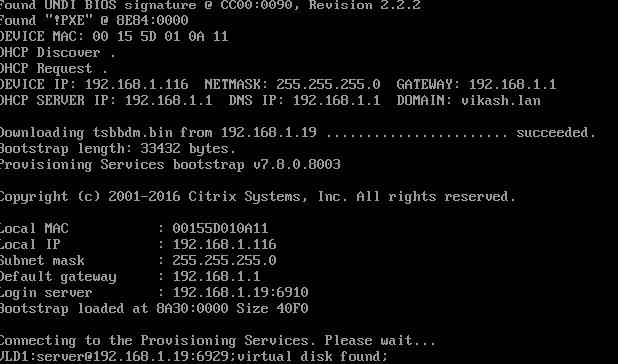
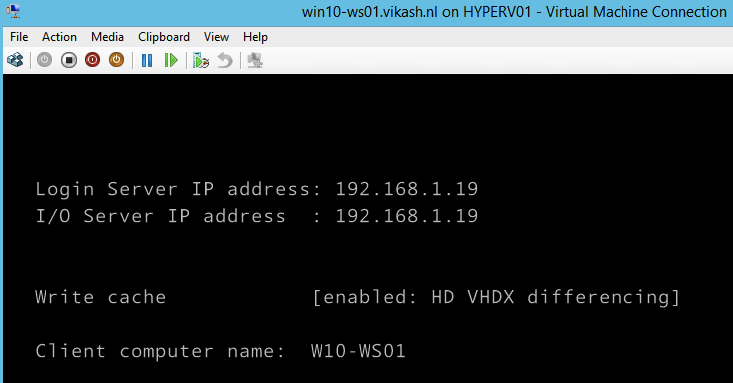
Now it is time to boot the virtual machine and see some PVS magic! Connect to the console of the virtual machine using your hypervisor tools, in my case Hyper-V mmc, so you can see what is happening during boot.

As you can see the virtual machine is booted from my PVS boot iso and logged in to PVS. PVS is accepting the connection and providing the virtual machine with a vDisk.
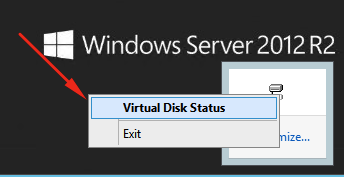
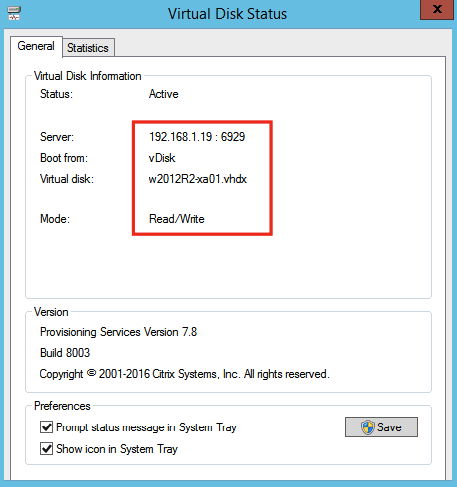
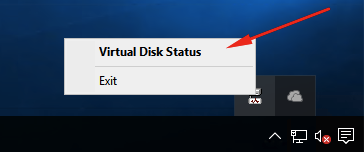
Logon to the virtual machine to check if the Virtual Disk Status.
In the General tab you can see that the vDisk is now Read Only. This is exactly what we wanted.
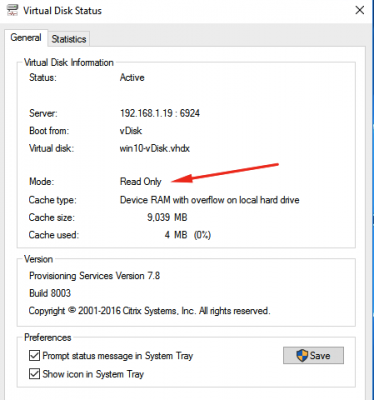
In the Statistics tab you can see some diagnostic information.

This concludes this tutorial. Feel free to contact me of you have any questions or comments.
You can also follow me on twitter or add the rss feed from the blog and you will be notified when I add new posts.
Creating a Windows 10 Target Device with Citrix Provisioning Services 7.8 Read More