
Table of Contents
With Citrix XenServer Supplemental Pack 1 (SP1) just released by Citrix I thought it would be nice to have a little tutorial on how to update your Citrix XenServer 6.5 hosts with SP1 using Citrix XenCenter.
What’s new in SP1:
- more vm’s per host
- Intel GVT-d GPU pass-through for Windows virtual machines
- nVIDIA GPU pass-through for Linux virtual machines
- support for new guest OS (Windows 10 and CoreOs)
- improved performance for nVIDIA GRID
Requirements for the update:
- Citrix XenCenter 6.5 (minimum)
- Host running Citrix XenServer 6.5
- Download SP1 for Citrix XenServer 6.5 from www.citrix.com
Homelab setup
My homelab setup is not that complex. I have just one host running Citrix XenServer 6.5, so let’s get to it. The hostname is:
- xs01.vikash.nl
Installing SP1
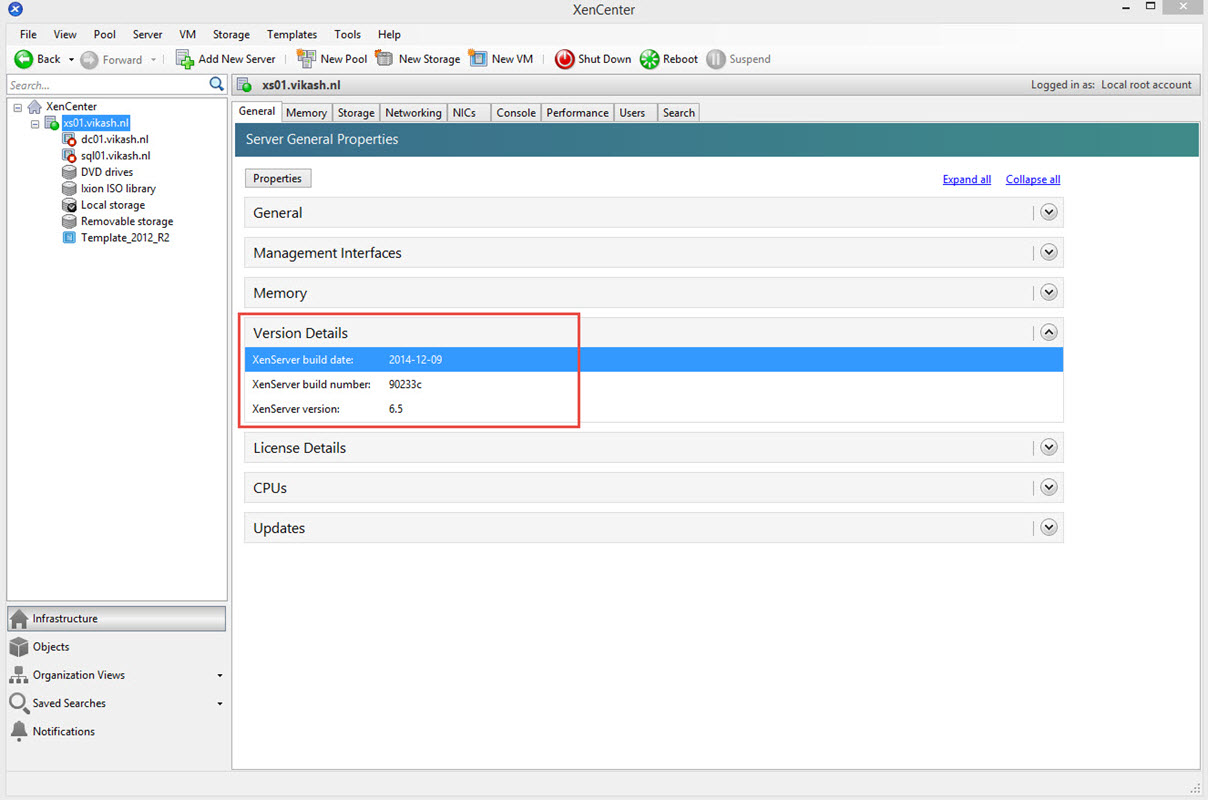
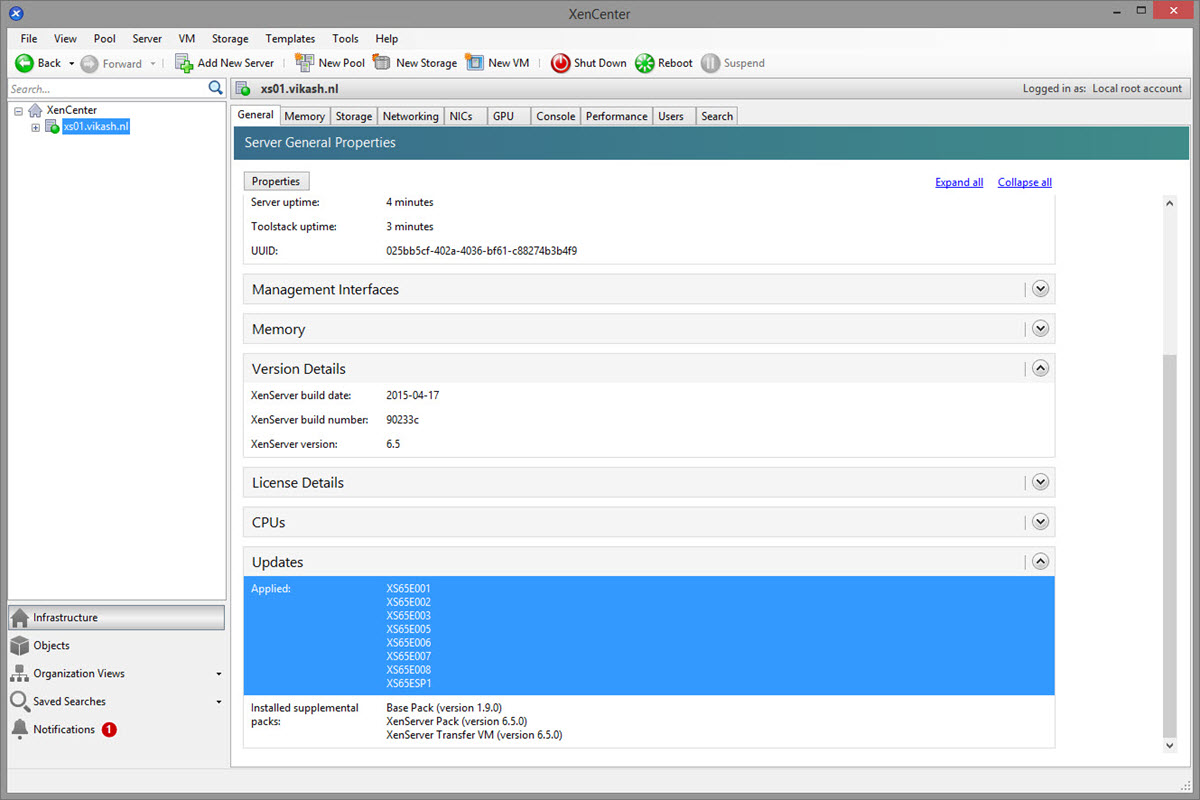
Start up Citrix XenCenter and connect to the host. Check Citrix XenServer version in General -> Version Details:
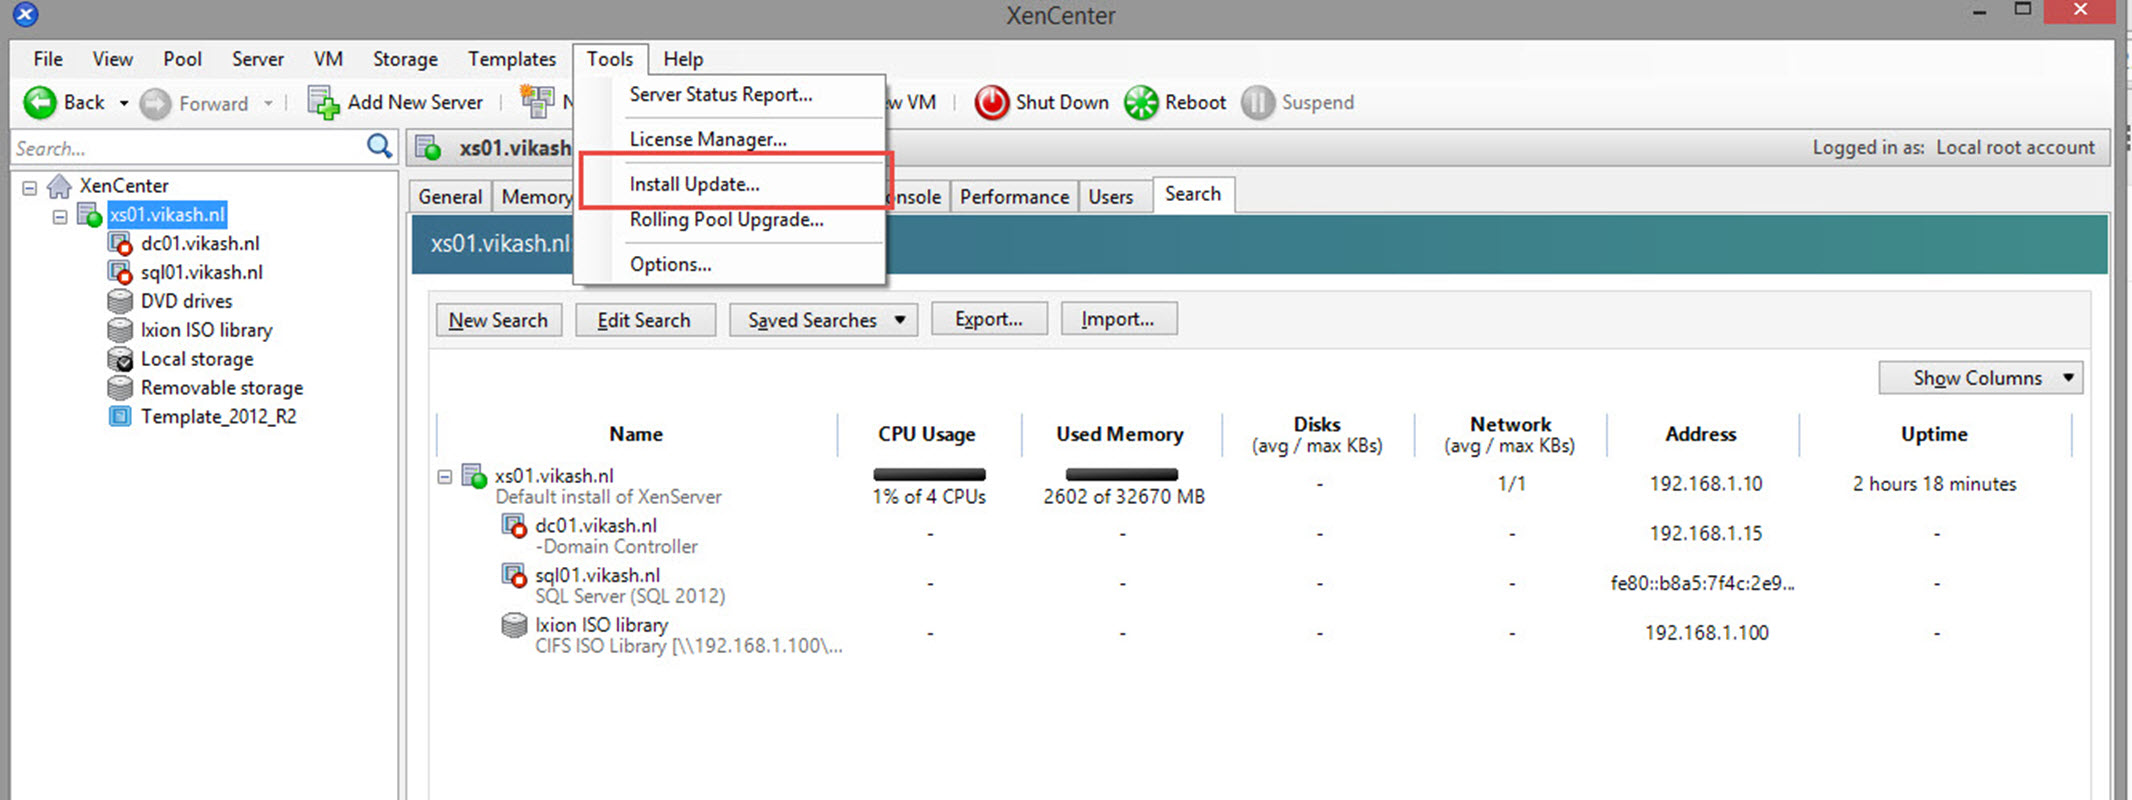
In XenCenter click on Tools -> Install Update:
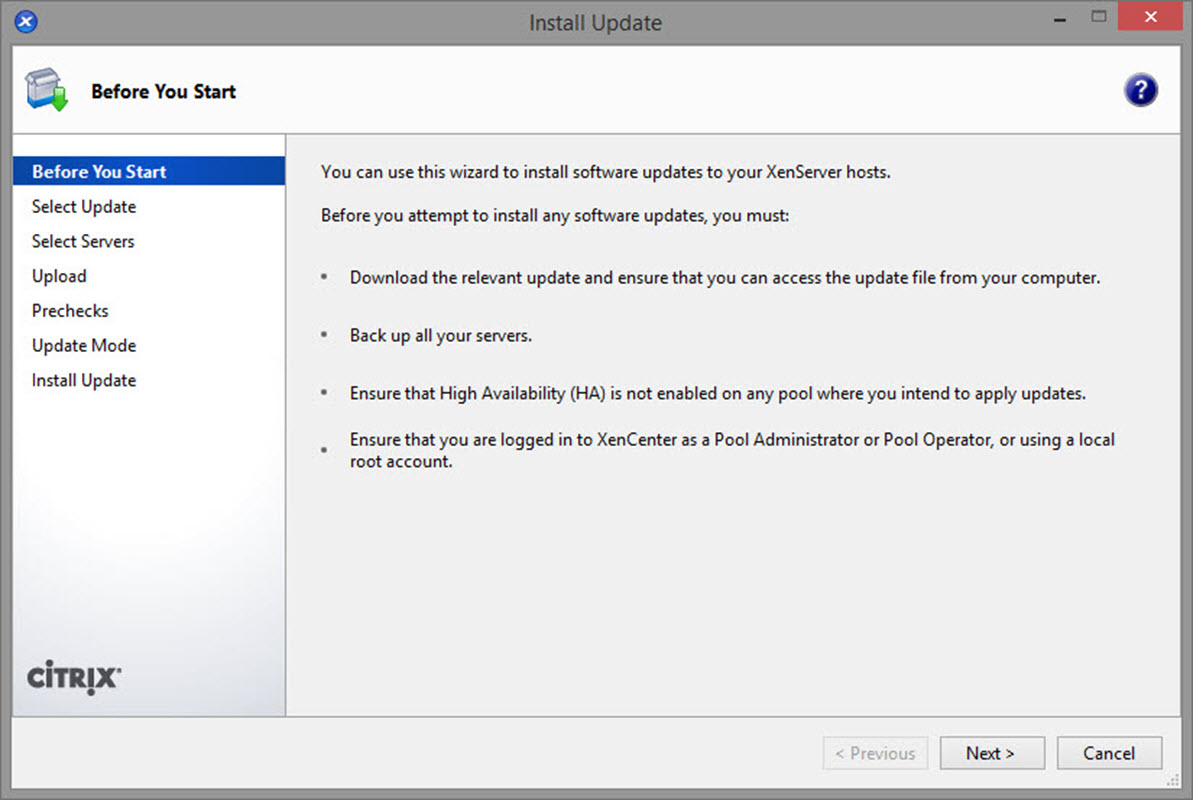
The Install Update wizard starts. Click on Next:
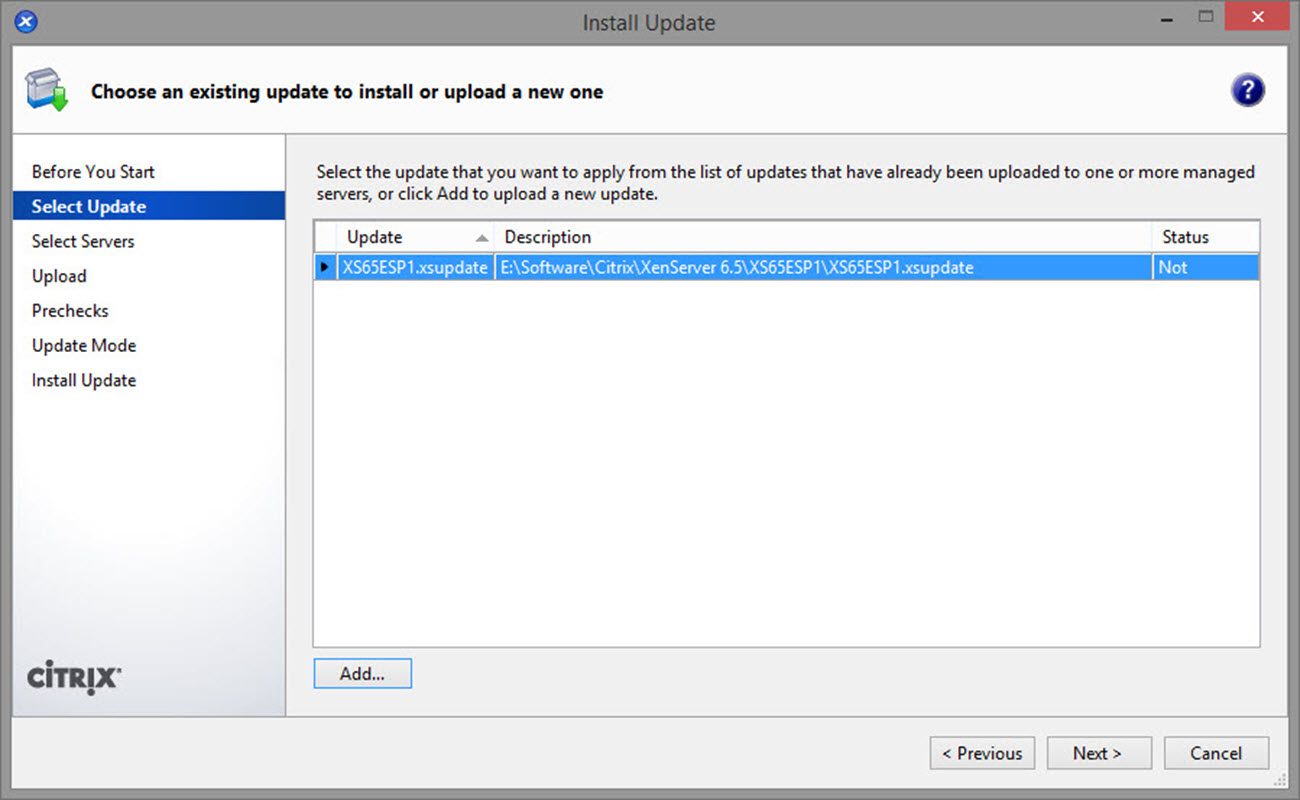
Remember to unpack the SP1 update. Then click on Add and browse to the update file (XS65ESP1.xsupdate). In the status column you will see Not. This means that this update is not yet applied to the selected host. Then click on Next:
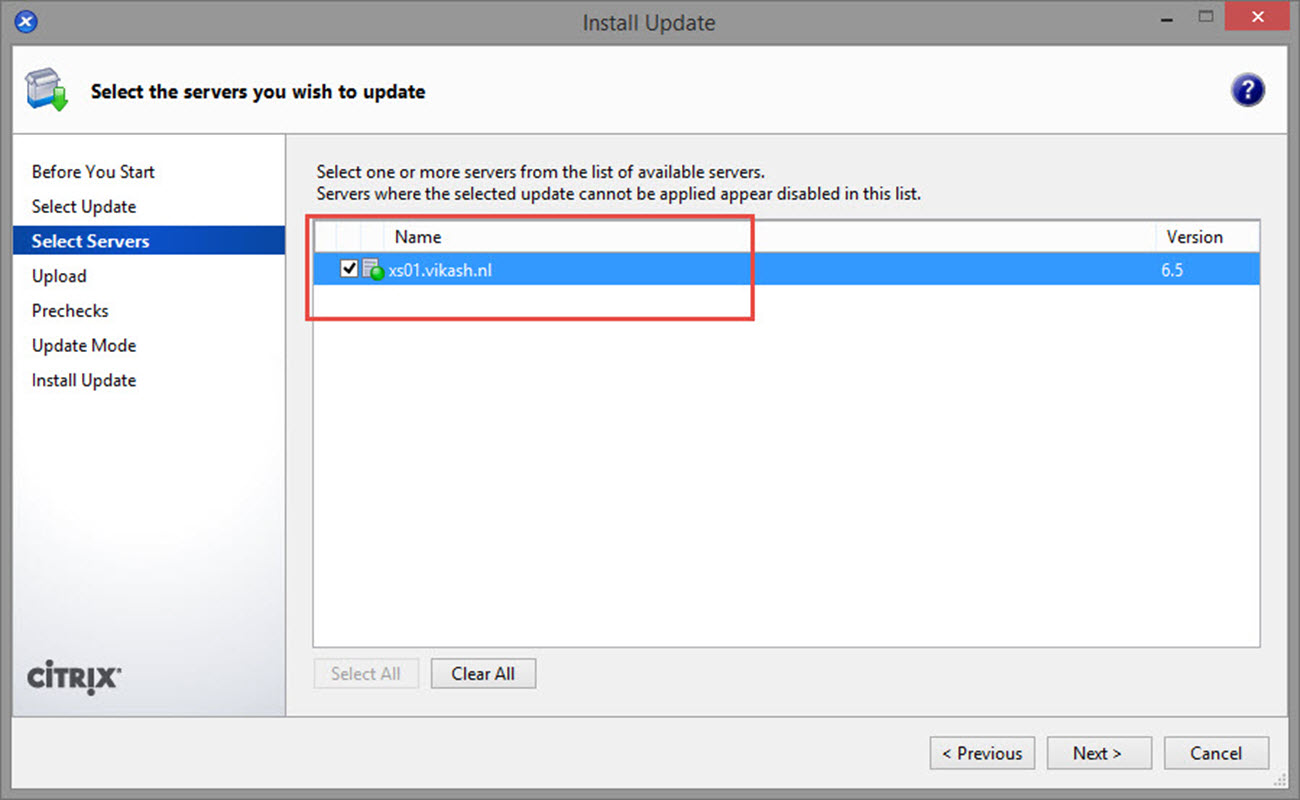
Select the server on which this update will be applied. Then click on Next:
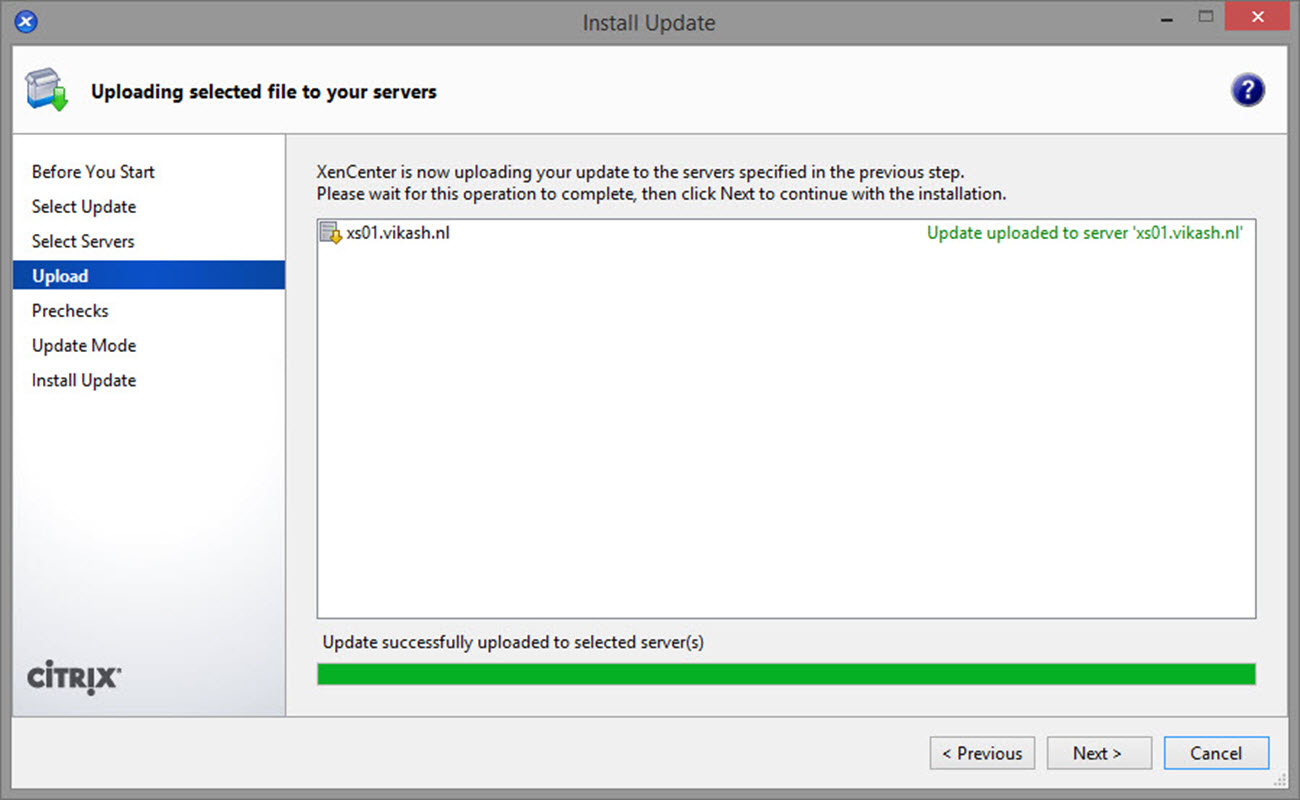
Citrix XenCenter will then start uploading the update file to the host. Wait for the upload to finish. Then click Next:
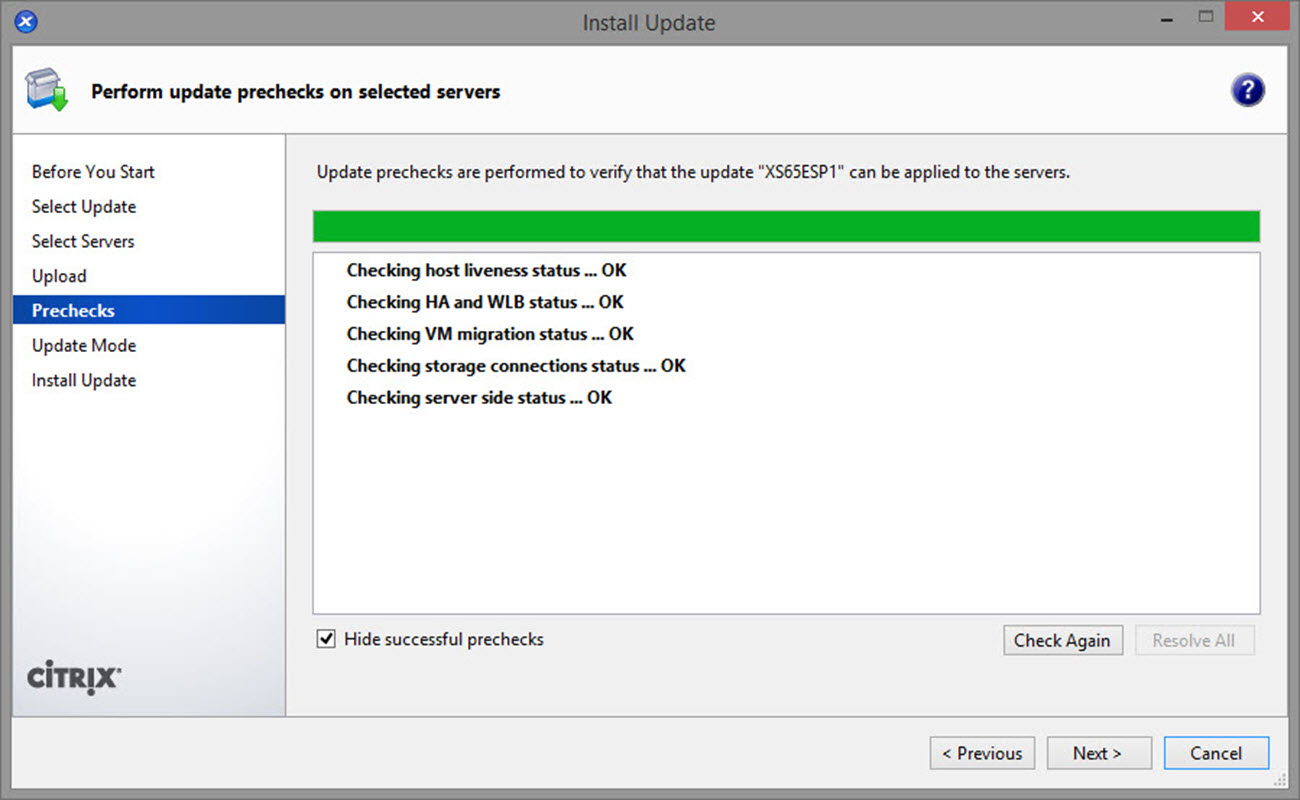
Citrix XenCenter will run prechecks on the host before applying the update. Wait for it to finish. Then click Next:
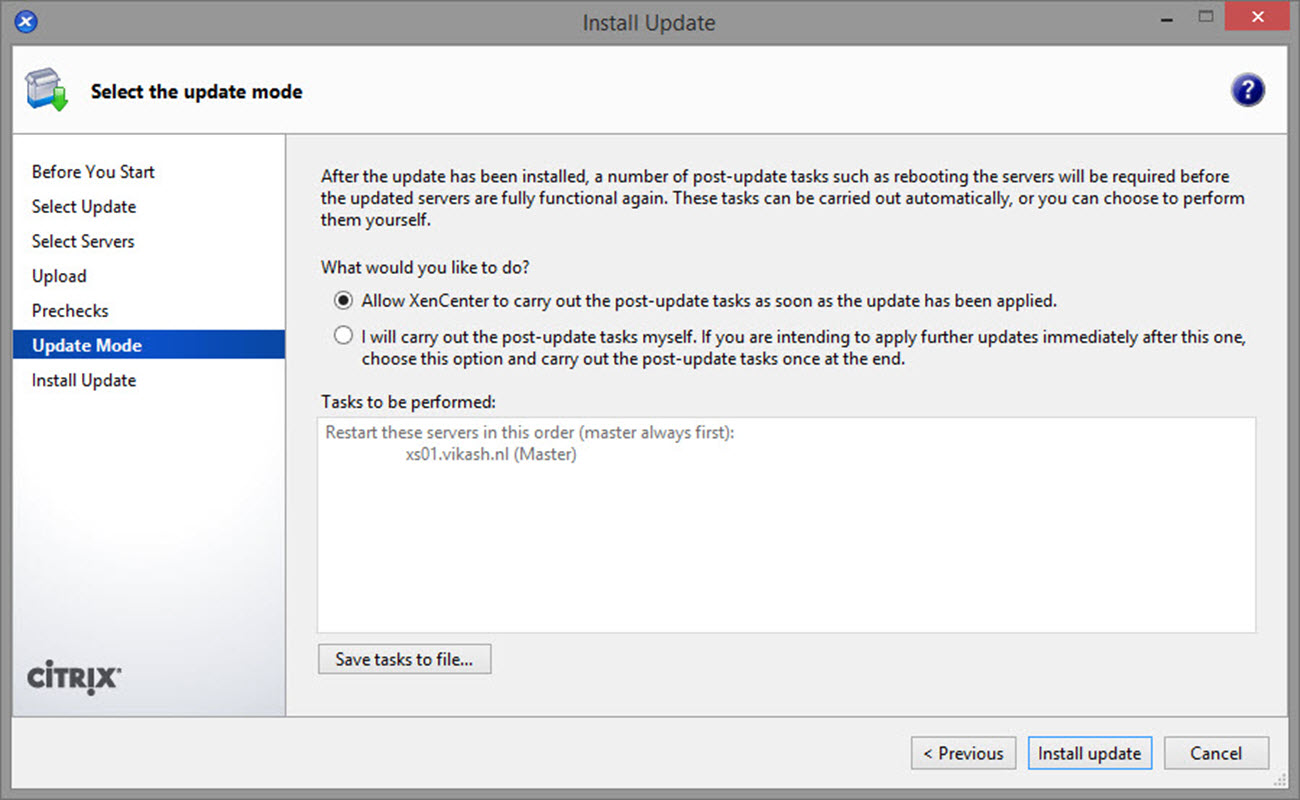
In the Update Mode screen leave the defaults. Then click on Install Update:
The installation process will start. When it is finished it will reboot your host. At this time you don’t have to do anything but wait patiently.
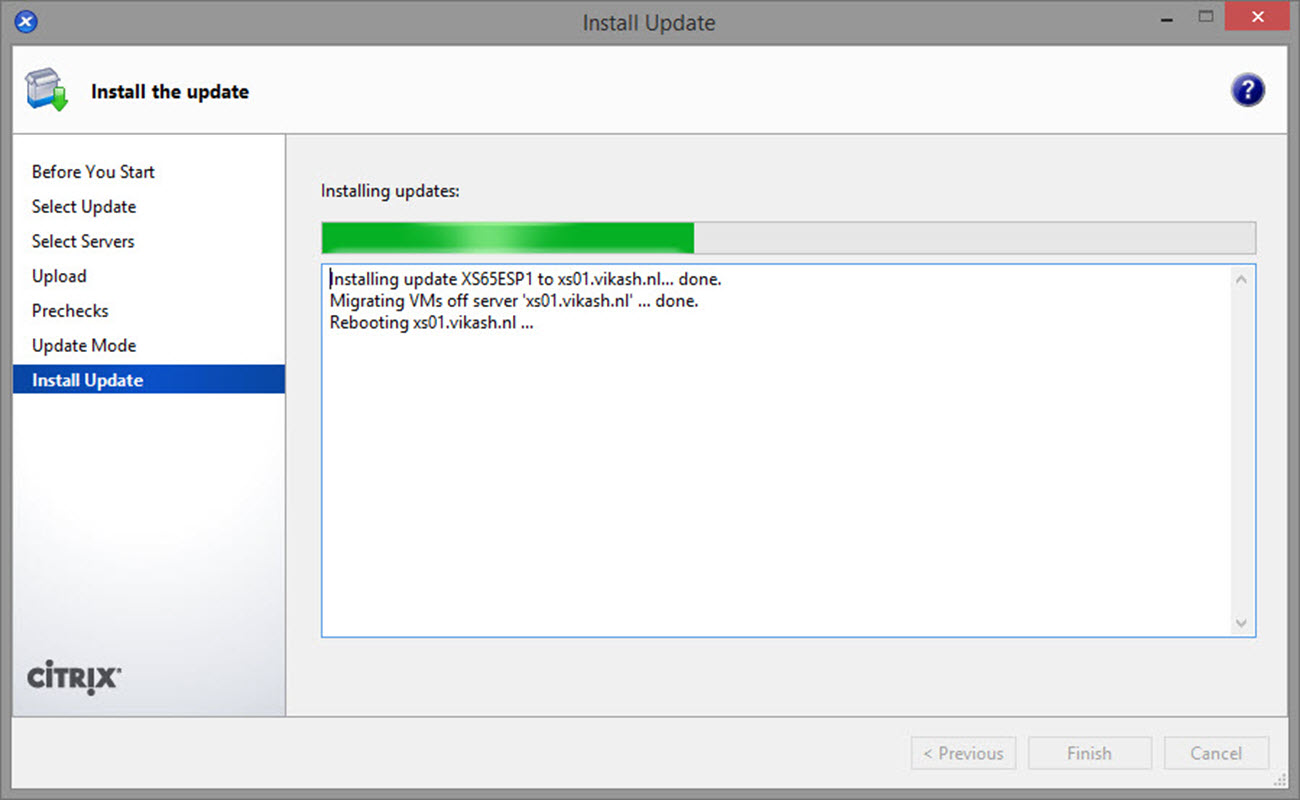
Citrix XenCenter will monitor when the host is online again. It will run some checks. Then click on Finish:

Check that SP1 is now in the list of applied updates.
That’s it, you’re done. Feel free to contact me if you have any questions.