Setup Azure MFA User Portal for Self Service
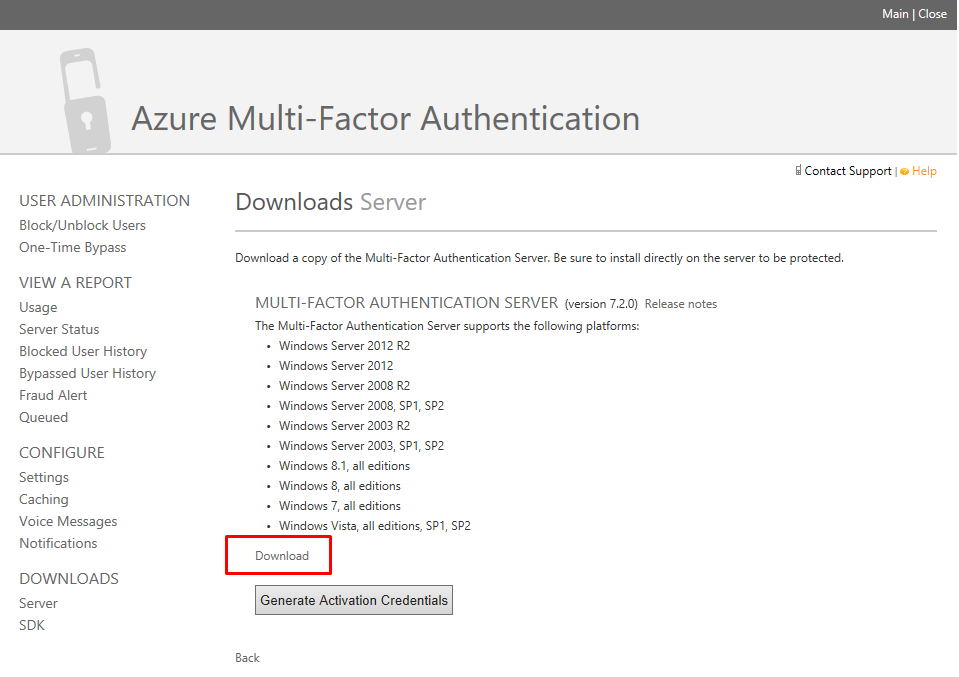
Setup Azure MFA user portal for self service is the next step, after setting up Azure MFA Server. Using the user portal, users can enroll and maintain their account. They will demand less support from your support team or admins. User will be able to change their PIN, change security questions, change phone number, enroll for the app, choose authentication methods, etc. The user portal runs on Internet Information Services (IIS), it’s a website.
Deliverables of this post:
- Setup Azure MFA User Portal.
Requirements for the configuration:
- Windows 2016 Server running IIS and MFA Server.
- Azure subscription.
- Valid SSL certificate.
- Active Directory for user authentication.
- A hostname for the MFA Server, in my case https://mfa.vikash.nl. This must match your SSL certificate.
MFA User Portal has a lot of options and features. In this blog I will only show a few. Check your requirements and enable features accordingly. In my homelab I have MFA Server and the User Portal running on the same Windows Server.
Setup IIS for MFA User Portal
I will start by configuring IIS to make sure that deploying the user portal goes smooth later on.
Start IIS Manager, click on Application Pools and select the DefaultPool. Then click on Basic Settings in the right column.
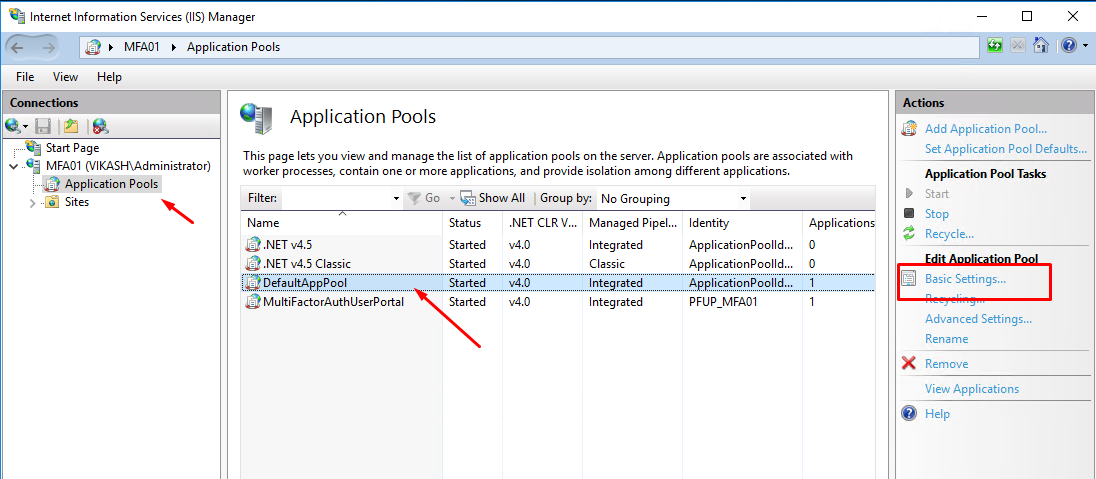
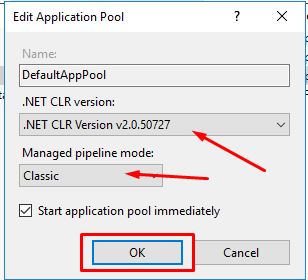
Change the .NET CLR version to v2.0.50727. Then select Classic in Managed pipeline mode. Click on OK.
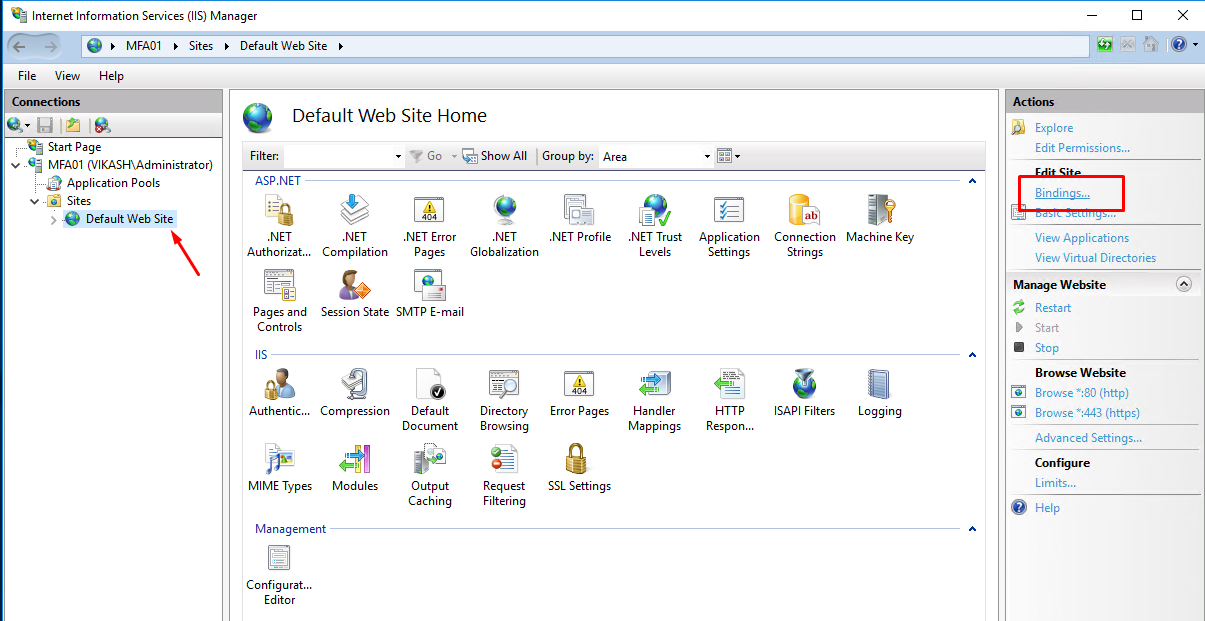
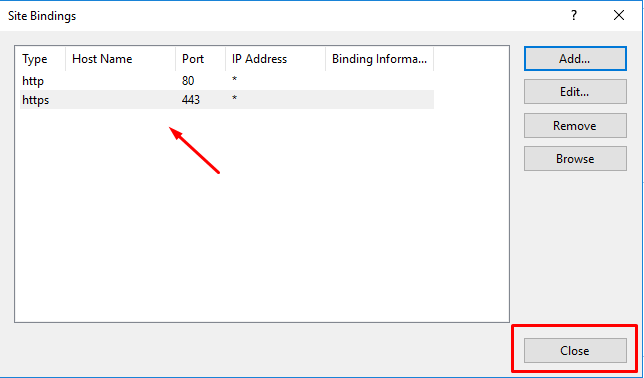
Now select Default Web Site and select Bindings in the right column.
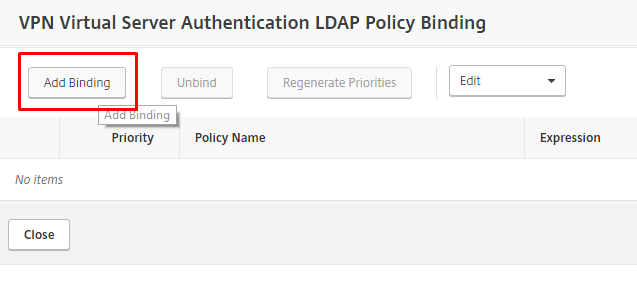
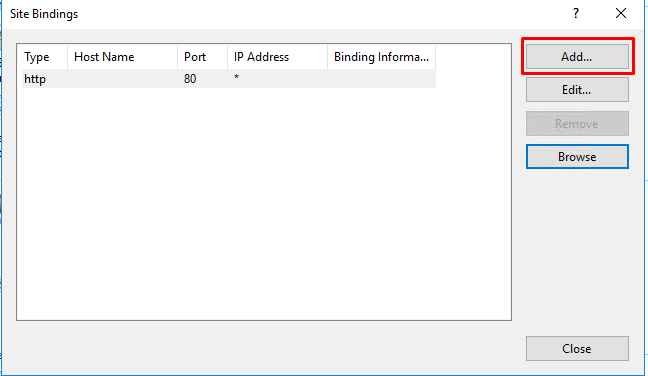
Click on Add.
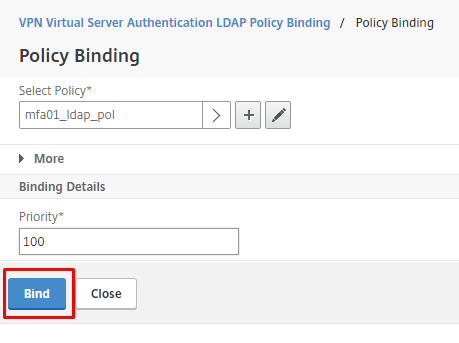
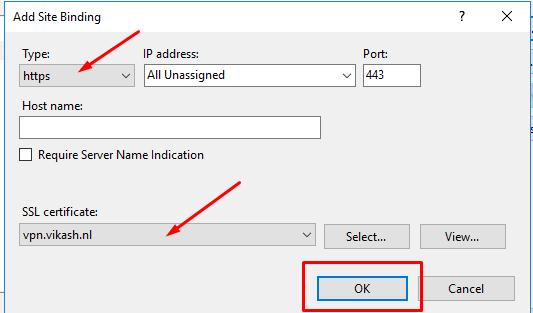
Select https and then your SSL certificate for the website. Make sure that this is the certificate with the correct DNS hostname for your MFA Server. Click then on OK.
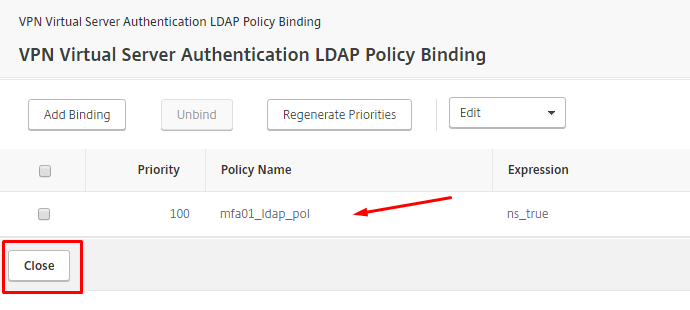
Check then the binding is correct and click on Close.
Install Web Service SDK
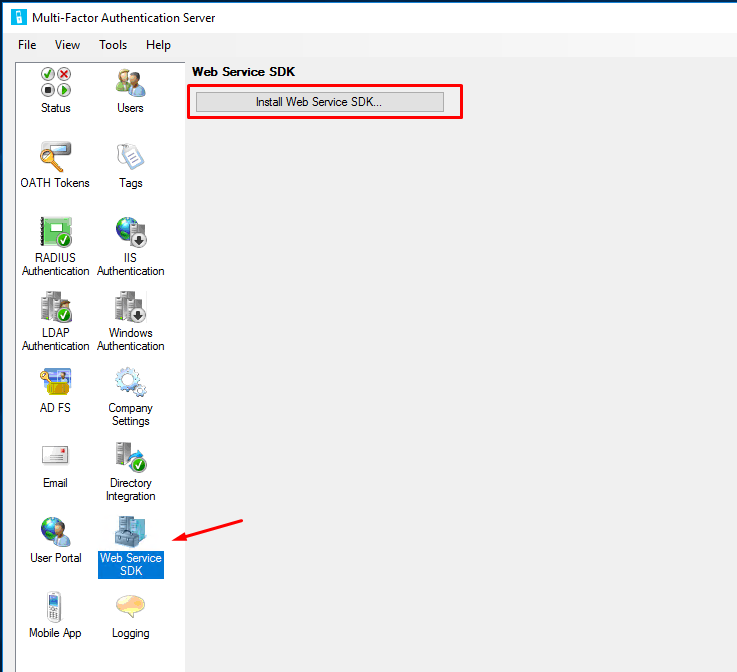
Now go back to your MFA Server interface and select Web Service SDK. Then click on Install Web Service SDK.
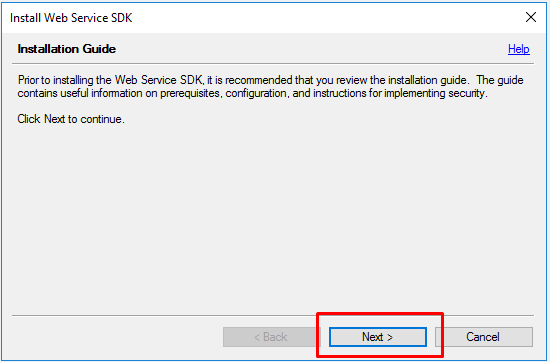
Click on Next.
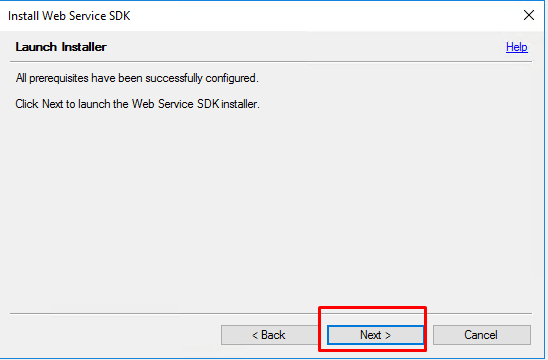
Click again on Next to continue.
Keep the defaults and click on Next.

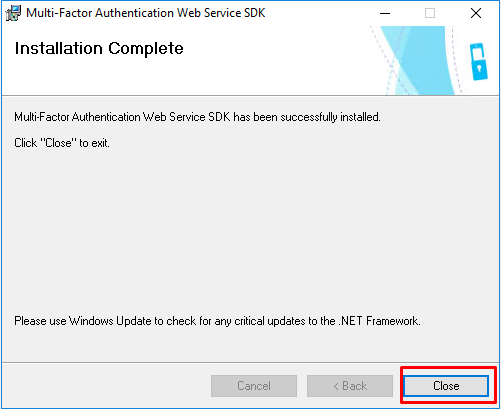
After the installation finishes, click on Close.
 \
\
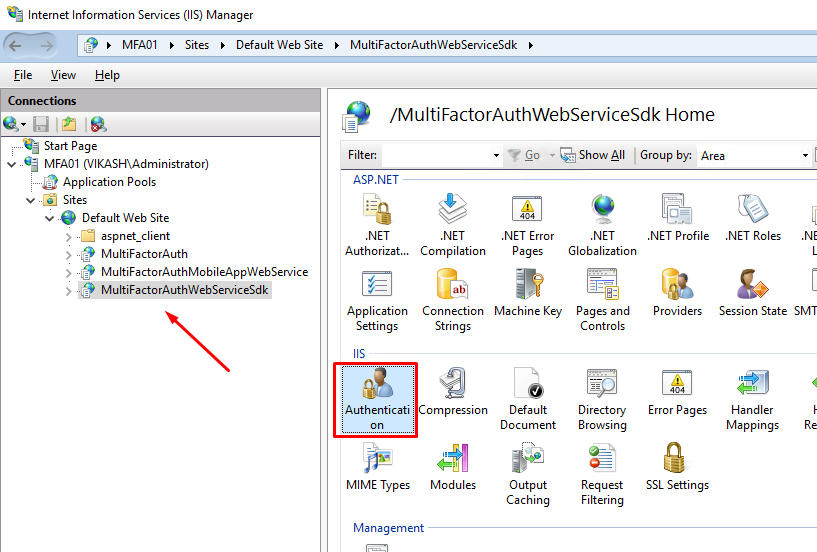
Start IIS manager and select MultiFactorAuthWebServiceSdk and click on Authentication.
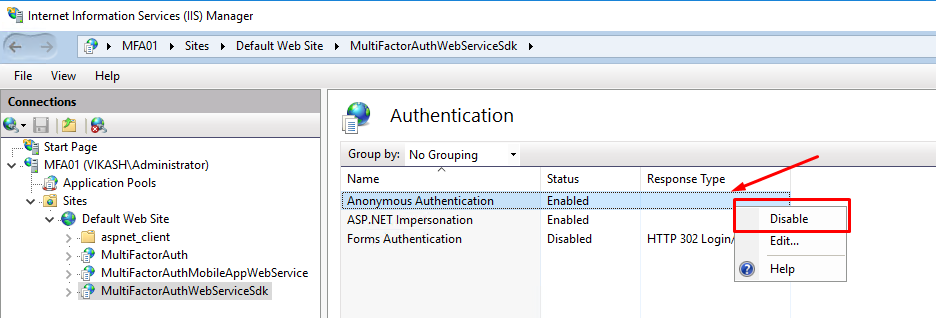
Disable Anonymous Authentication.
Setup and configure the User Portal
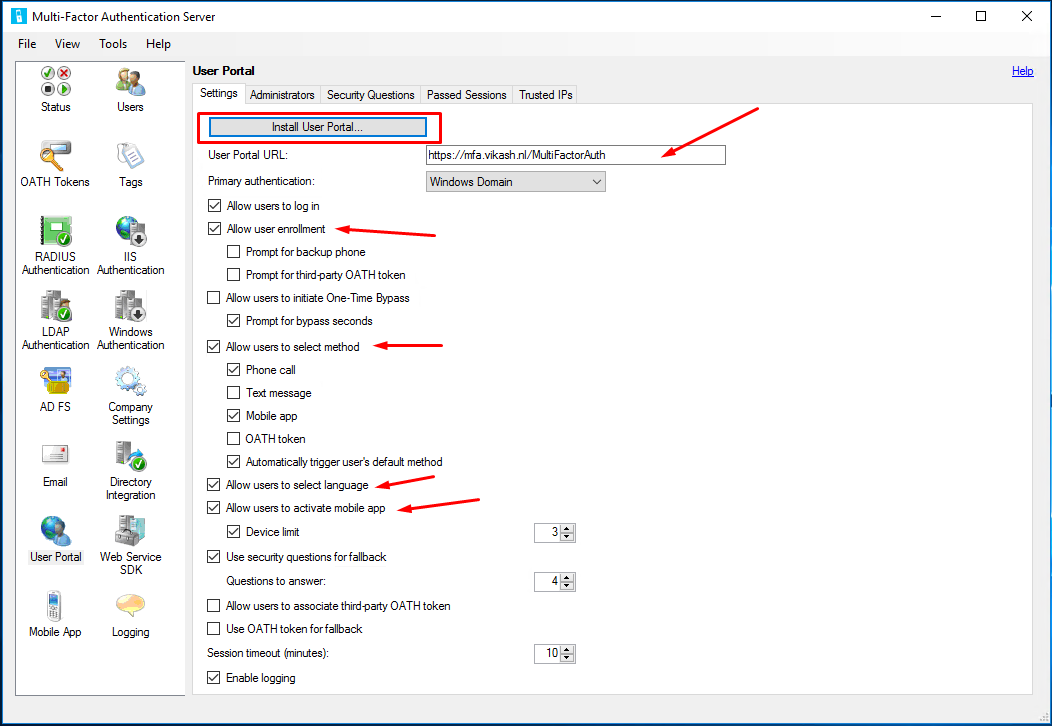
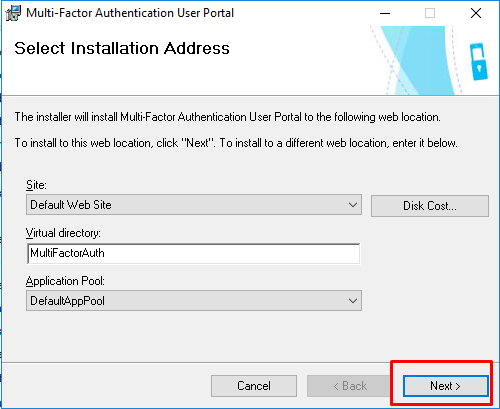
Now it is time to install and configure the user portal. Go to the User Portal and select the options you want to enable for your users. Then click on Install User Portal.
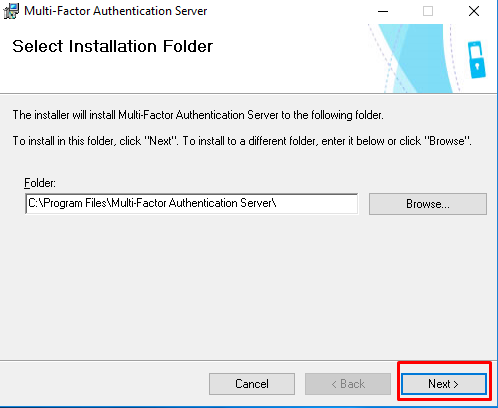
Select the defaults and click on Next.
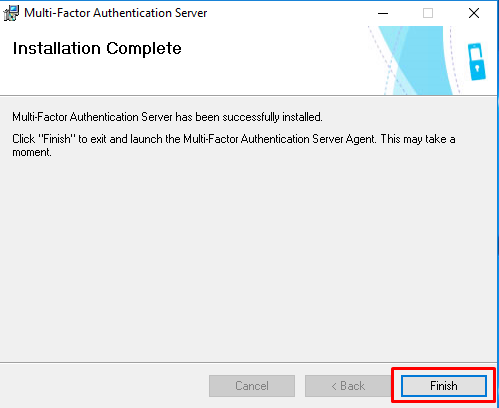
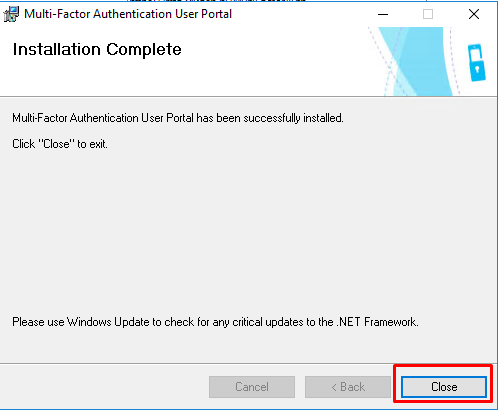
After installation finishes click on Close.
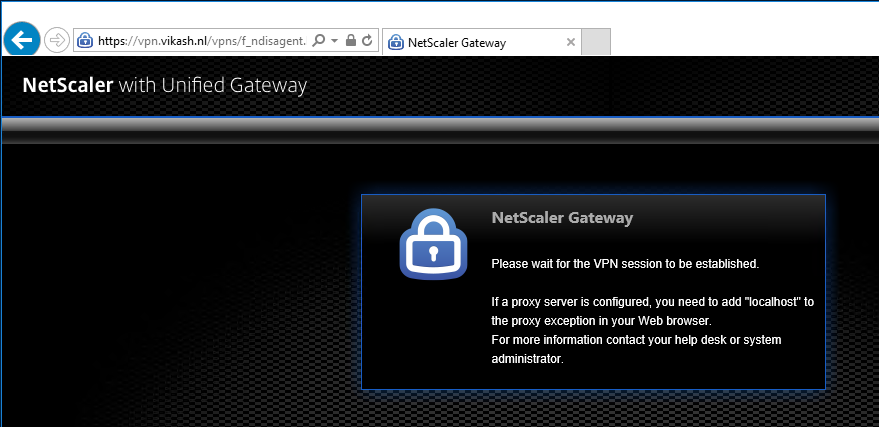
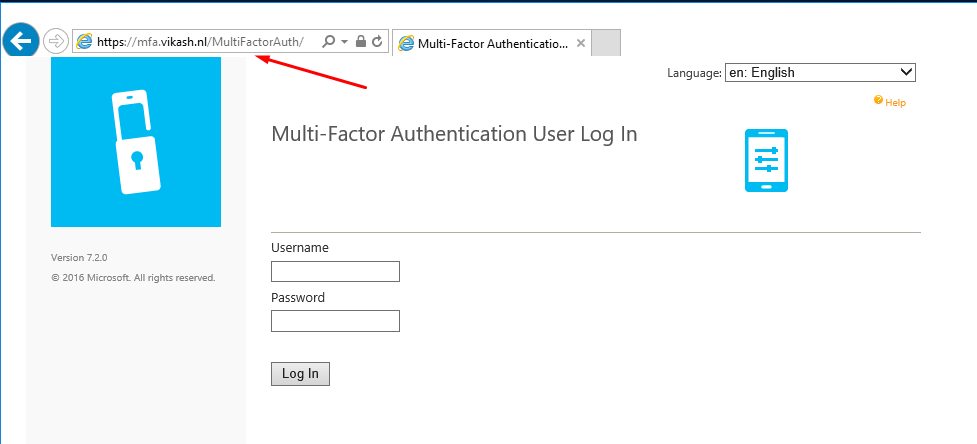
Let’s test if this is working. Open a browser and go to https://<ExternalFQDN>/MultiFactorAuth/. In my case this is https://mfa.vikash.nl/MultiFactorAuth. You should see the MFA User Portal Log In page.
Setup and configure the Mobile Portal
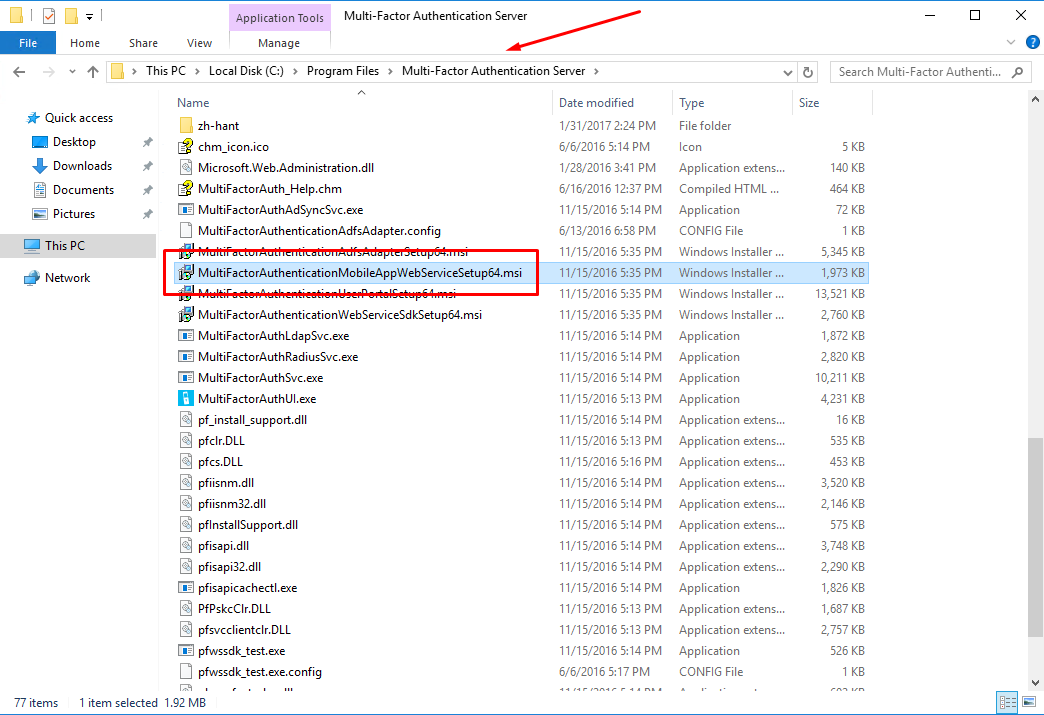
The interface doesn’t have a option to install the Mobile Portal. We need to locate the installer in the folder C:\Program Files\Multi-Factor Authentication Server. Select the file MultiFactorAuthenticationMobileAppWebServiceSetup64.msi.ÂÂ
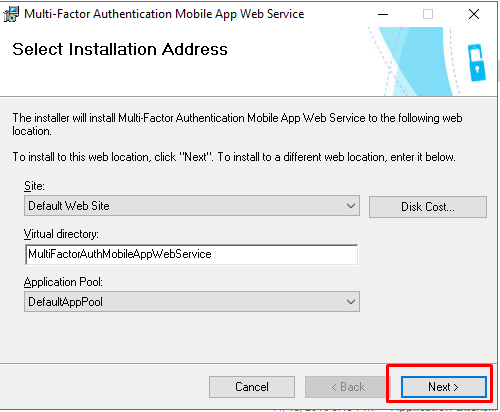
Start the installer and accept the defaults. Click on Next.
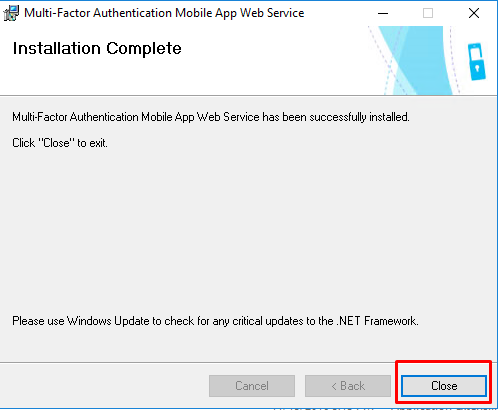
After the installer finishes, click on Close.
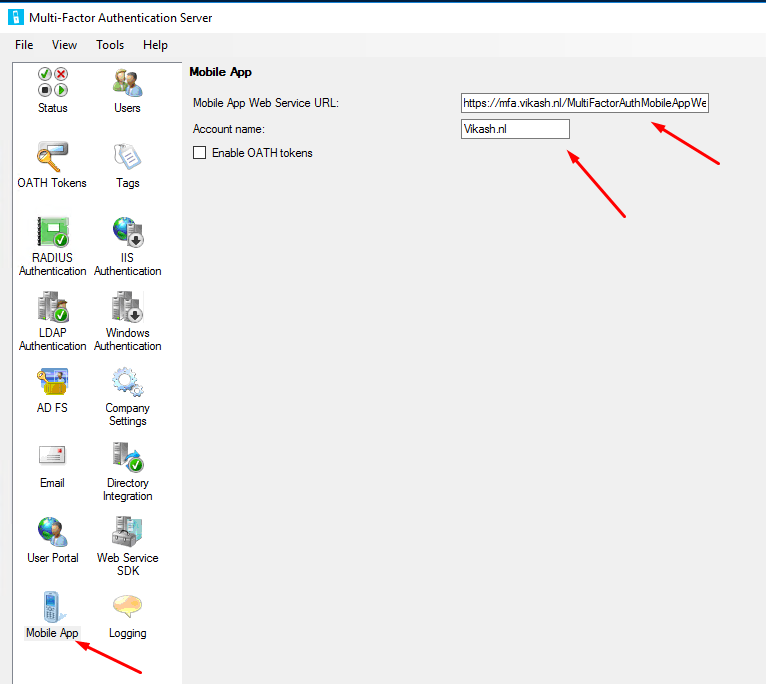
Now we have to make sure that the MFA Server knows what the Mobile App Web Service URL is. Go to Mobile App and enter the URL: https://<ExternalFQDN>/MultiFactorAuthMobileAppWebService. In my case this is https://mfa.vikash.nl/MultiFactorAuthMobileAppWebService. The Account name can be anything you like.
Configure Service Account
The User Portal installer creates an Active Directory group. The name is: PhoneFactor Admins. Let’s create an account and use is as an service account.
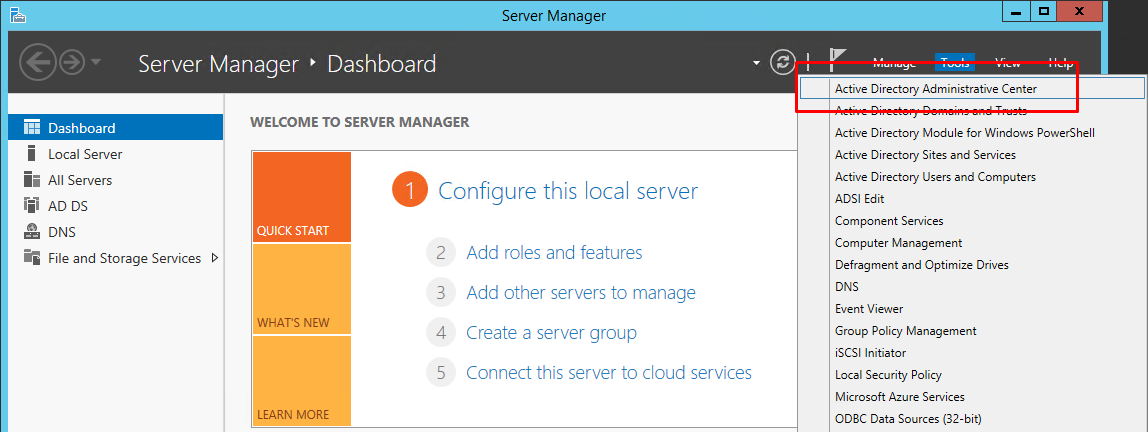
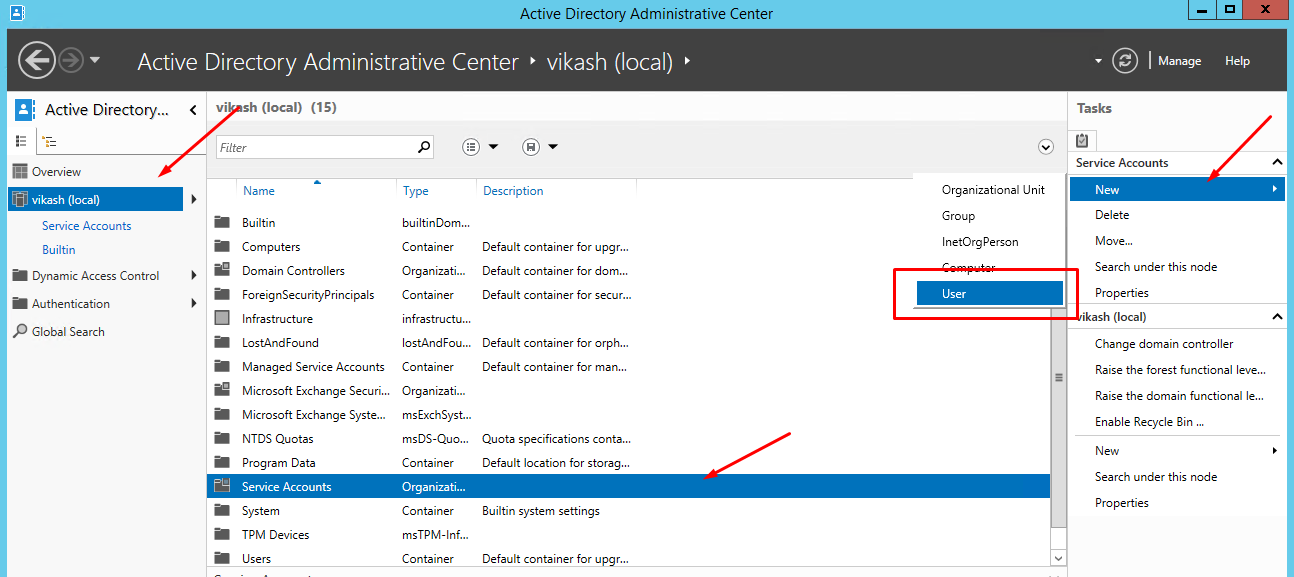
Open Server Manager. Click on Tools and then Active Directory Administrative Center.
I have a specific container Service Accounts. Select the container where you want to create your service account and then click on New -> User in the right column.
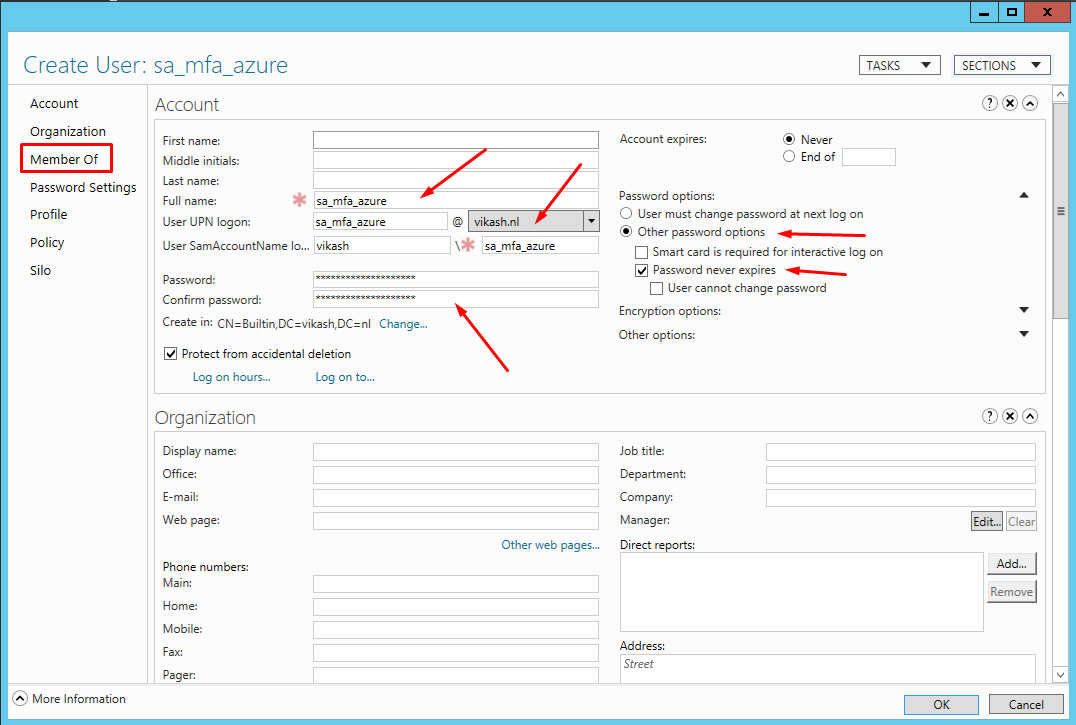
Enter the details according to your requirements. Make sure to set the Password options to Never expires. Then click on Member Of.
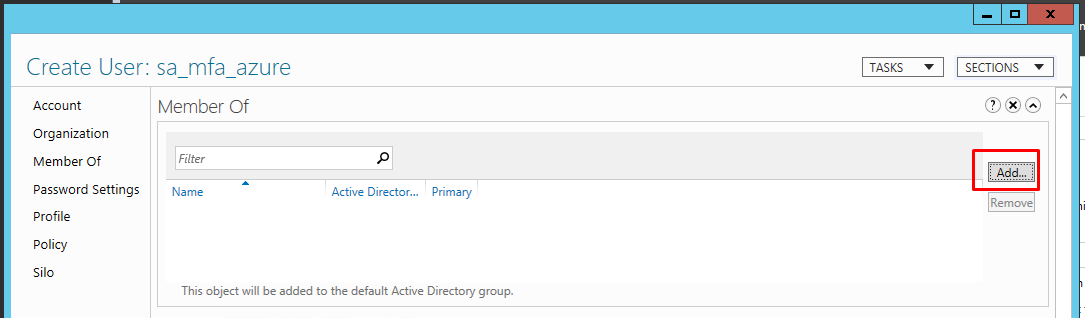
Click on Add.
Find the PhoneFactor Admins group and click on OK.
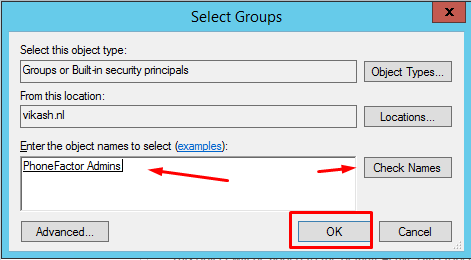
Then click on OK.

Configure Service Account for Application Pool
Next step is to configure the different components of Azure MFA User Portal to use the service account we just created.
Go to IIS manager, select Application Pools then click on MultifactorAuthWebServiceSdk application pool. Then click on Advanced Settings in the right column.
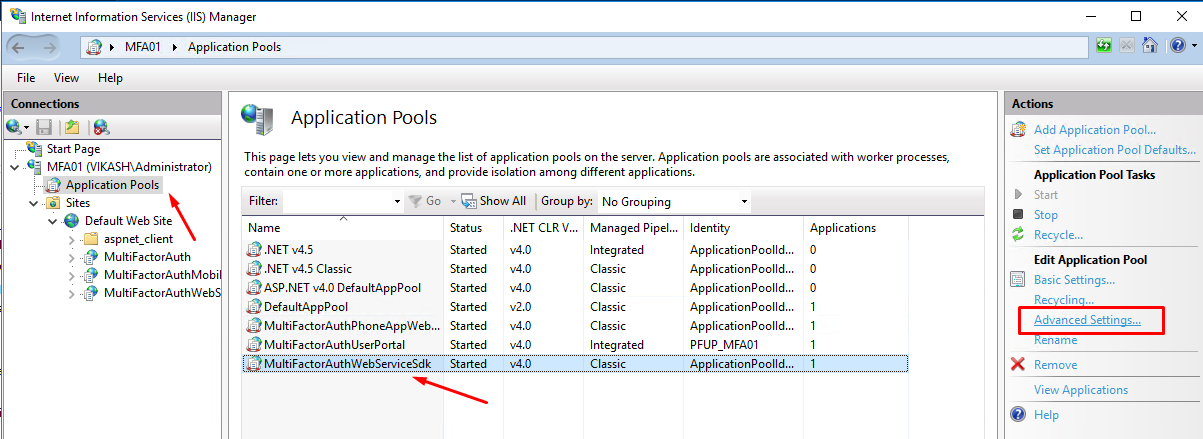
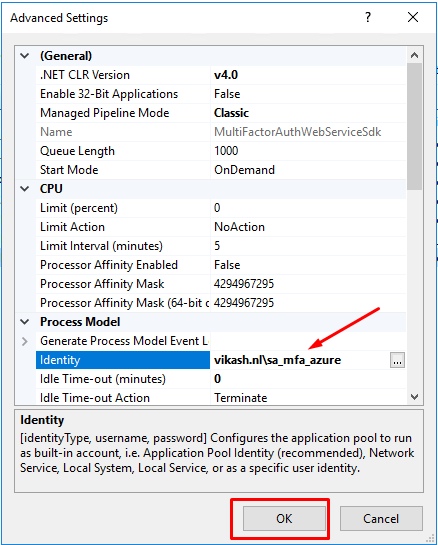
Under Process Model select Identity. Click on the button with the 3 dots.
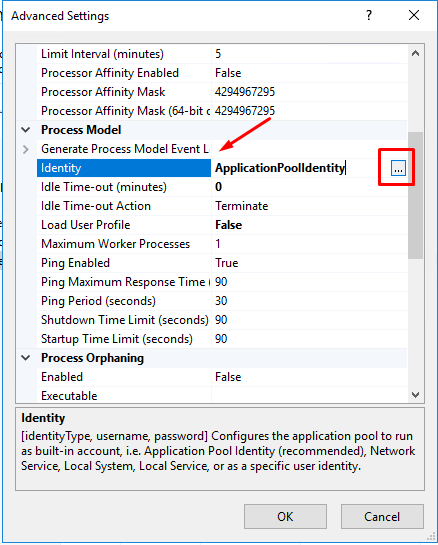
Select Custom account and click on Set.

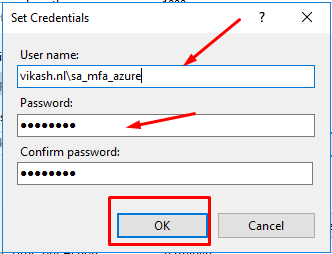
Enter the credentials of the service account you created and click on OK.
Make sure the service account is selected and click on OK.
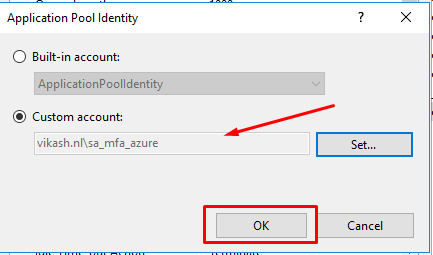
Make sure the service account is selected now and click on OK.
Configure Service Account for Mobile Portal
Now we have to configure the Mobile Portal to use the service account. This has to be done in the config file.
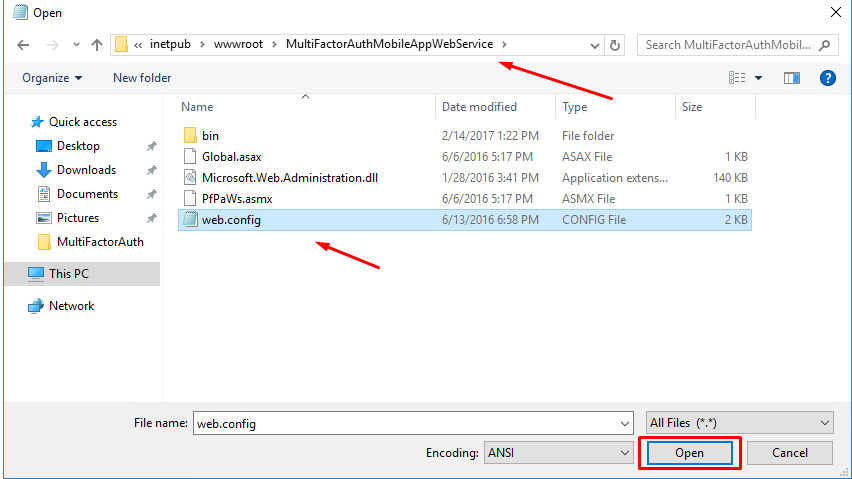
Run Notepad as Administrator. Open the web.config file located in C:\inetpub\wwwroot\MultiFactorAuthMobileAppWebService.
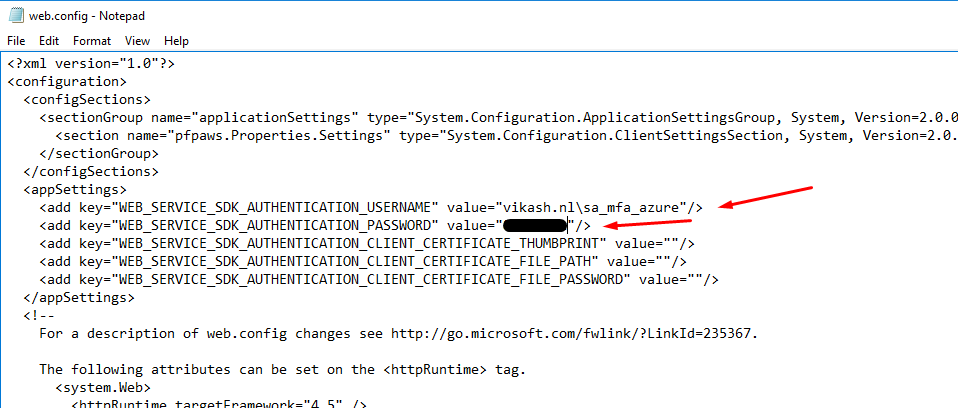
Locate the section appSettings section. Change the value of WEB_SERVICE_SDK_AUTHENTICATION_USERNAME and WEB_SERVICE_SDK_AUTHENTICATION_PASSWORD to match the information of your service account.
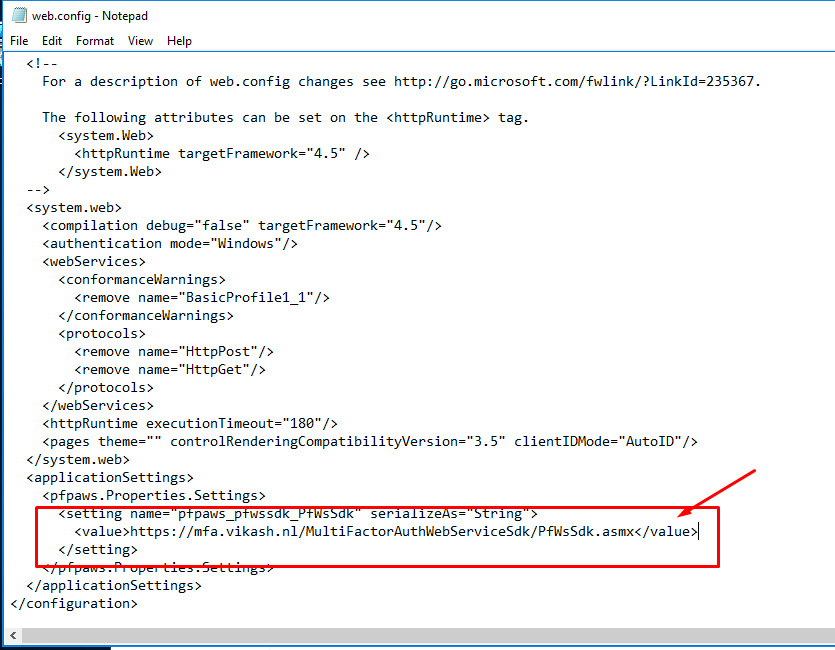
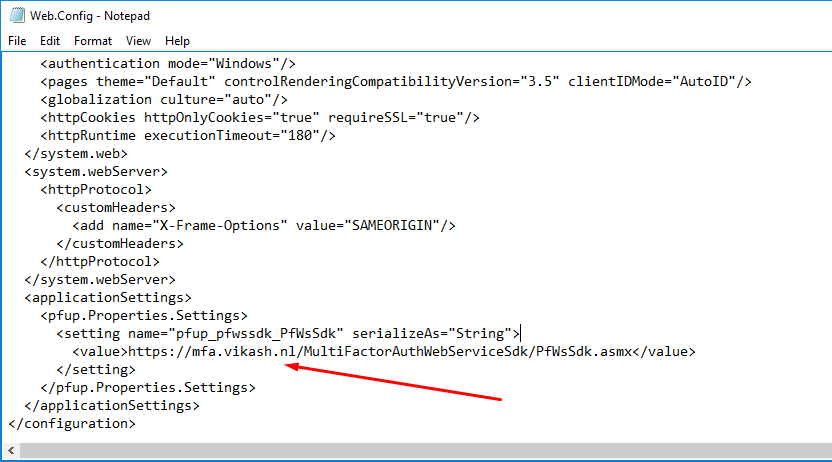
And as long we are here in this file locate the section applicationSettings. Change the value there to match you ExternalFQDN. In my case that is https://mfa.vikash.nl/MultiFactorAuthWebServiceSdk/PfWsSdk.asmx. Then save the config file.
Do some testing
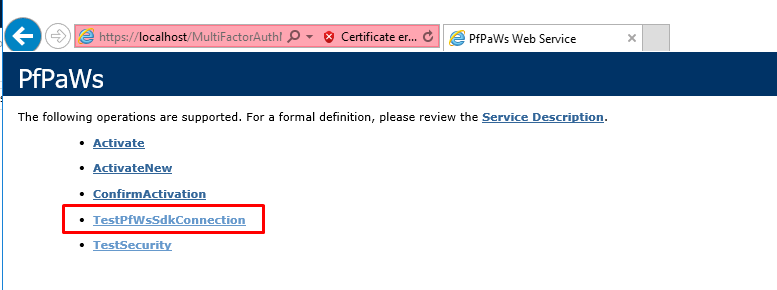
Now we can do some testing and see of the service account is fine for the Mobile Portal. Open a browser on your MFA Server and navigate to https://localhost/MultiFactorAuthMobileAppWebService. Click on Continue if you get the certificate error. Then click on TestPfWsSdkConnection.
Click on Invoke to start the test.

You should see the Success value if everything is correct.

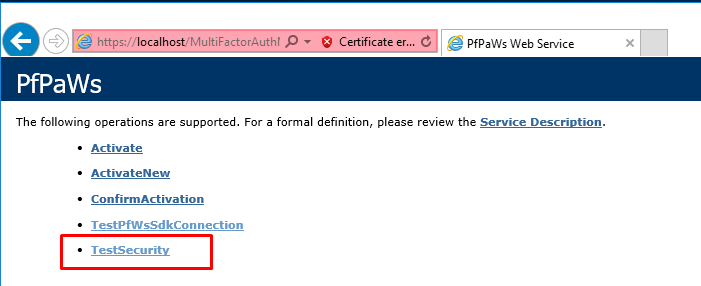
Go back to https://localhost/MultiFactorAuthMobileAppWebService. Click on Continue if you get the certificate error. Then click on TestSecurity.
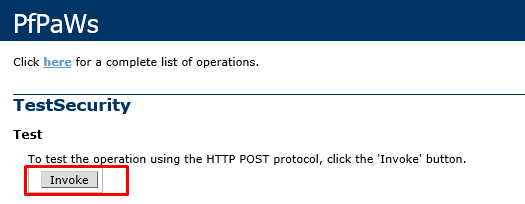
Click on Invoke to start the test.
If everything is fine it should return te value secure.

Configure Service Account for User Portal
Now we have to configure the User Portal to use the service account. This has to be done in the config file.
Run Notepad as Administrator. Open the Web.Config file located in C:\inetpub\wwwroot\MultiFactorAuth.

Locate the section appSettings section. Change the value of USE_WEB_SERVICE_SDK to true.Then change the value of WEB_SERVICE_SDK_AUTHENTICATION_USERNAME and WEB_SERVICE_SDK_AUTHENTICATION_PASSWORD to match the information of your service account.

Then scroll down and locate the section applicationSettings. Change the value there to match your ExternalFQDN. In my case this is https://mfa.vikash.nl/MultiFactorAuthWebServiceSdk/PfWsSdk.asmx.
Test MFA User Portal
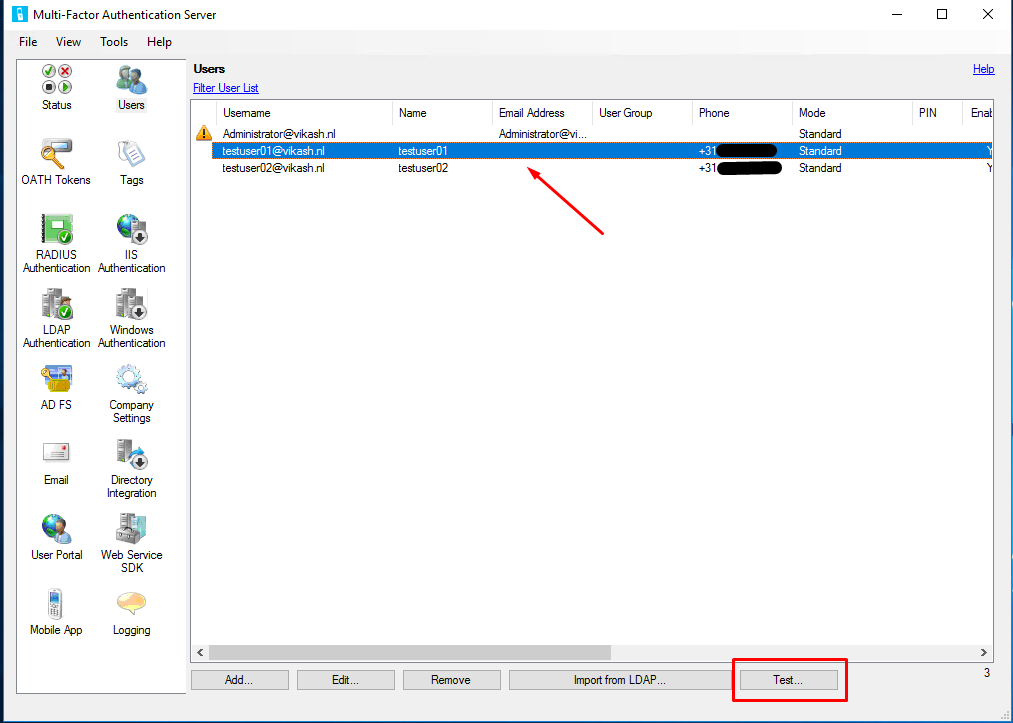
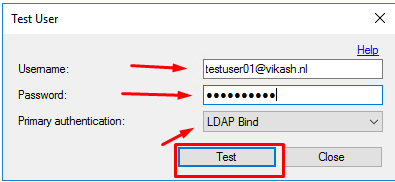
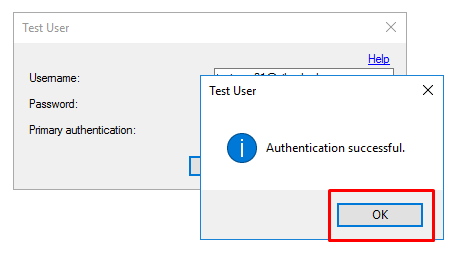
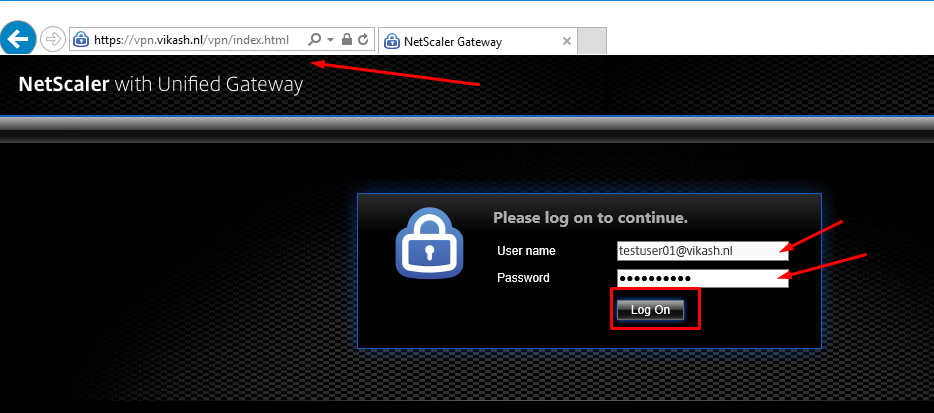
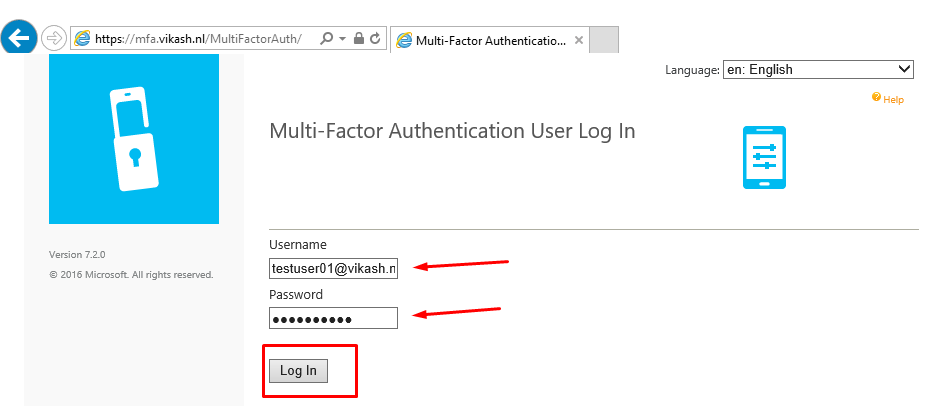
After setting everything up it is now time to test the whole setup. Open a browser and navigate to your MFA User Portal. Remember to access it on the ExternalFQDN. In my case that is https://mfa.vikash.nl/MultiFactorAuth/. Enter the username and password for a user which is enabled for MFA. The click on Log In.
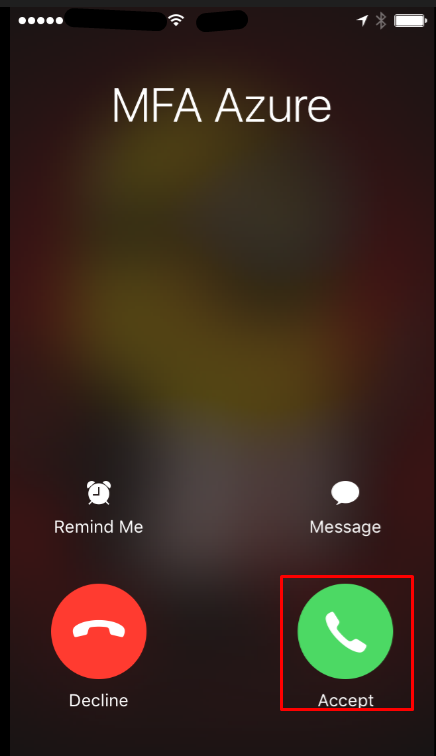
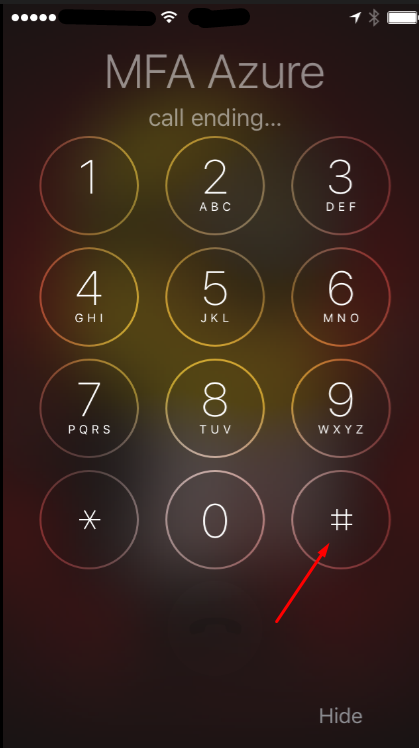
Azure MFA will call the user. Answer it.

Then click on the # key to accept the authentication request.

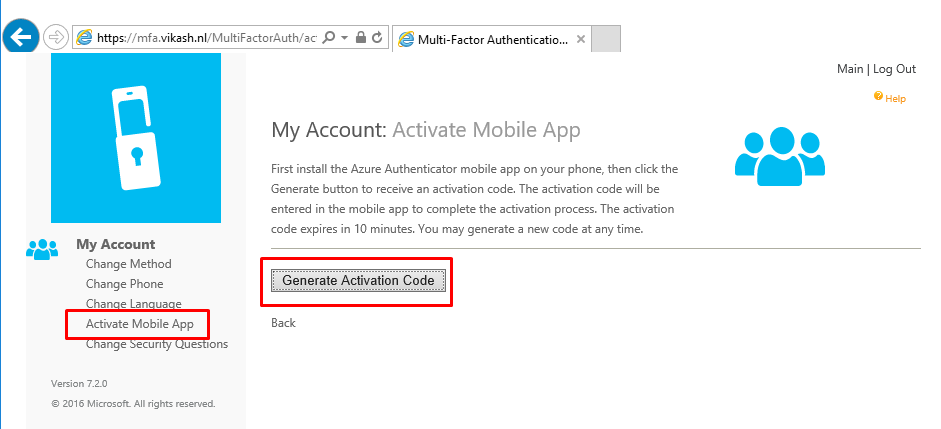
Now you can activate the mobile app with the correct information. Click on Activate Mobile App and then click on Generate Activation Code
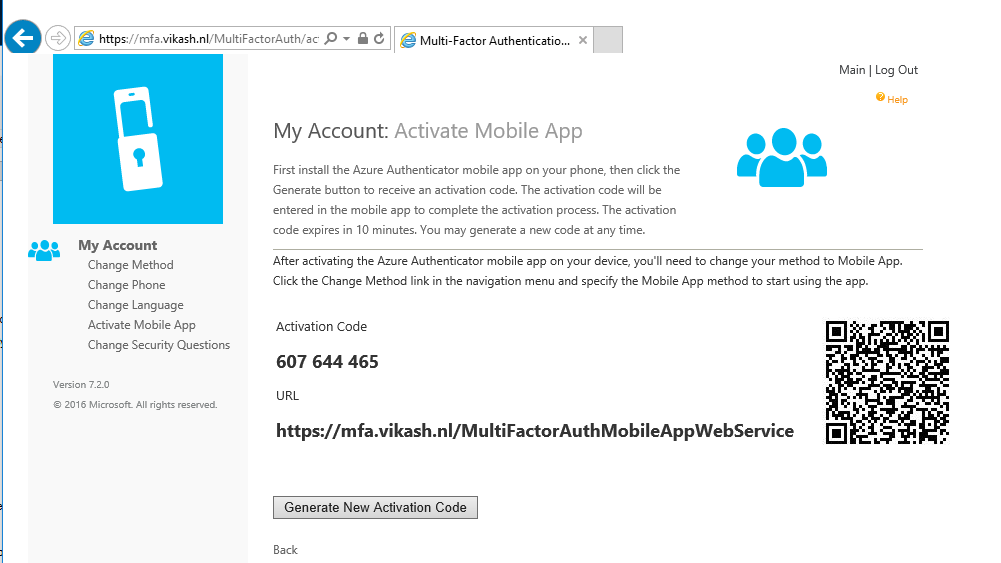
You will now be presented with the activation page and the correct URL to activate the mobile app.
This concludes this blog post. Feel free to contact me of you have any questions or comments.
You can follow me on twitter or add the RSS feed from my blog and you will be notified when I add new posts.
Setup Azure MFA User Portal for Self Service Read More