Install Citrix StoreFront 3.15

Reading Time: 4 minutes

In this blog post I will show the basic setup of Citrix StoreFront 3.15. StoreFront is the component for making your published desktops and published applications available for your end-users and devices. Citrix StoreFront is part of Citrix XenDesktop 7.18.

My environment for this basic setup:

  • Windows 2016 (stf01.vikash.nl)
  • Citrix StoreFront 3.15 setup (www.citrix.com)

In this post I only focus on a basic installation of Citrix StoreFront. Let’s start.

Install Citrix StoreFront 3.15

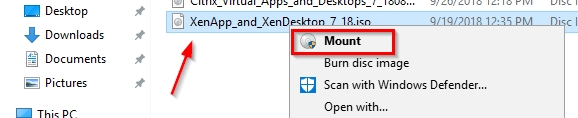
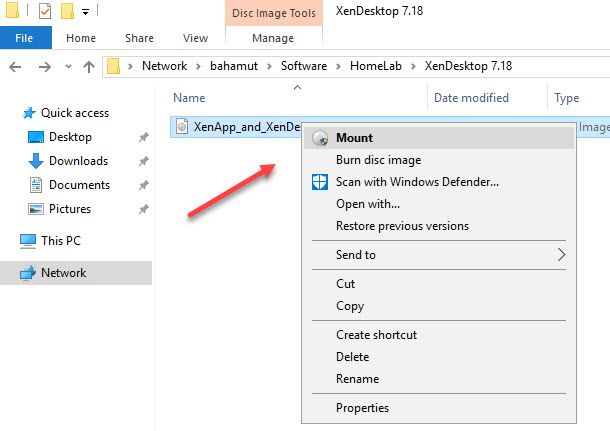
At this point you have downloaded the Citrix XenDesktop 7.18 installation ISO from the Citrix website. Mount the ISO using Explorer.

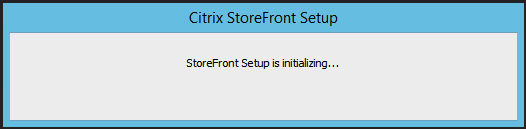
Double-click on AutoSelect.exe.

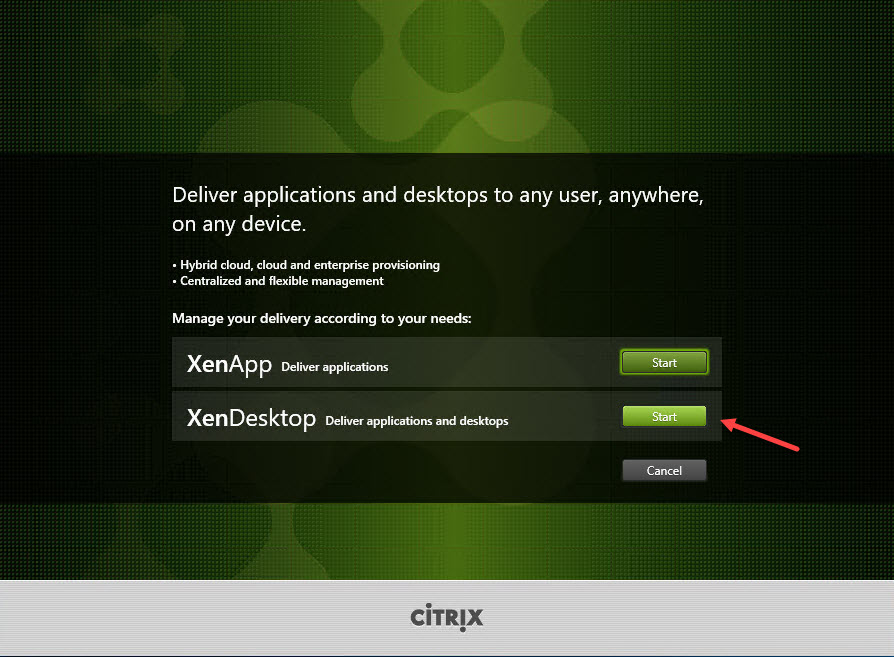
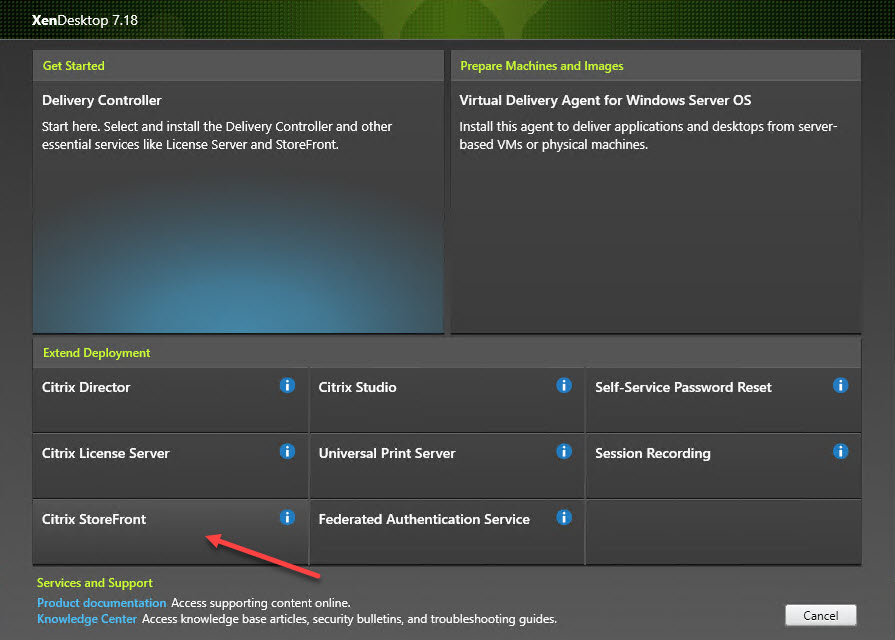
Click on Start button on the end of XenDesktop Delivery applications and desktops.

Select the option Citrix StoreFront.

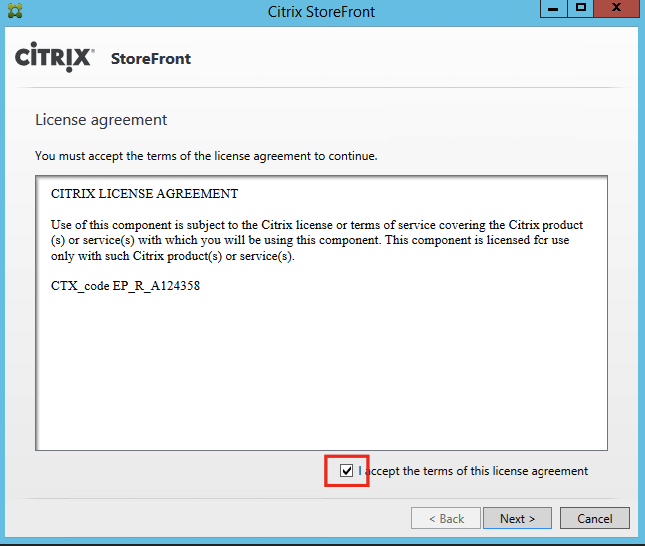
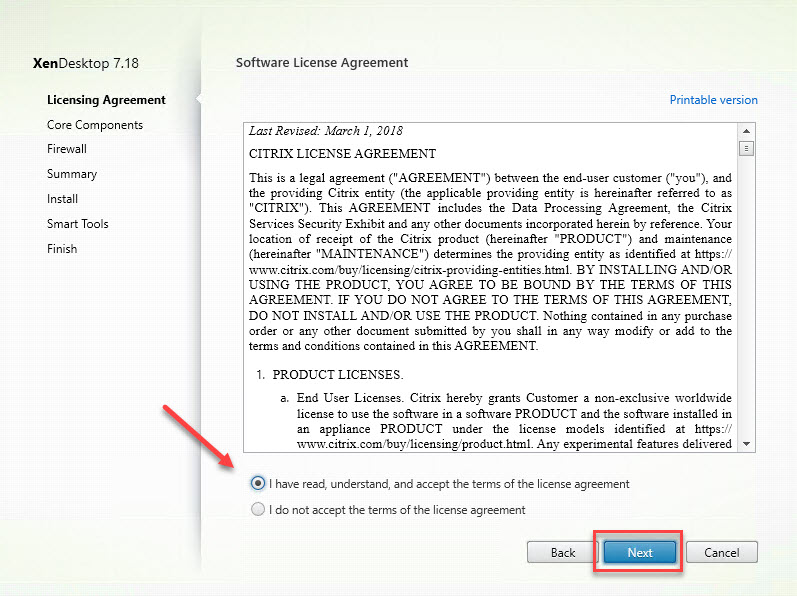
Agree with the License Agreement and click on Next.

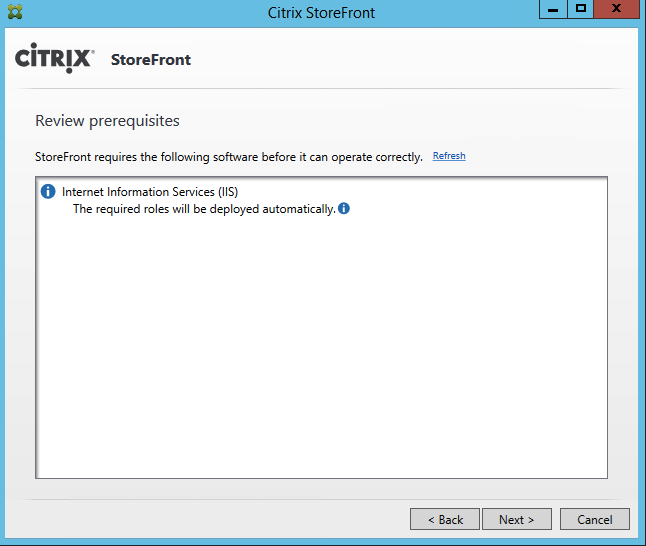
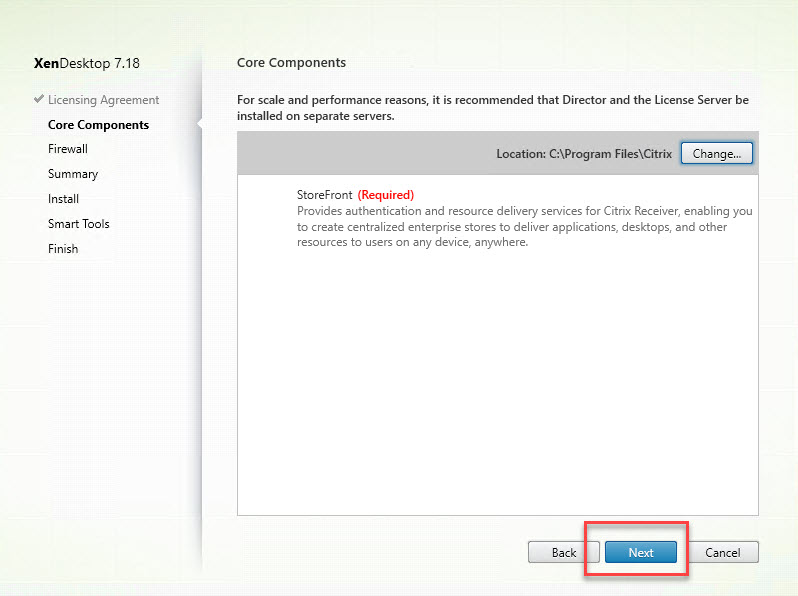
You will see the components which will be installed. In this case only StoreFront should be displayed here. Click on Next.

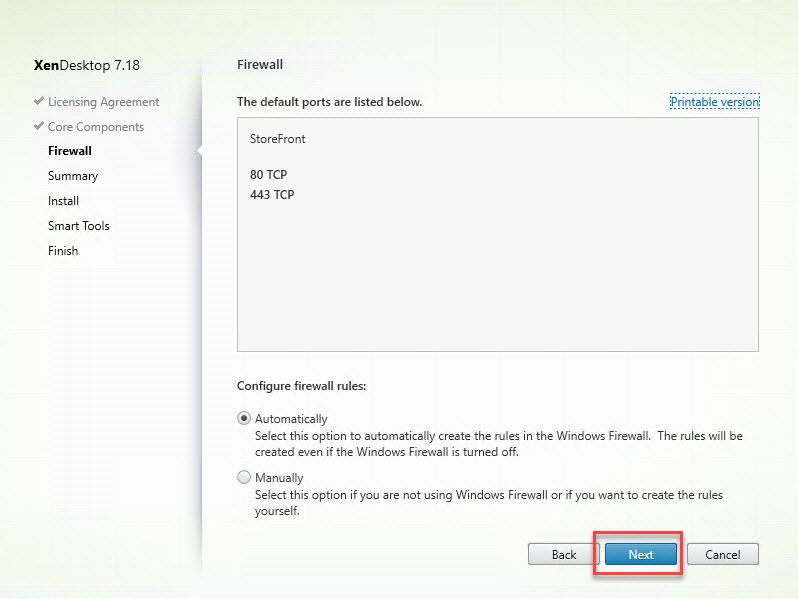
You will see the default ports for StoreFront and leave the option Automatically selected. The setup automatically configured the Windows Firewall to open the ports listed here. Click on Next.

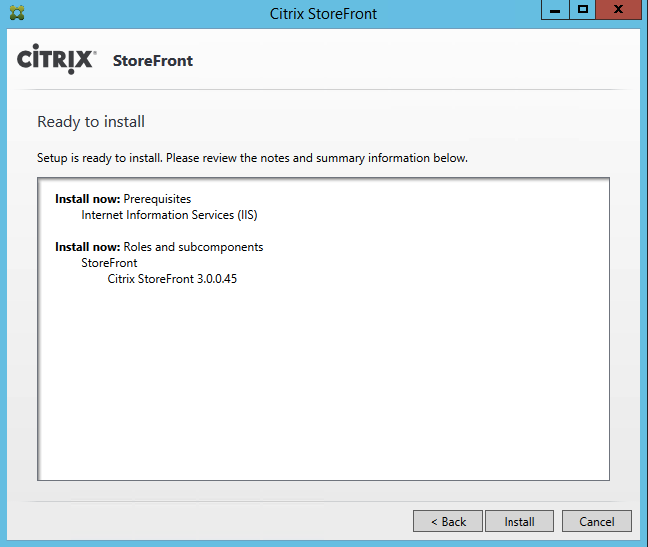
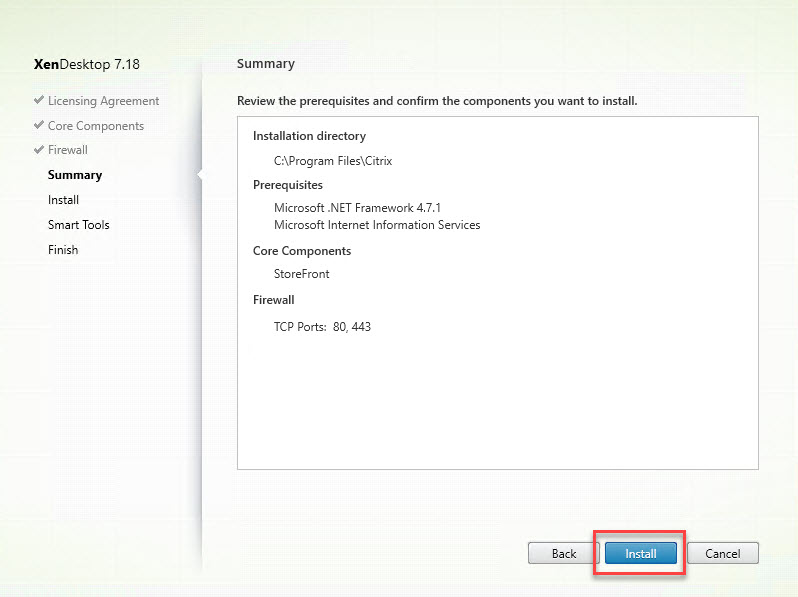
You will see a summary of the installation. Click on Install.

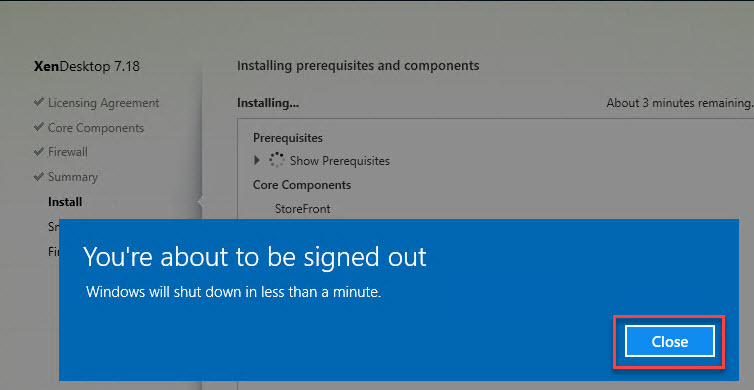
The server has to be restarted before the installation can continue. Click on Close.

Windows will tell you that you will be signed out. Click on Close and wait for the server to reboot.

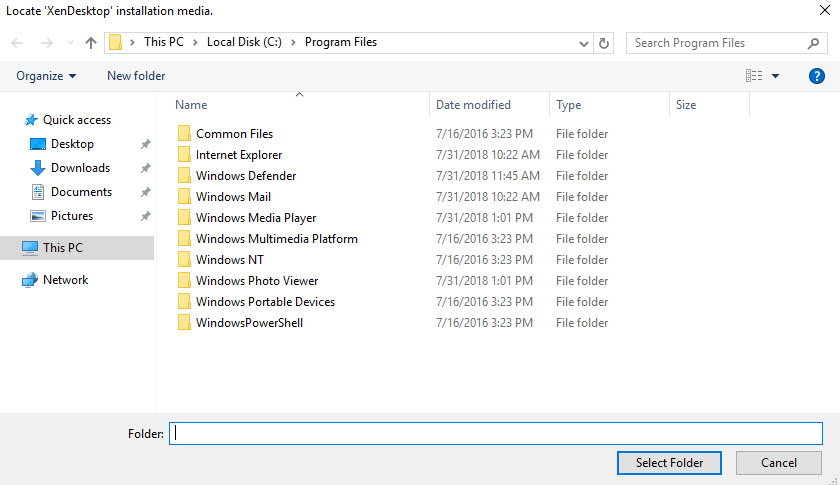
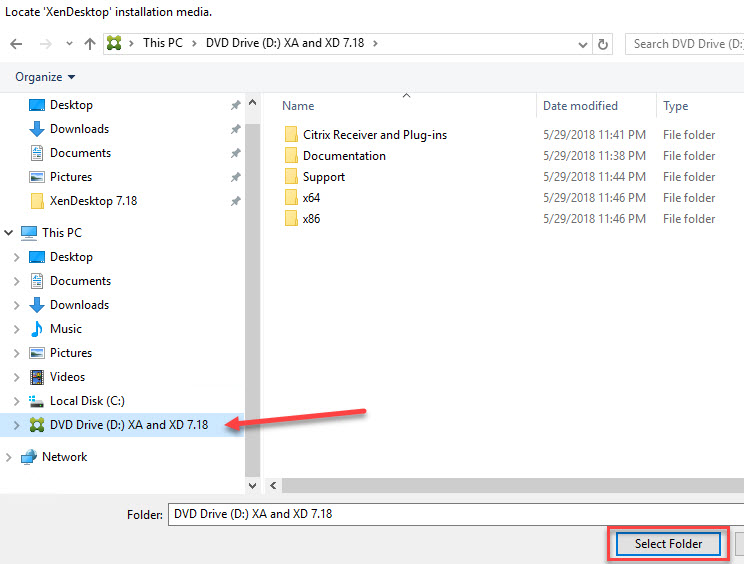
After the reboot login with the same account you were using when you started the installation. In my case this was the Administrator account. You will now be prompted to locate the XenDesktop installation media. Don’t close this window!

Open a new Windows explorer window and browse to the XenDesktop 7.18 installation ISO and mount in using explorer.

Go back to the XenDesktop installation media window. In the left column the virtual DVD will contain the mounted ISO. Select the DVD drive and click on Select Folder.

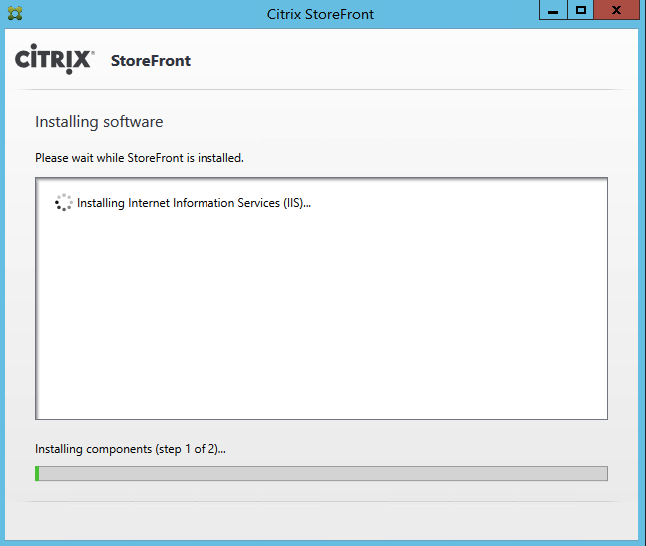
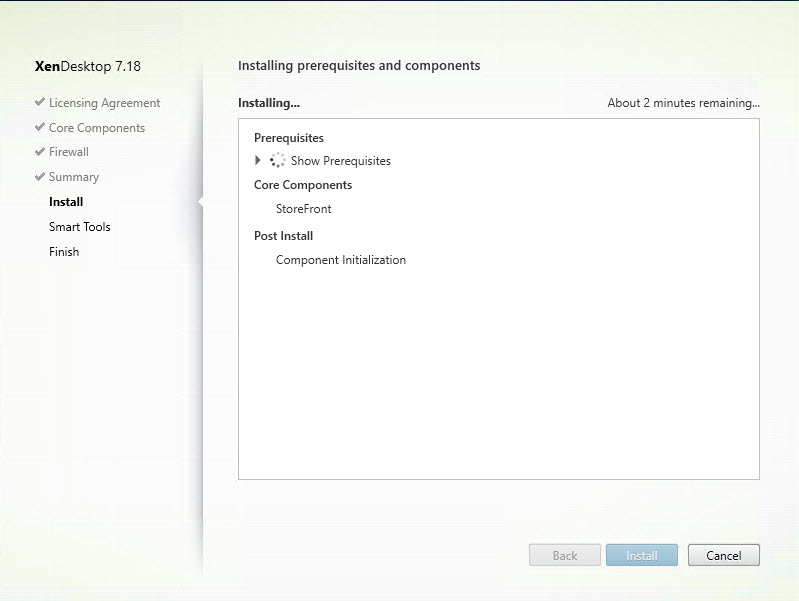
The installation will continue automatically.

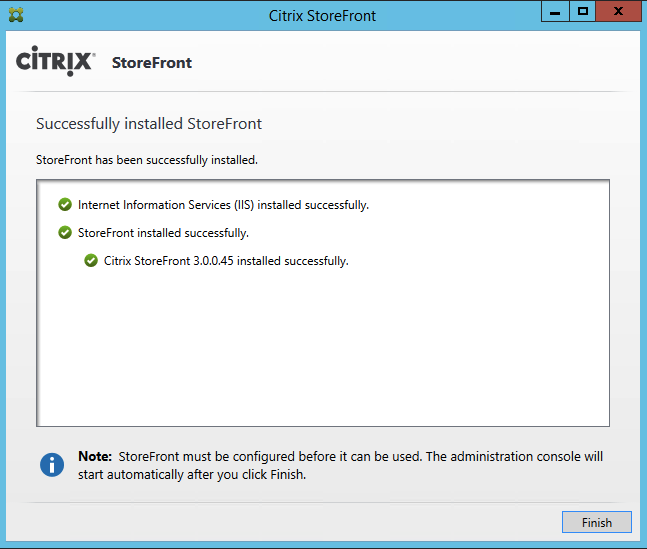
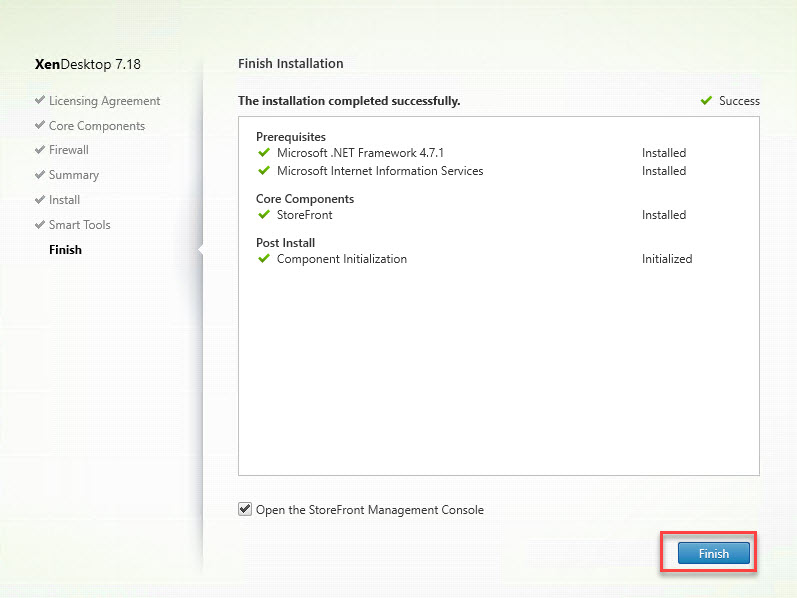
After everything is installed you will see a summary of the installed components. Click here on Finish.

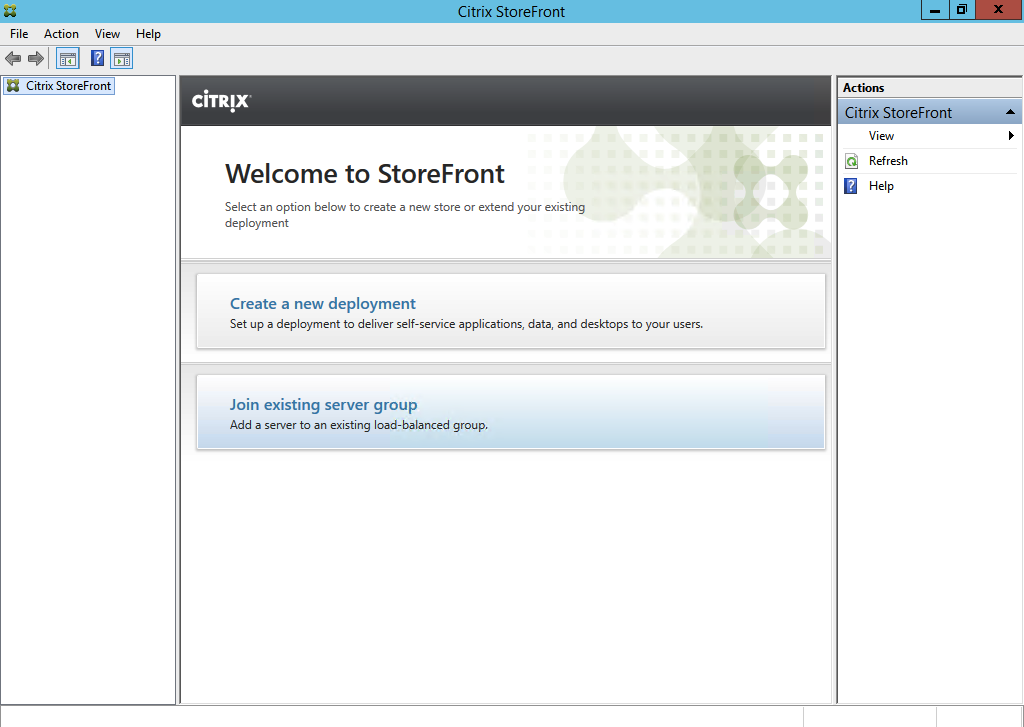
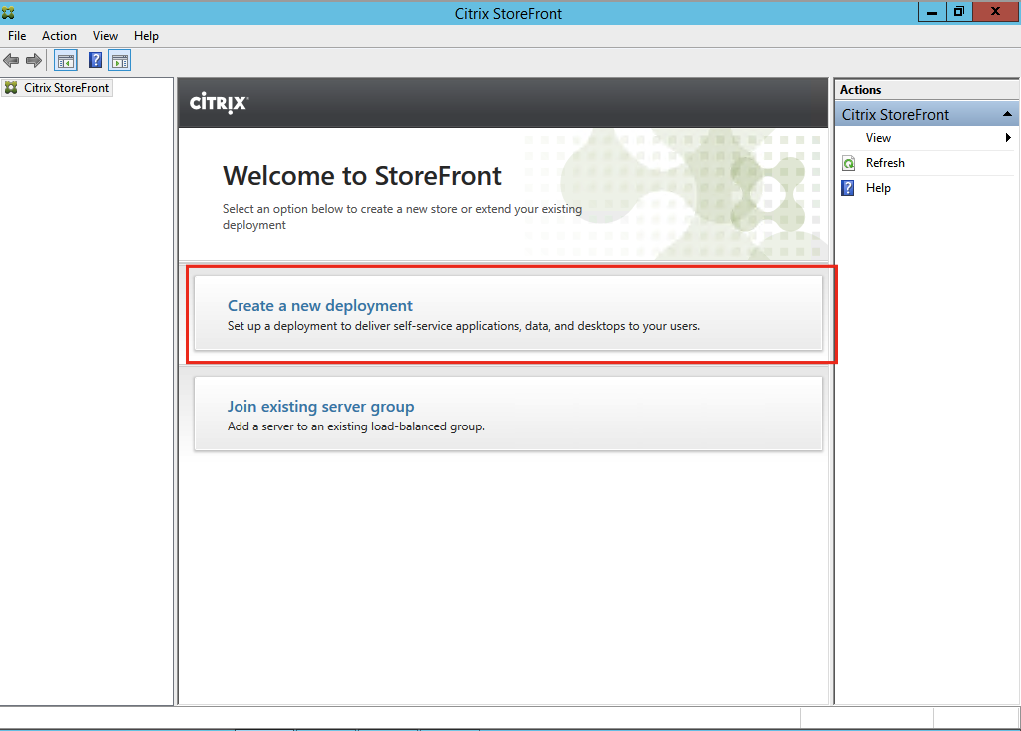
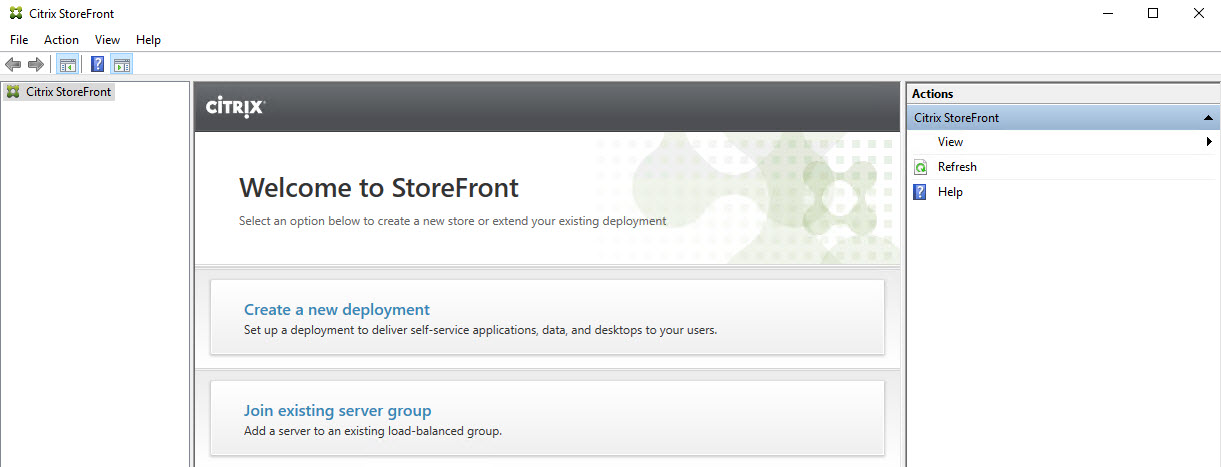
Citrix StoreFront administration console will be automatically launched. The installation is now complete and our StoreFront server is ready to be configured to deliver desktops and apps to the end user. I will show you how to do this in further blog posts.

This concludes this blog post. In following posts I will show you how to configure StoreFront to deliver desktops and applications. I will also show you how to connect it to Citrix NetScaler so stay tuned. Feel free to contact me of you have any questions or comments.

You can follow me on twitter or add the RSS feed from my blog and you will be notified when I add new posts.

Install Citrix StoreFront 3.15 Read More

Basic setup Citrix StoreFront 3.0

Reading Time: 5 minutes

In this blogpost I will show the basic setup of Citrix StoreFront 3.0. StoreFront is the component for making your published desktops and published app available for your end-users.

A few new features of Citrix StoreFront 3.0:

  • unified user experience
  • improved customisation
  • loopback communications (no more host file editing)
  • treating published desktops as published apps
  • delegate authentication to backend servers

My environment for this basic setup:

  • Windows 2012 R2 (sf01.vikash.nl)
  • Citrix StoreFront 3.0 setup (www.citrix.com)
  • SSL certificate (storefront.vikash.nl) using own CA infrastructure (dc01.vikash.nl)
  • Citrix XenDesktop 7.6 Controller (xddc01.vikash.nl)

Before we can proceed with the installation we need a SSL certificate. For lab purposes I have installed a internal CA (my domain controller) and requested a domain certificate. Using Internet Information Services Manager on my StoreFront server I requested a domain certificate.

Make sure that you request a proper SSL certificate for production environments! Contact me if you have any questions regarding SSL certificates in production environments.

SSL Certificate request:

Open IIS Manager and click on create Domain Certificate:
sf3.0-setup-8

Fill in the required information and click on Next:
sf3.0-setup-9

Select the appropriate CA and set a friendly name for the certificate. Click on Finish:
sf3.0-setup-10

We now have to bind this certificate to the Default Web Site on your Citrix StoreFront server. In my case this is sf01.vikash.nl. Start IIS Manager, expand Sites and click on Default Web Site. Then click on Bindings:
sf3.0-setup-11

Click on Add:
sf3.0-setup-12

Select https as Type and select the SSL certificate we just requested. Click then on OK:
sf3.0-setup-13

Now we can see that SSL is enabled for the Default Web Site. Click on Close:
sf3.0-setup-14

Now you can test the certificate by browsing to the default website of the StoreFront server:
sf3.0-setup-30

If everything went well you should see no errors in your browser when requesting the page using https.

Installing Citrix StoreFront 3.0:

Start the setup by double-clicking on CitrixStoreFront-x64.exe. Setup wil now start:
sf3.0-setup-1

Accept the license agreement and click on Next:
sf3.0-setup-2

The setup will install the required Windows Features and Roles. Review and click on Next:
sf3.0-setup-3

Setup is now ready for install. Click on Install:
sf3.0-setup-4

Installation in progress. Grab a coffee:
sf3.0-setup-5

Click on Finish after installation of all the components:
sf3.0-setup-6

Citrix StoreFront will automatically open and you will be presented with the Welcome to StoreFront screen. From here we can start the basic configuration of StoreFront:
sf3.0-setup-7

Basic setup of Citrix StoreFront 3.0:

Click on Create a new Deployment:
sf3.0-setup-15

Enter your Base URL. In my case it is https://storefront.vikash.nl. Click on Next:
sf3.0-setup-16

Enter the Store name. In my case it is Vikash. Click on Next:
sf3.0-setup-17

Now we have to specify Delivery Controllers so StoreFront knows where to get published apps or desktops. This is your XenDesktop or XenApp controller. Click on Add:
sf3.0-setup-18

Enter a name for the Display name and set the correct Transport type, in my case it’s http. Make sure you select the correct version of XenDesktop of XenApp. Click on Add:
sf3.0-setup-19

Enter the hostname of the controller and click on OK:
sf3.0-setup-20

As you can see the controller has been added. Click on OK:
sf3.0-setup-21

Click on Next:
sf3.0-setup-22

Leave the defaults (None) on the Remote Access page and click on Create:
sf3.0-setup-23

Click on Finish:
sf3.0-setup-24

Now click on Authentication in the left panel and click on Configure Trusted Domains. By adding trusted domains the user can only set their username when logging in. This options also allows us to add multiple domain names as trusted domains and allow the user to select the appropriate one when logging in.
sf3.0-setup-28

For now we have only have one domain. Select the Trusted domains only option, click on Add and enter the domain name (vikash.nl). Then click on OK:
sf3.0-setup-29

Now click on Receiver for Web in the left panel and locate the Website URL. Time for some testing!sf3.0-setup-31

I will login using my test user (test01) from a virtual machine which is joined in my domain, so my SSL certificate will be trusted. Open the URL in a browser and enter the test user credentials:
sf3.0-setup-32

The user is successfully logged in. I don’t have published apps or desktops yet. I show that in another blogpost. For now we have a working Citrix StoreFront 3.0 environment, ready for further testing.
sf3.0-setup-33

You can also follow me on twitter or add the rss feed from the blog and you will be notified when I add new posts. If you have any questions feel free to contact me.

Basic setup Citrix StoreFront 3.0 Read More