How to upgrade XenServer

How to upgrade XenServer 6.5 to 7.0 using Rolling Pool Upgrade

Reading Time: 5 minutes

A while ago I did an XenServer 6.5 Upgrade to 7.0. Check it out here. I thought now let’s create a Citrix XenServer 6.5 pool, and do the automated upgrade using Rolling Pool Upgrade in Citrix XenCenter.

What’s new in Citrix XenServer 7.0:

  • Intel Iris Pro Graphics GPU support
  • NVIDIA GRID vGPU support for Linux Applications
  • Up to 128 vm’s per host with the NVIDIA vGPU M6/M60 graphics card
  • Windows Update integration for XenTools

These are a few things I like. There are far more new features, take a look at the Citrix XenServer site here.

Requirements for the upgrade:

  • Citrix XenServer 6.5 with SP1 and all the latest hotfixes
  • Citrix XenServer 7.0 ISO (www.citrix.com)
  • FTP Server with extracted Citrix XenServer 7 ISO
  • Citrix XenCenter 7.0

My homelab setup

Since I don’t have additional hardware to run XenServer, I installed it as a virtual machine on Hyper-V 2012 R2. This is fine for testing purposes. Just make sure you create the virtual machine als a Generation 1 vm and add the Legacy Network Adapter.

Caution

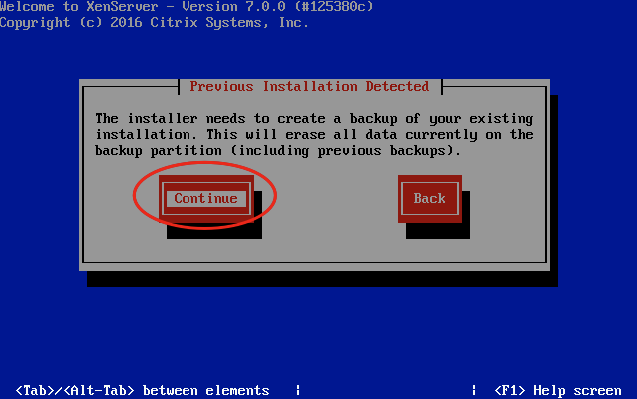
During the upgrade process you will have the choice to upgrade the partition scheme of the Local Storage Repository (Local SR). The new partition scheme in Citrix XenServer 7.0 is beter for especially log files. But altering the partitions means that you have to move all the virtual machines to a safe place. The upgrade process will delete everything on the Local SR when re-partitioning during the upgrade process!

So let’s start.

Prepare the Local SR for re-partitioning

Before we start the upgrade using the Rolling Pool Upgrade method in XenCenter, we have tell the upgrade process that it is safe to re-partition the Local SR. This has to be done from the command line. I have tried to upgrade without entering this command, and sometimes re-partitioning failed on one of my XenServer hosts. This behaviour was random.

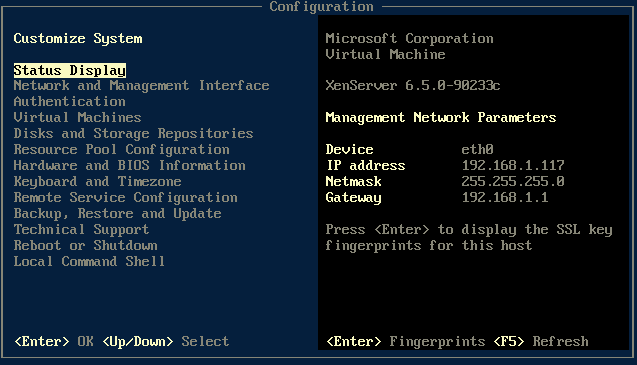
So just to make sure everything goes smooth, enter the following command in the the console of every XenServer host:

touch /var/preserve/safe2upgrade

rolling_pool_upg_6-5_to_7_002

Let’s start.

Upgrade XenServer

Make sure you have patched your XenServer 6.5 hosts completely.

rolling_pool_upg_6-5_to_7_003

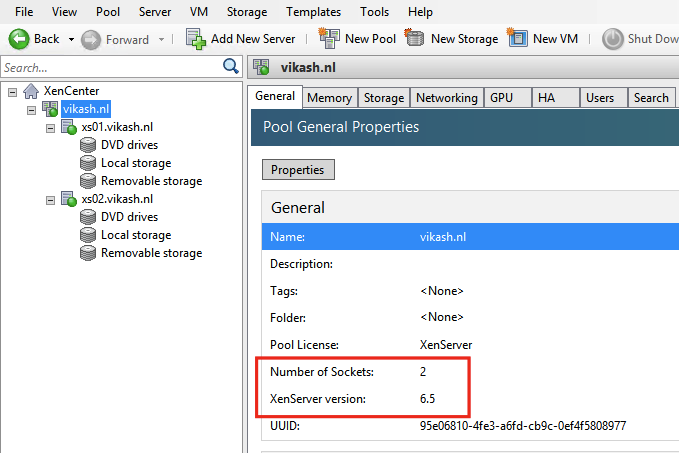
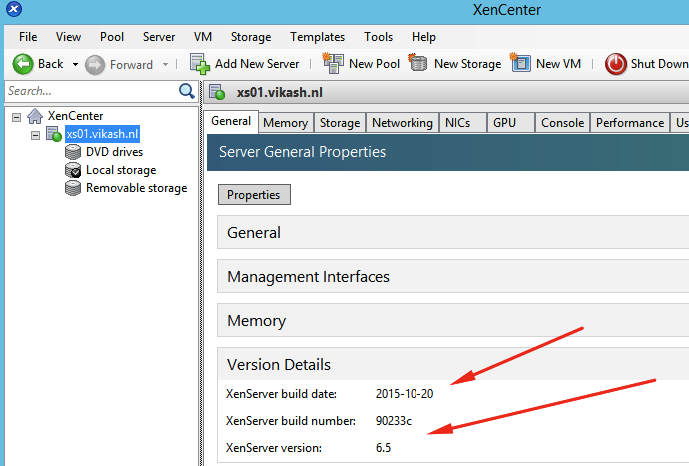
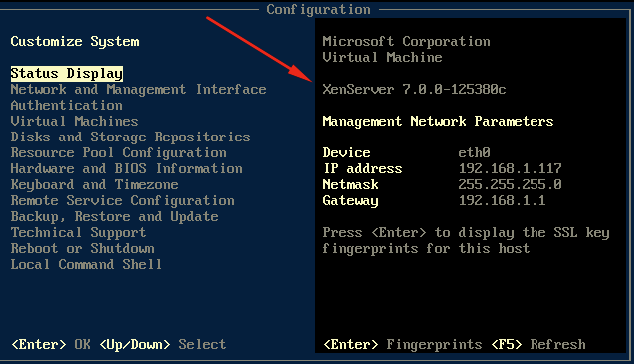
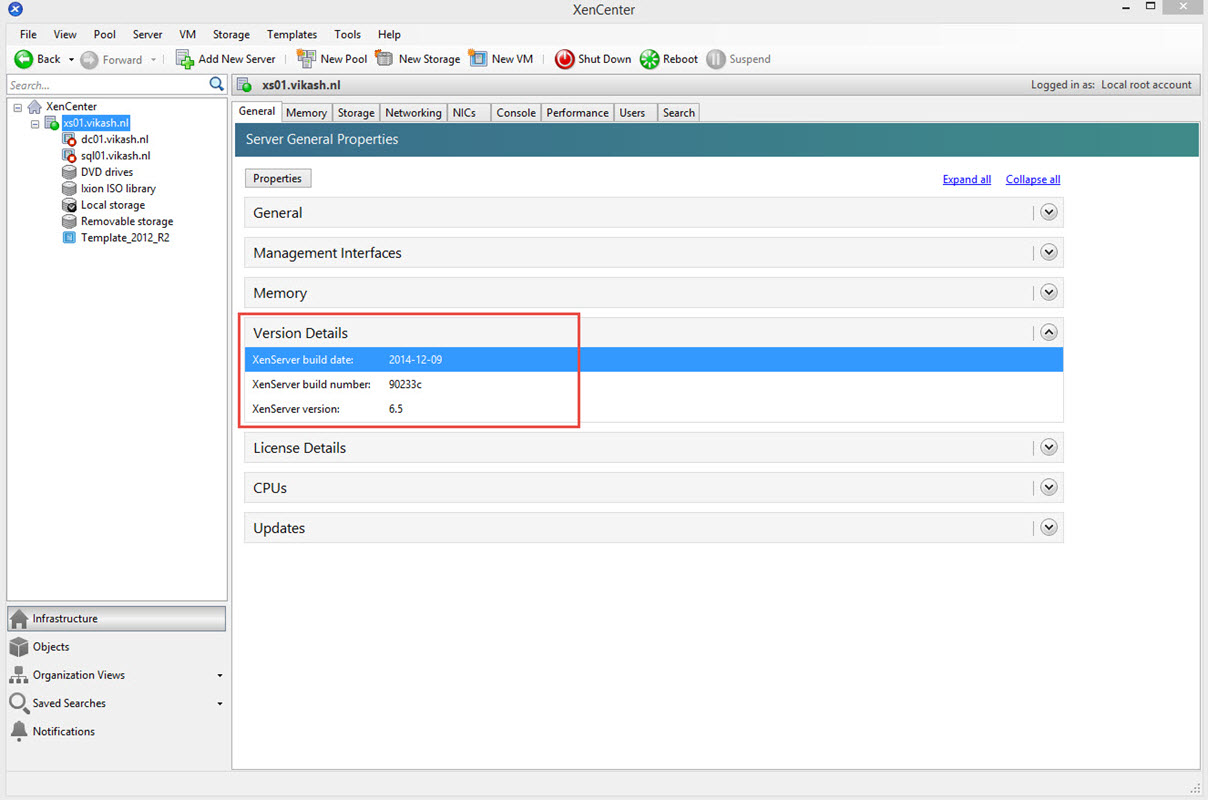
Check that the hosts in your XenServer pool are version 6.5.

rolling_pool_upg_6-5_to_7_004

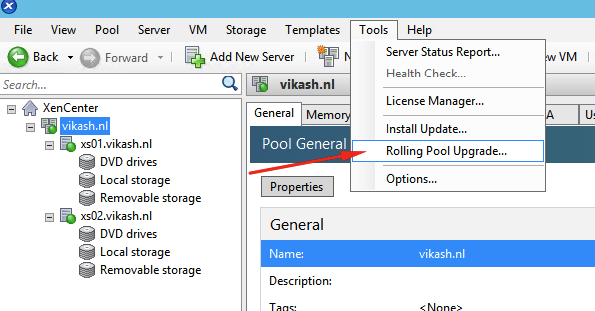
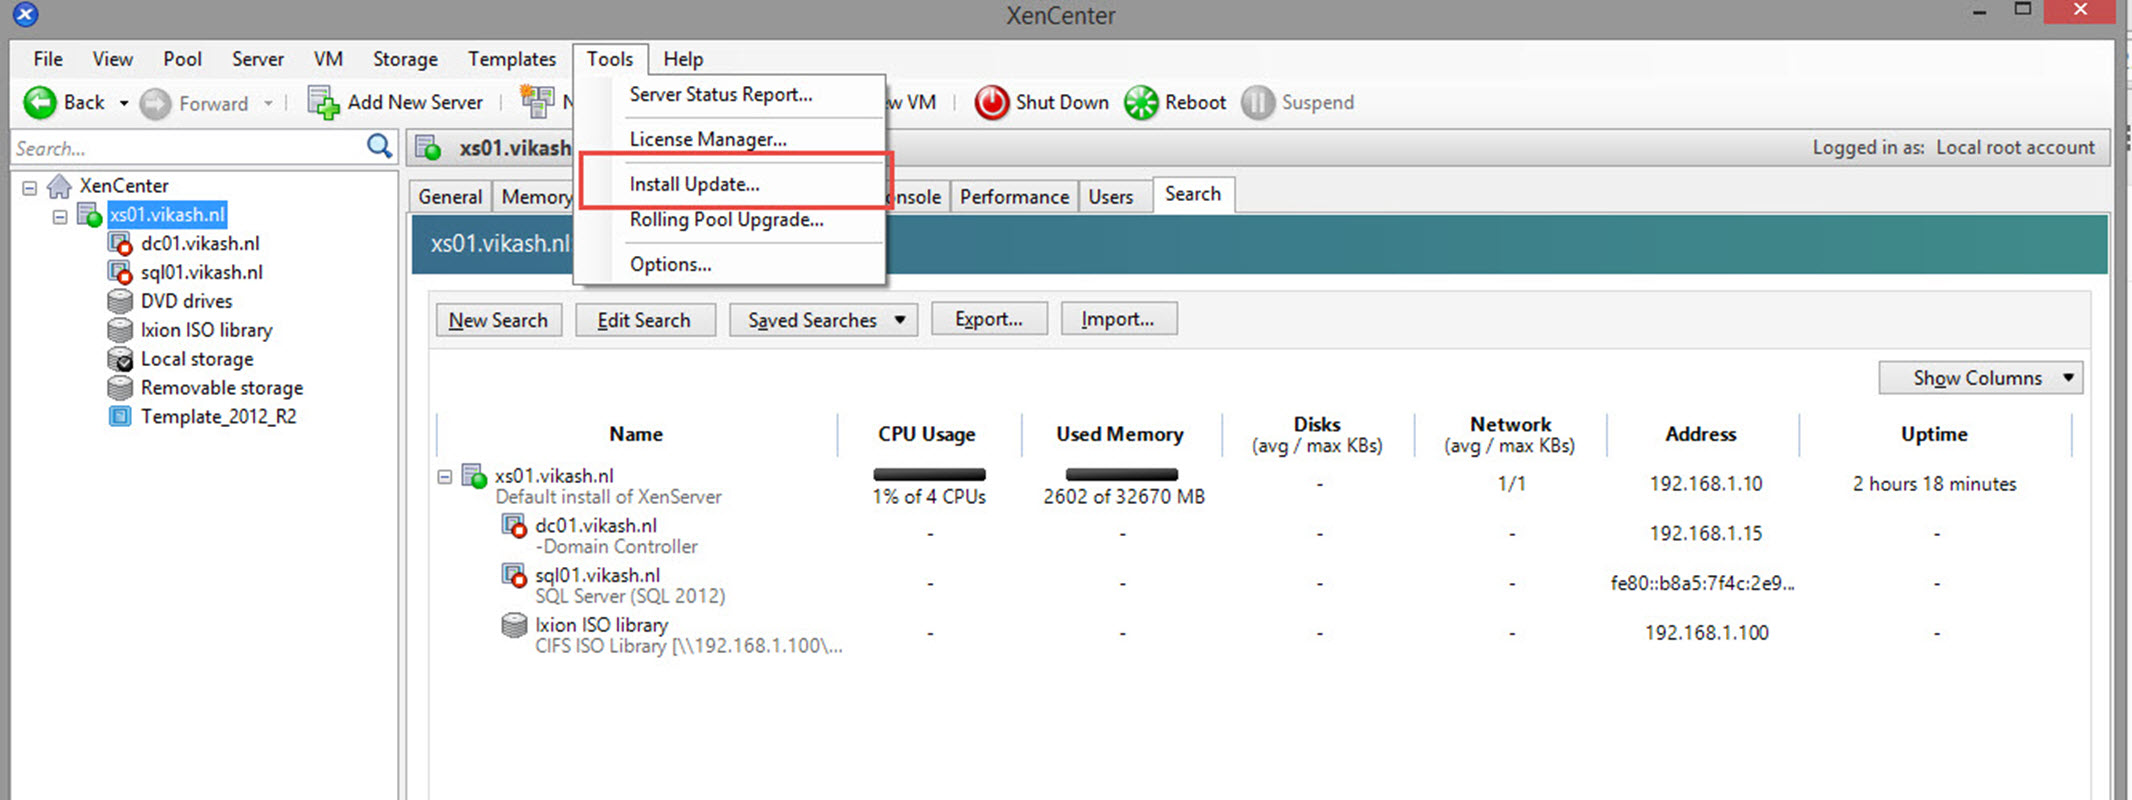
Go to Tools and select Rolling Pool Upgrade.
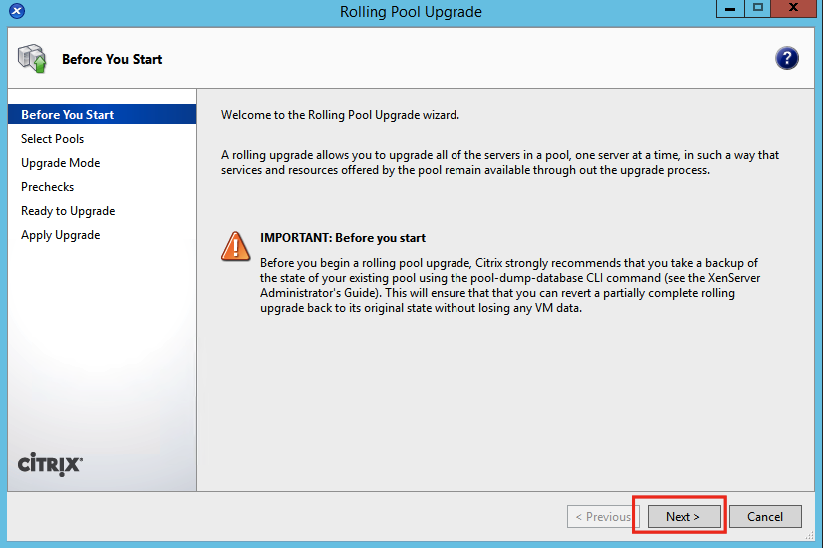
rolling_pool_upg_6-5_to_7_005

Click on Next.

rolling_pool_upg_6-5_to_7_006

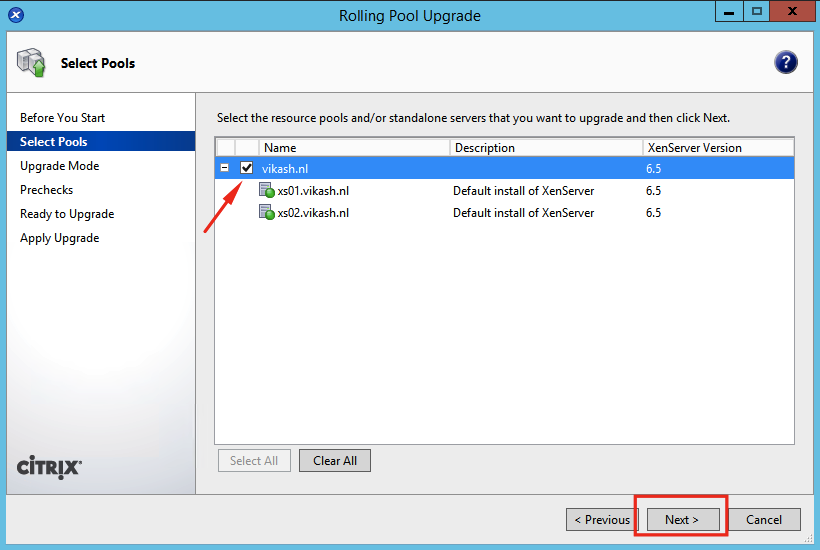
Select the pool. You can click on the plus (+) sign to see all the hosts in the pool and the version number of XenServer. Click on Next.

rolling_pool_upg_6-5_to_7_007

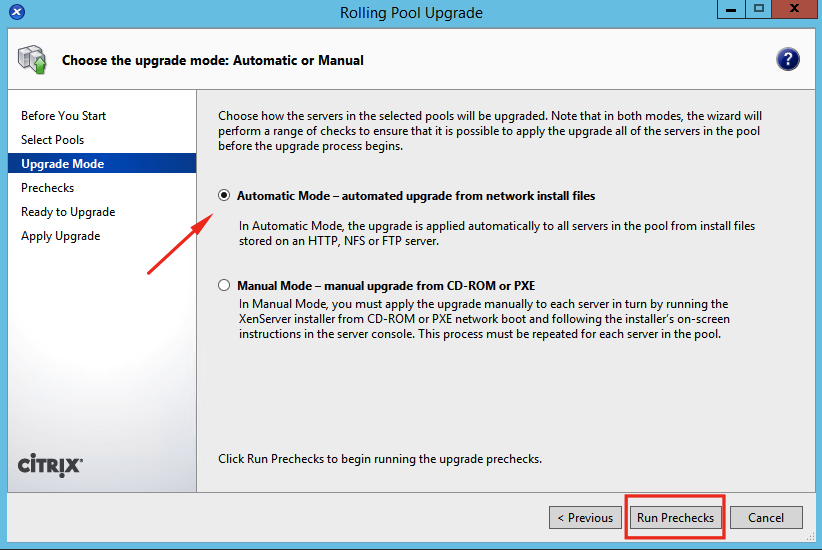
Now I want XenCenter to do all the heavy lifting so I choose Automatic Mode. If you go for the manual mode you will have to mount the Citrix XenServer 7.0 ISO manually and do the upgrade steps by hand in the upgrade console. Click on Run Prechecks.

rolling_pool_upg_6-5_to_7_008

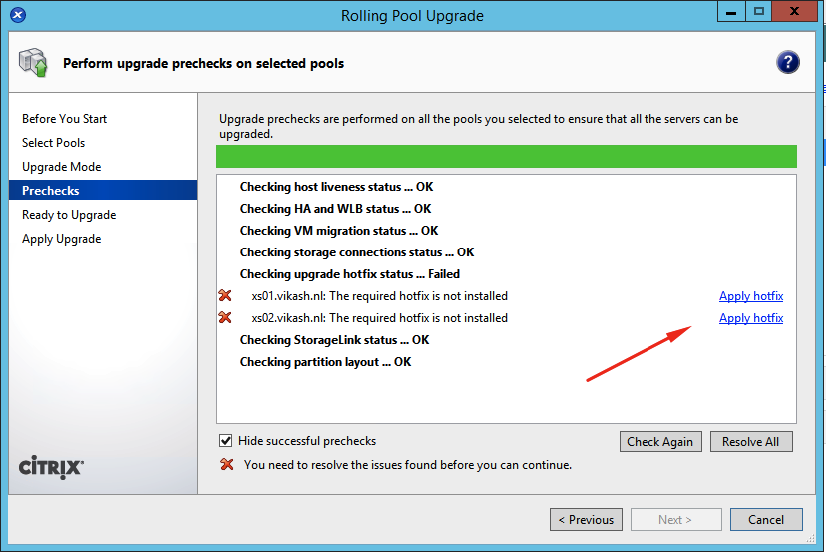
When starting the upgrade, I made sure that my XenServer 6.5. hosts were fully patched and updated. But as you can see above I was still missing a critical hotfix according to the upgrade wizard. Click on Apply hotfix for all the hosts listed in your pool.

rolling_pool_upg_6-5_to_7_009

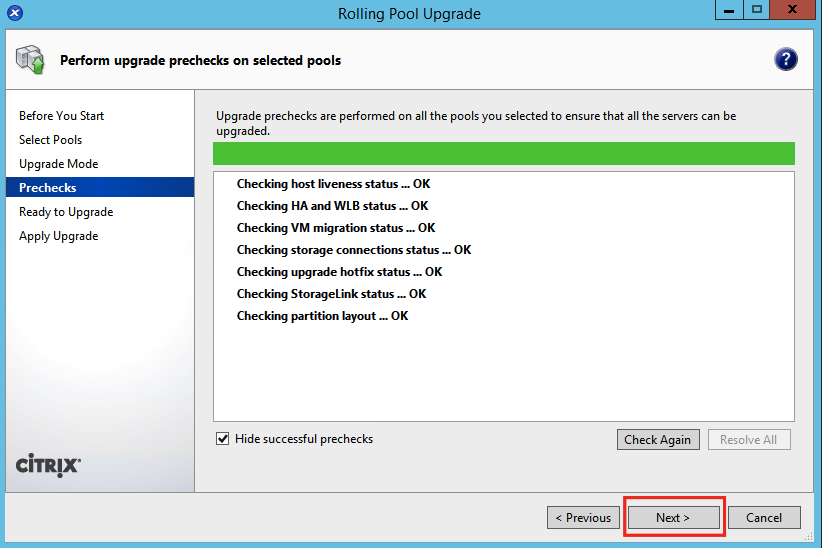
After the missing hotfix is applied to all the XenServer hosts in the pool, the precheck will run again. We should be good to go now. Click on Next.

rolling_pool_upg_6-5_to_7_010

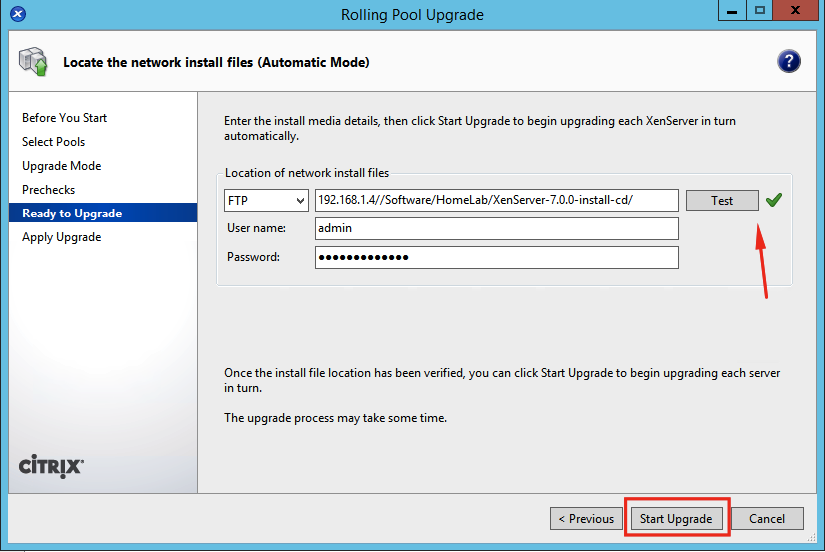
The wizard will prompt you to enter the path for the installation files for XenServer 7.0. I downloaded the ISO and extracted it beforehand and made it available to XenCenter using FTP. Make sure you click in Test after entering the information for your setup. If everything is ok you should see the green checkmark next to the Test button. Click on Start Upgrade.

rolling_pool_upg_6-5_to_7_011

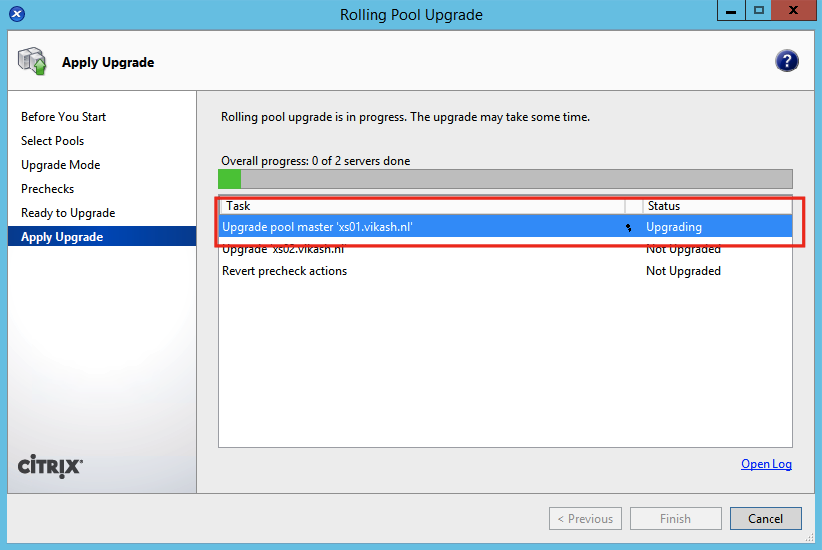
Now it is time to sit back and relax. It can take a while for all the hosts to upgrade and reboot. The wizard will start with the pool master. Just keep an eye on the Overal progress.

rolling_pool_upg_6-5_to_7_012

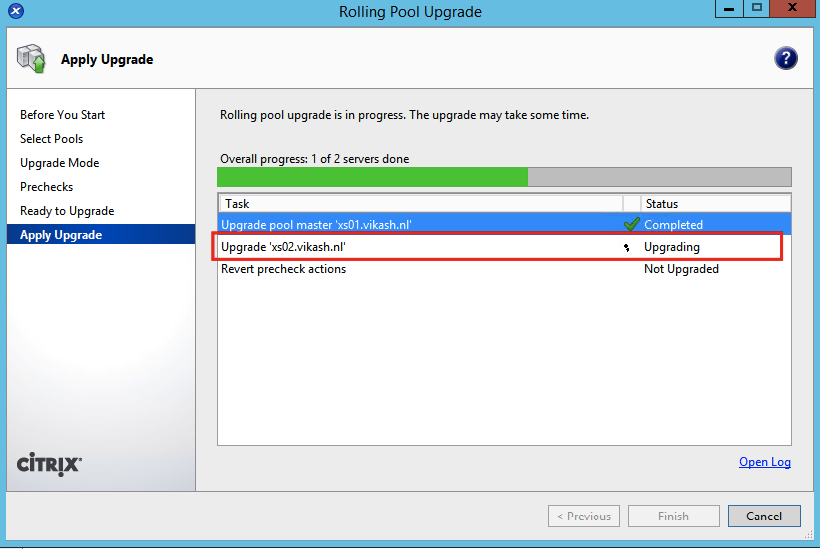
After the pool master is finished, it continues to the next host in the pool.

rolling_pool_upg_6-5_to_7_013

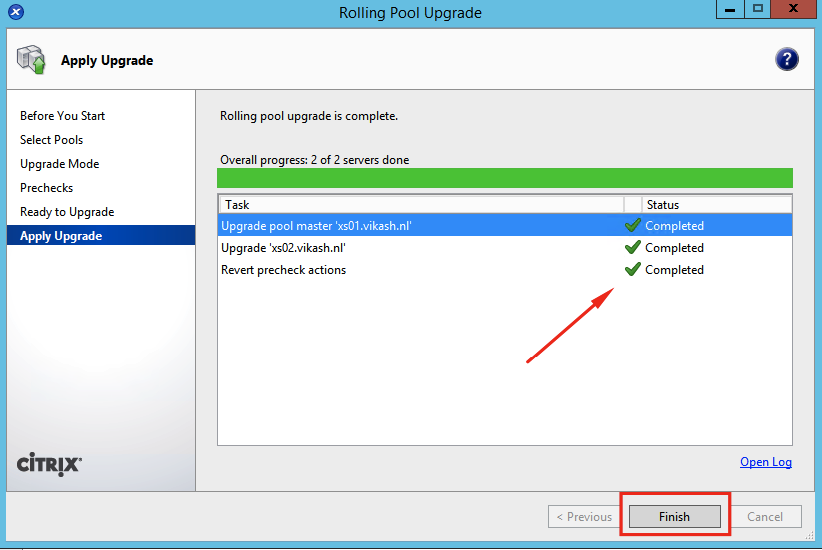
When all is done, click on Finish.

rolling_pool_upg_6-5_to_7_014

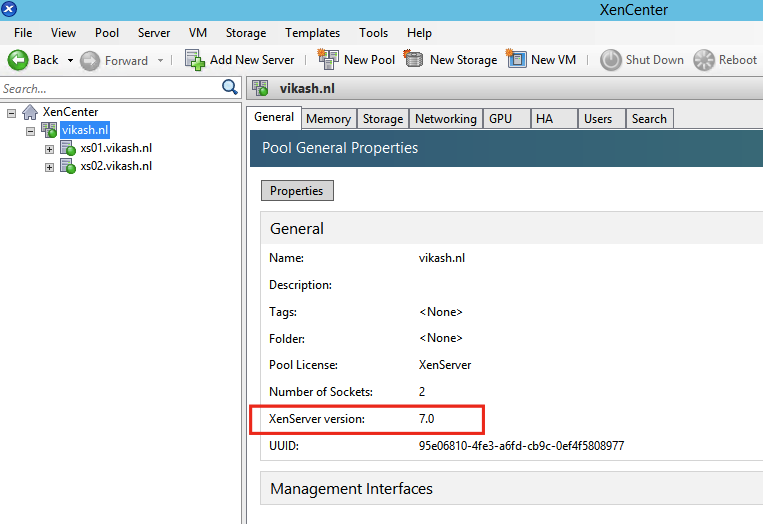
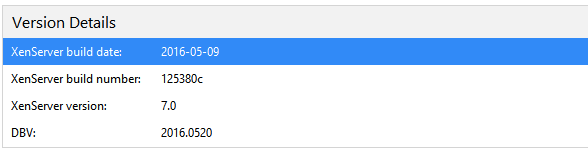
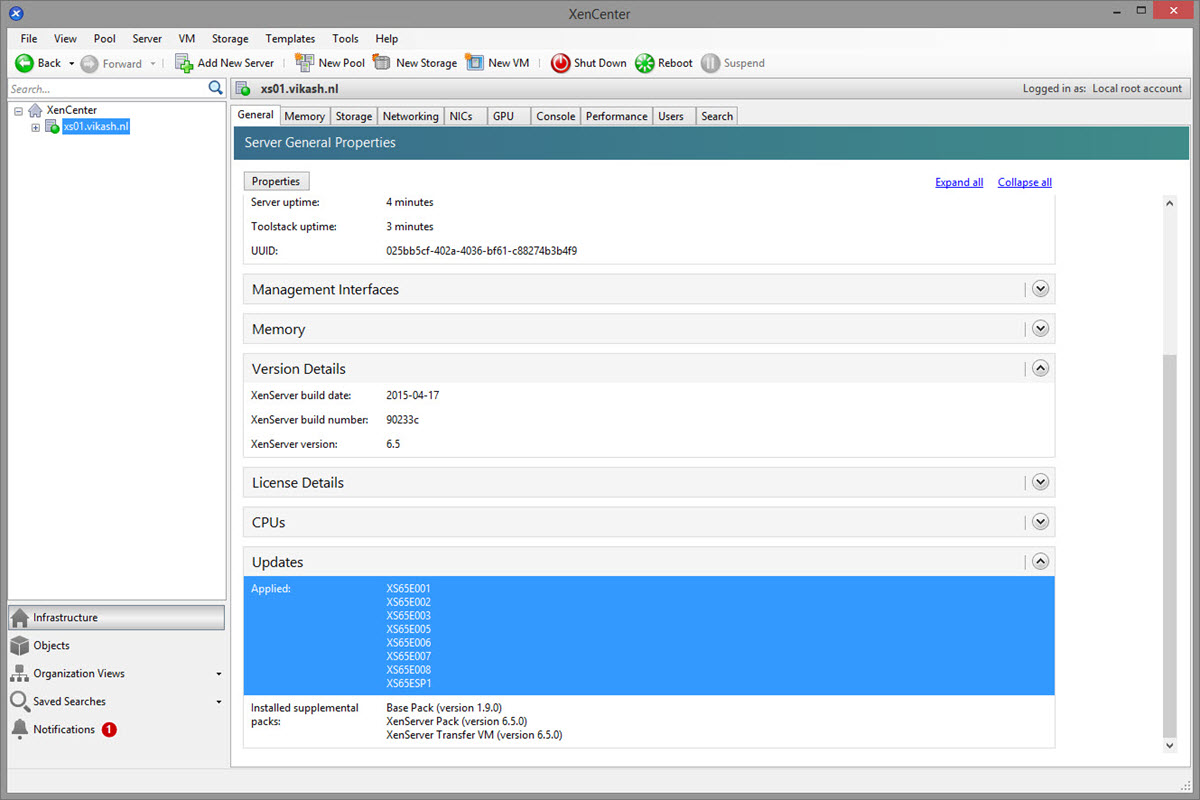
Check in XenCenter that everything is ok and the XenServer version is 7.0. Now that the upgrade is done, let’s do some updating. Always good to have that covered.

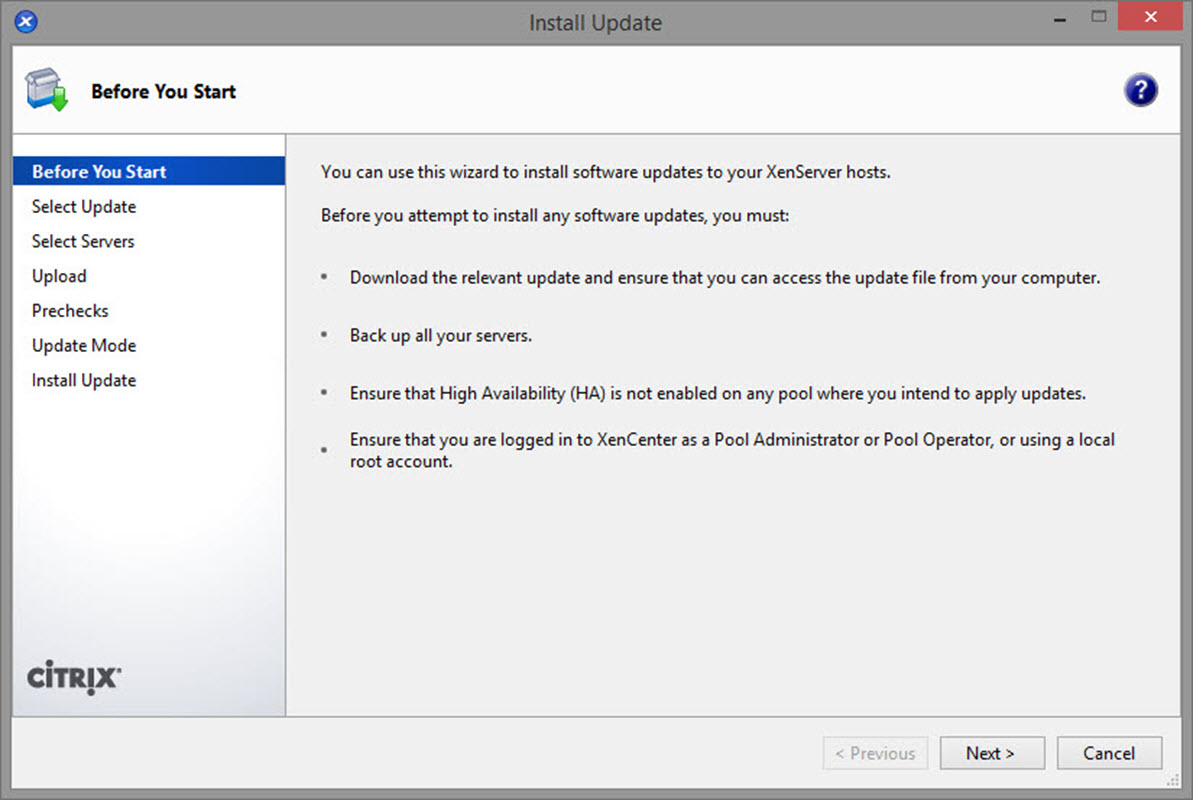
Update Citrix XenServer 7.0 using XenCenter

rolling_pool_upg_6-5_to_7_016

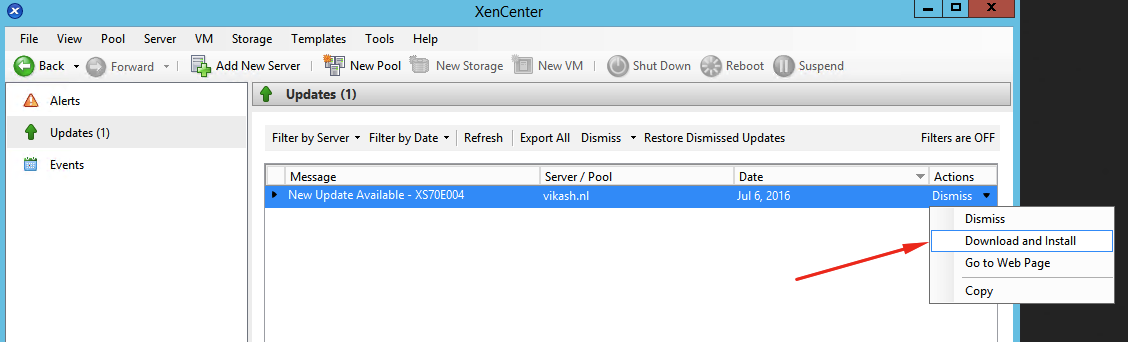
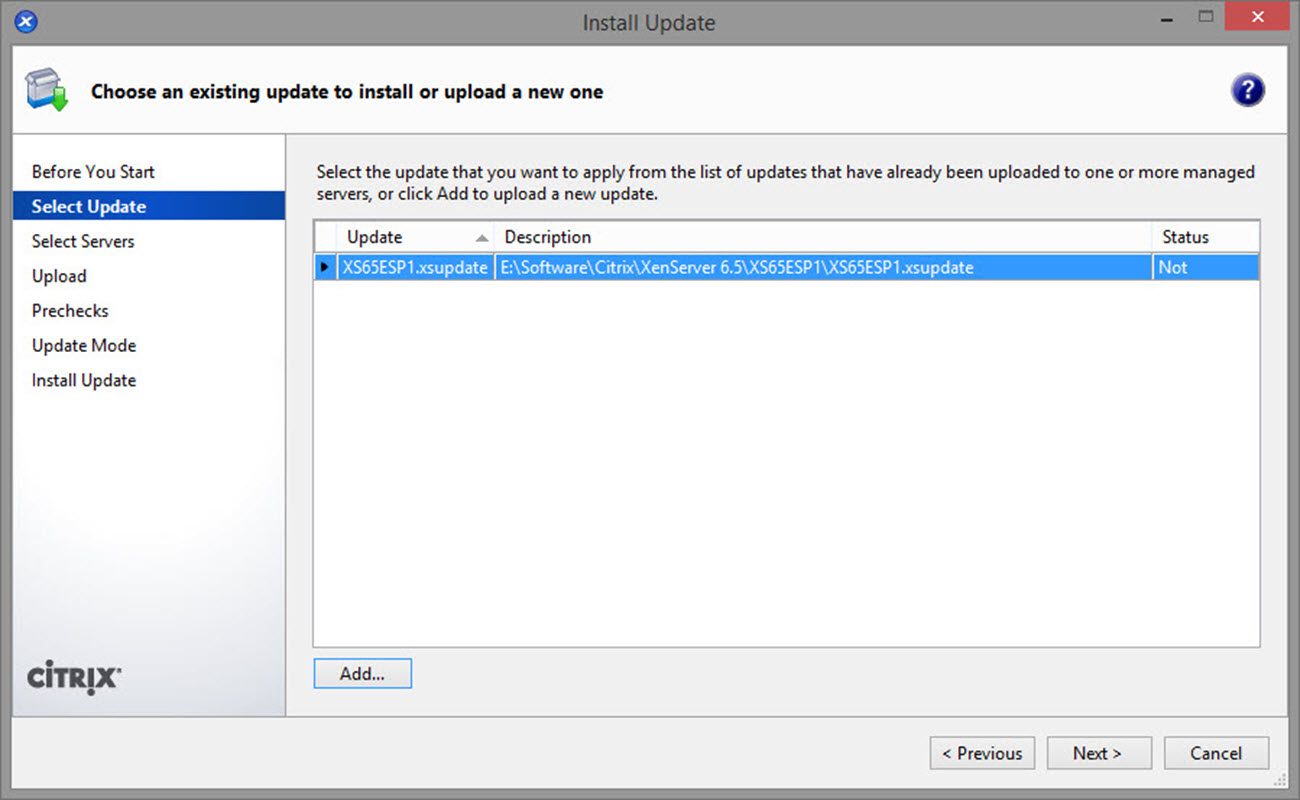
After the actual upgrade to XenServer 7.0, XenCenter will display one update. Select Download and install from the drop-down menu.

rolling_pool_upg_6-5_to_7_017

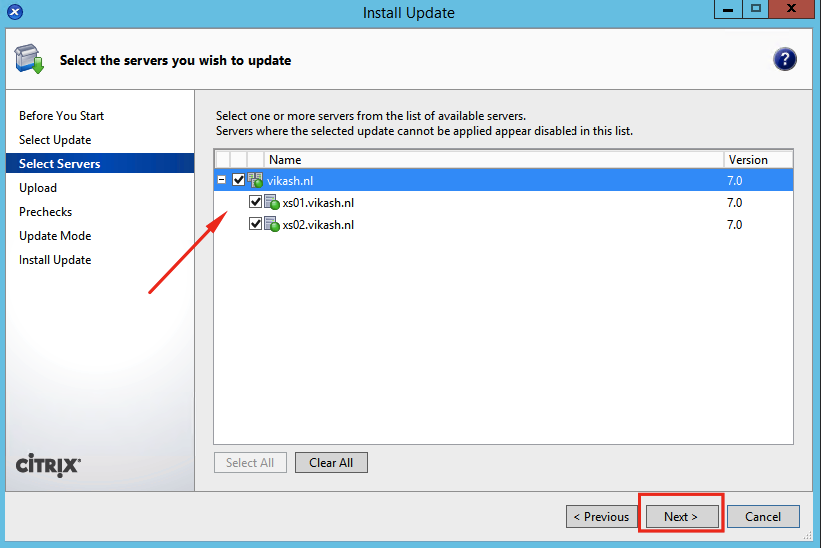
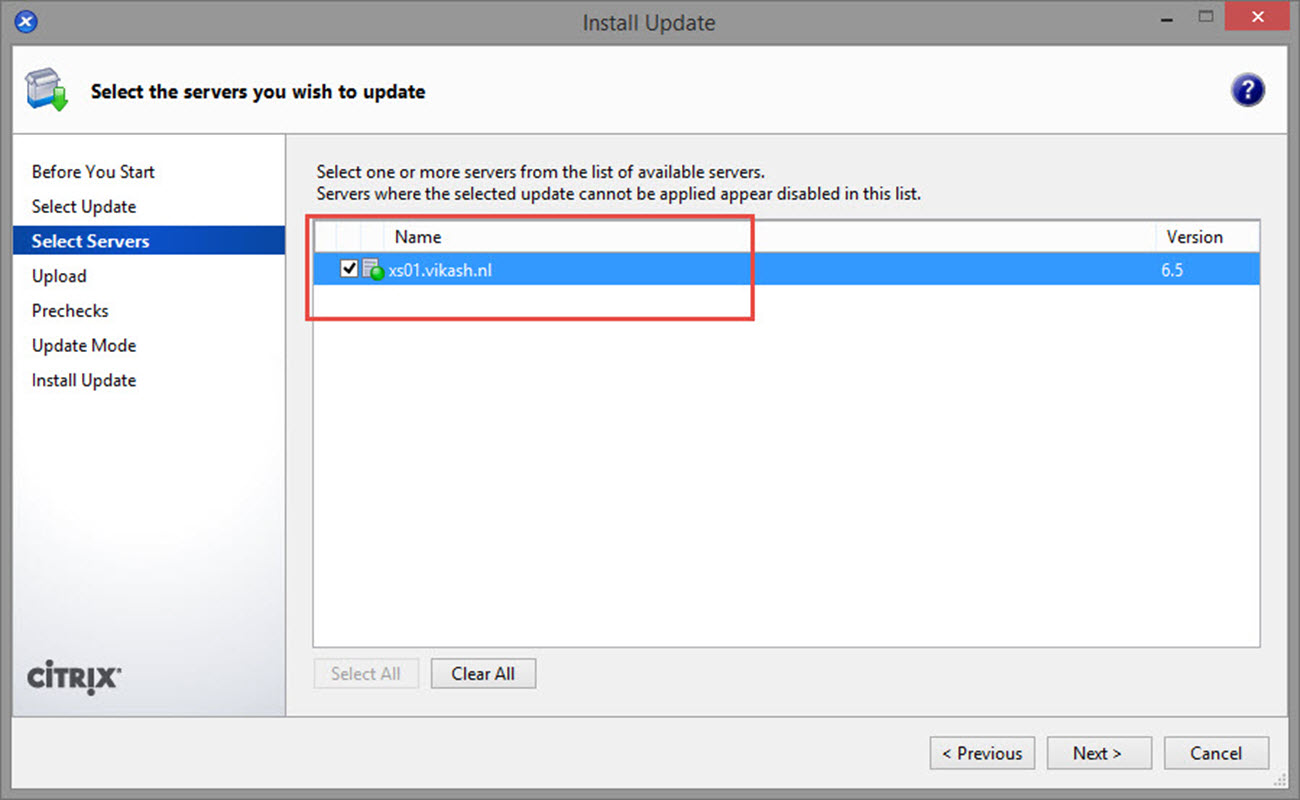
Select your XenServer pool. Click on Next.

rolling_pool_upg_6-5_to_7_018

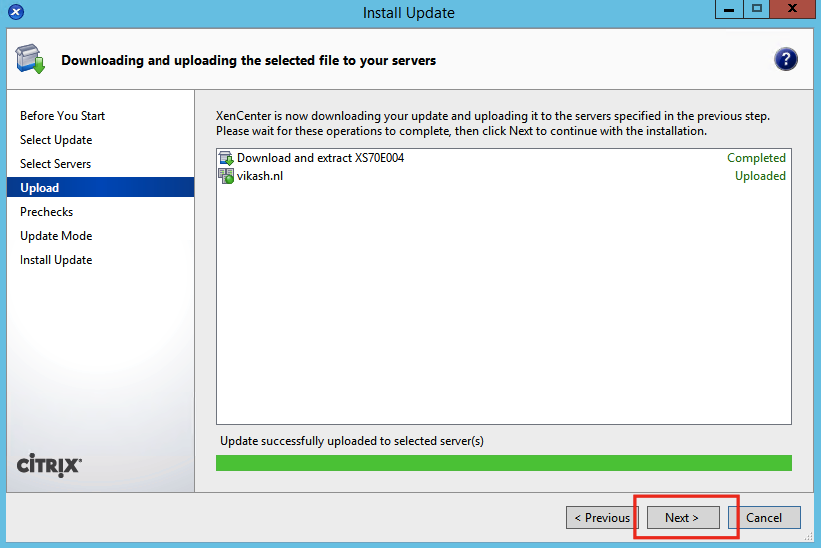
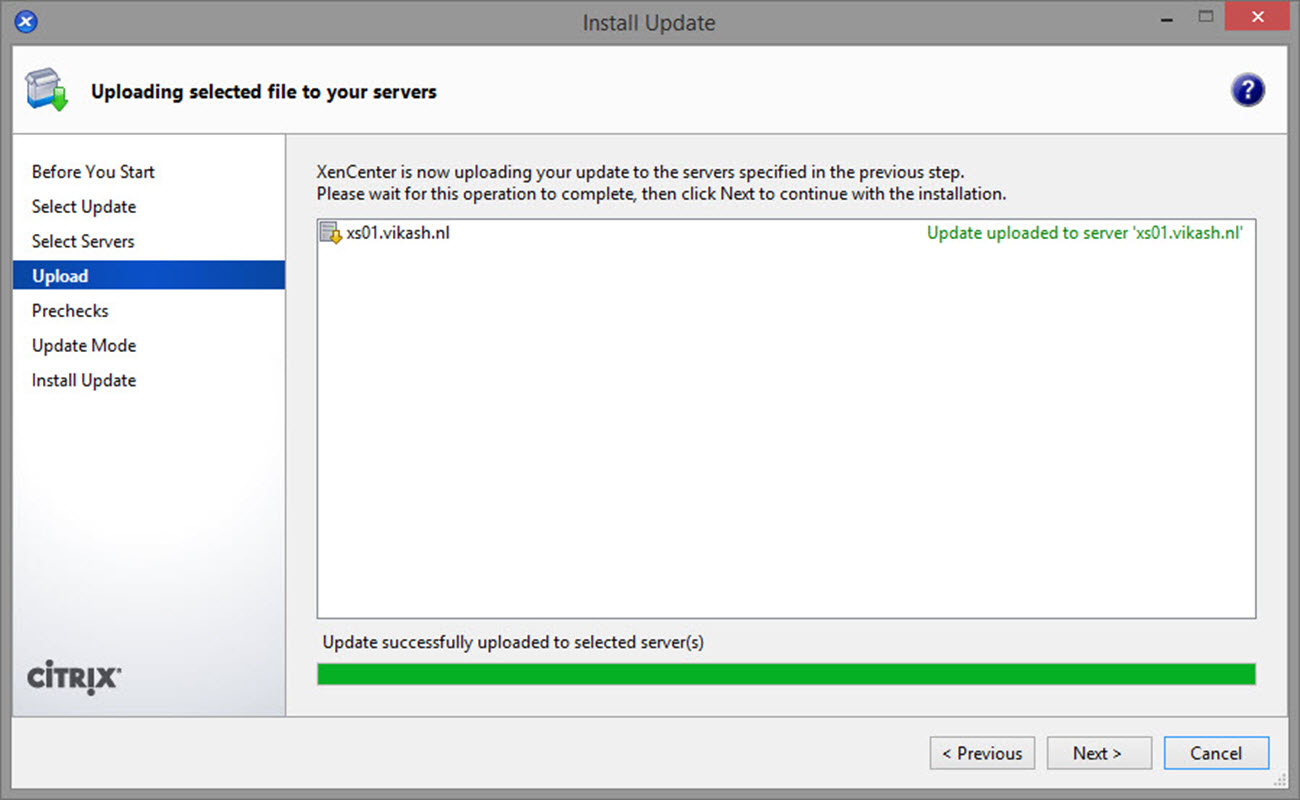
It will show you when the update is uploaded to all the XenServer hosts. Click on Next.

rolling_pool_upg_6-5_to_7_019

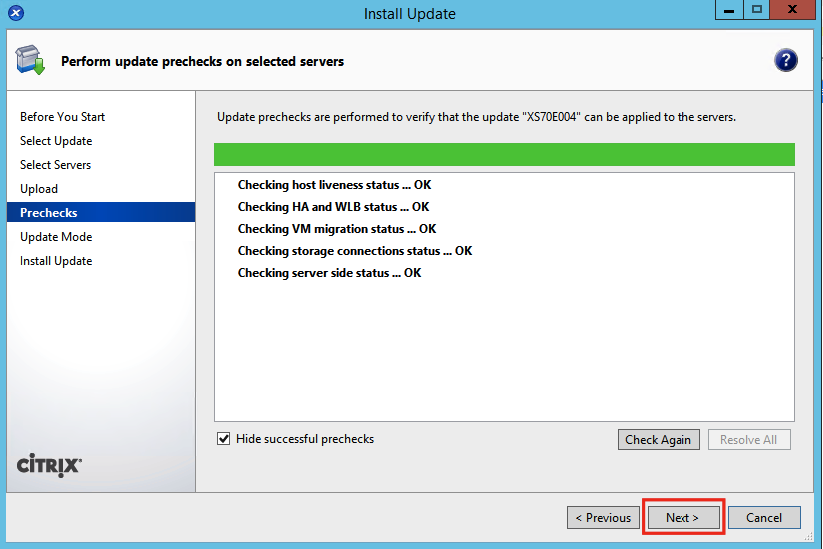
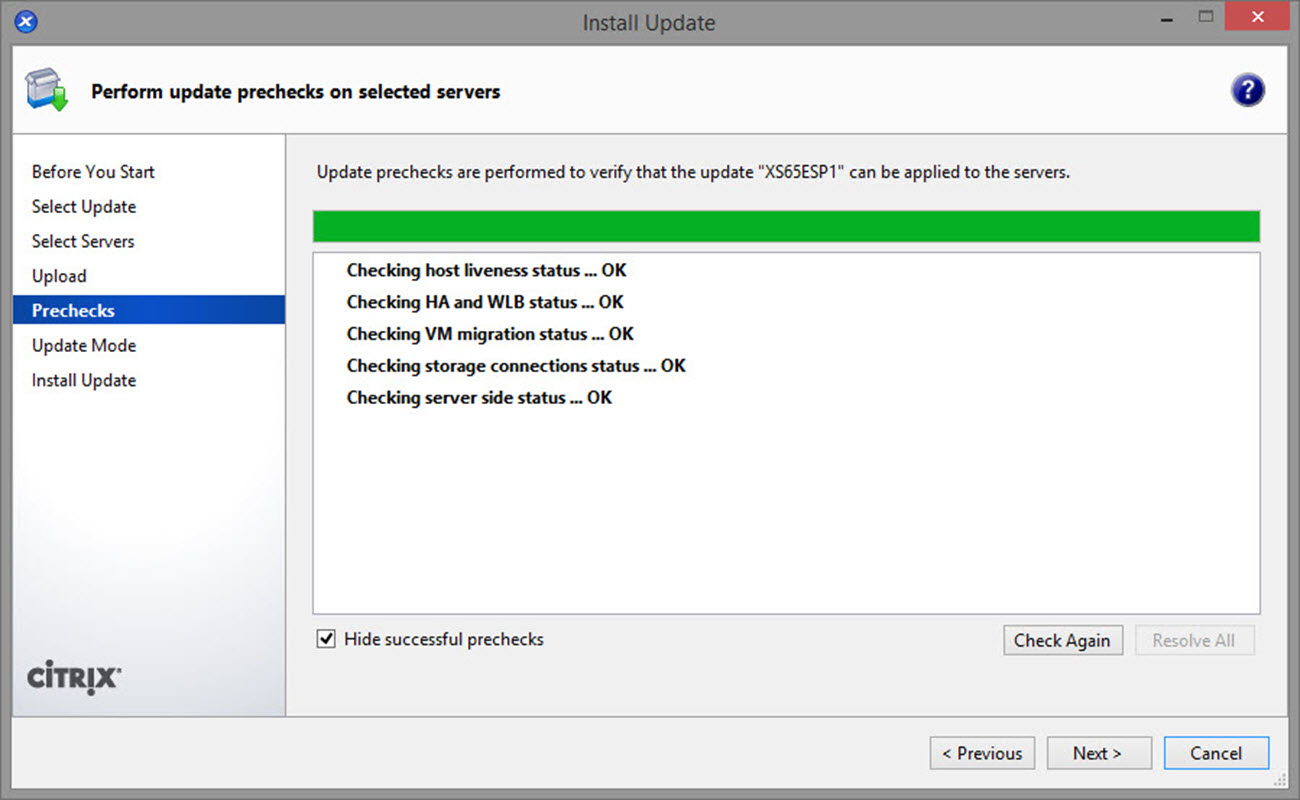
Click on Next to start updating.

rolling_pool_upg_6-5_to_7_020

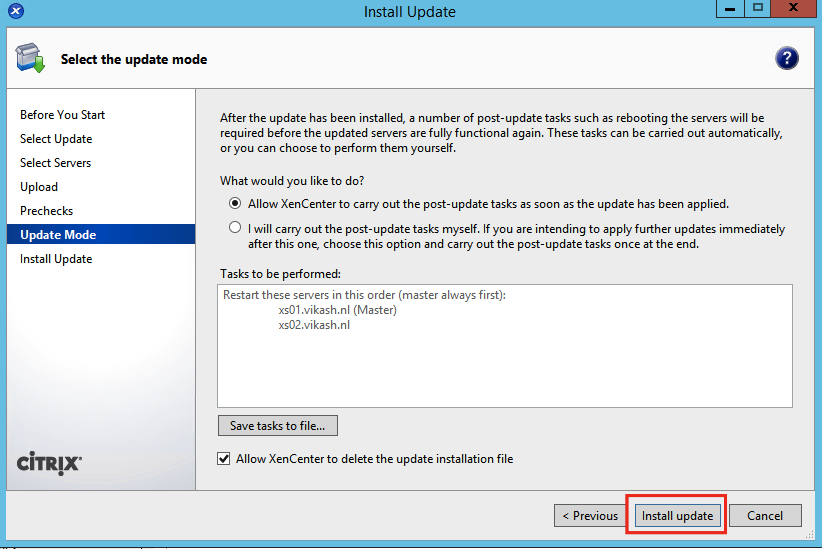
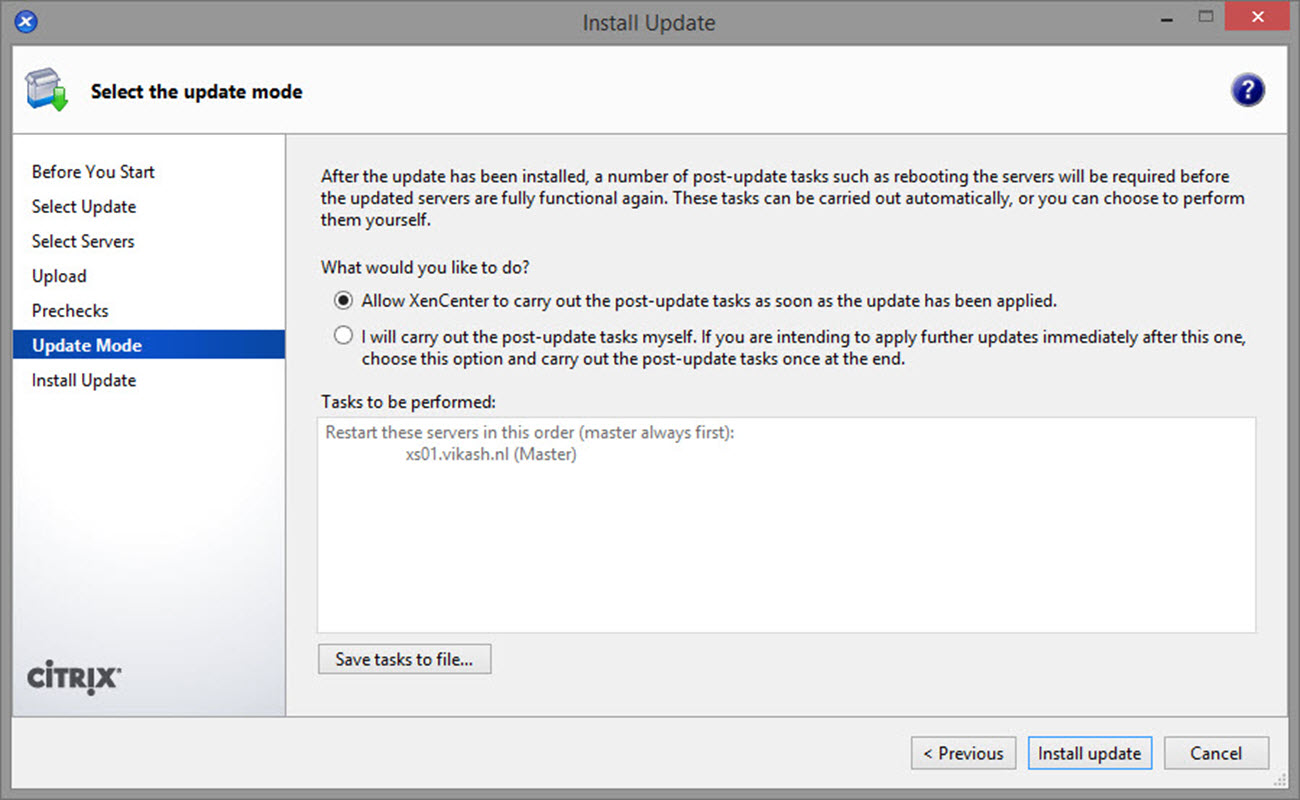
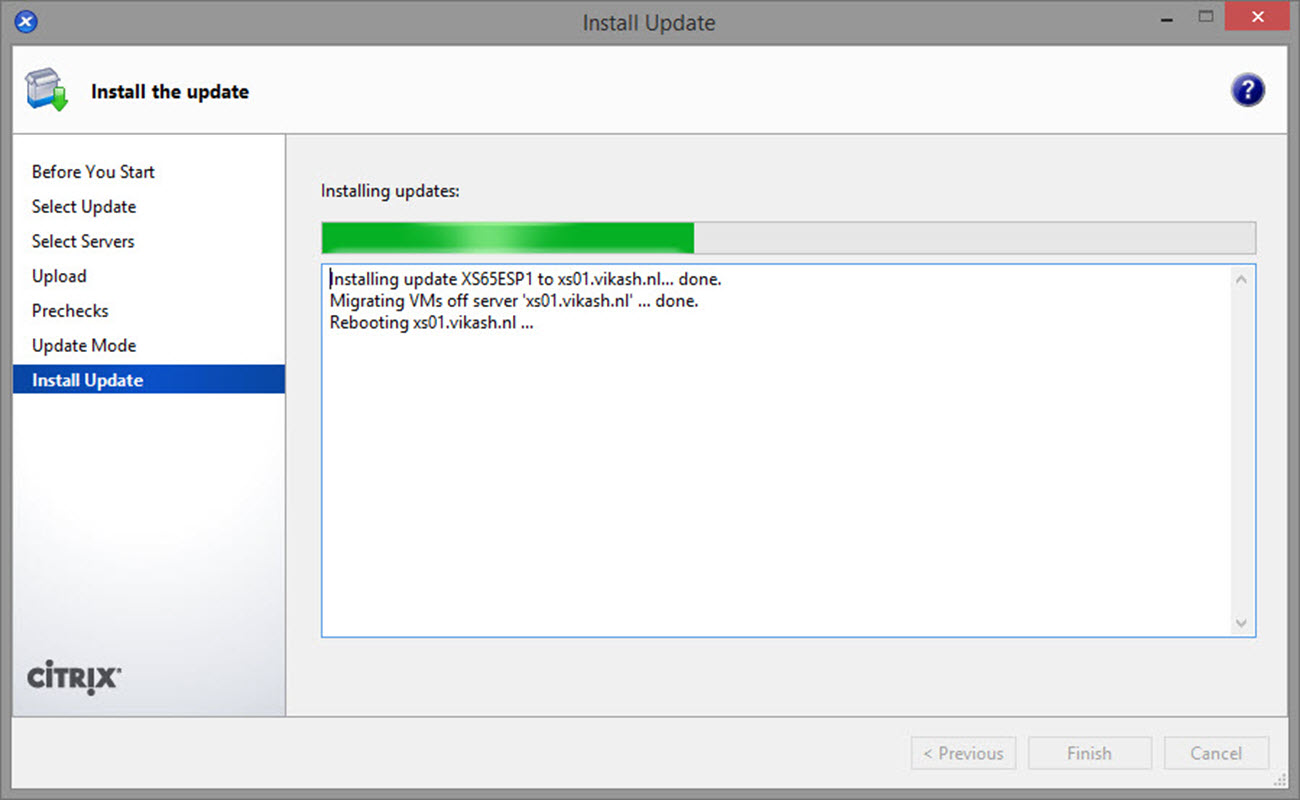
Leave here at default. Again, let’s let XenCenter do the heavy lifting. Click on Install update.

rolling_pool_upg_6-5_to_7_021

After XenCenter has updated all the hosts, click on Finish.

rolling_pool_upg_6-5_to_7_022

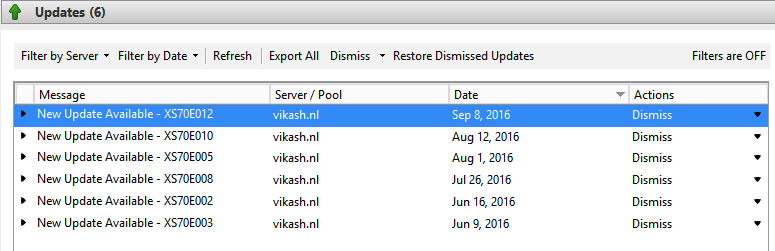
Now there will be more updates for Citrix XenServer 7.0. This is normal. Just apply them using the same method I just described.

So that’s it.

This concludes this tutorial. Feel free to contact me of you have any questions or comments. You can also follow me on twitter or add the rss feed from the blog and you will be notified when I add new posts.

How to upgrade XenServer 6.5 to 7.0 using Rolling Pool Upgrade Read More

How to upgrade XenServer 6.5 to XenServer 7.0

Reading Time: 5 minutes

In this blogpost I will show you how to upgrade XenServer 6.5 to XenServer 7.0. Recently Citrix released XenServer 7. As you can see on my blog, I am a big fan of Citrix solutions :). So now I was wondering: how can I upgrade my Citrix XenServer 6.5 setup without losing the configuration. First of all, let’s take a look at some new features in Citrix XenServer 7.

What’s new in Citrix XenServer 7:

  • Intel Iris Pro Graphics GPU support
  • NVIDIA GRID vGPU support for Linux Applications
  • Up to 128 vm’s per host with the NVIDIA vGPU M6/M60 graphics card
  • Windows Update integration for XenTools

These are a few things I like. There are far more new features, take a look at the Citrix XenServer site here.

Requirements for the upgrade:

  • Citrix XenServer 6.5 with SP1 and all the latest hotfixes
  • Citrix XenServer 7 ISO (www.citrix.com)

My homelab setup

Since I don’t have additional hardware to run XenServer, I installed it as a virtual machine on Hyper-V 2012 R2. This is fine for testing purposes. Just make sure you create the virtual machine als a Generation 1 vm and add the Legacy Network Adapter. Also make sure that you don’t have anything else running on the disk where XenServer is installed. The partition scheme on that disk will be altered during the upgrade process.

Let’s start.

Upgrade XenServer 6.5

Check the version of XenServer using the console.

xs65_to_70_01

Check the version of XenServer using Citrix XenCenter. Note that I am still using XenCenter 6.5. When I’m done updating the XenServer host to version 7, I will install XenCenter 7. Keep reading for that.

xs65_to_70_02

So everything is looking great. Let’s mount the Citrix XenServer 7 ISO using the properties of the virtual machine.

xs65_to_70_03

We can now reboot the host. Make sure it boots from the XenServer 7 ISO, so set it to boot from CD.

xs65_to_70_04

Click on Yes to reboot the server.

xs65_to_70_05

The host will now boot from the Citrix XenServer 7 ISO. Press Enter to start the upgrade proces.

xs65_to_70_06

Choose your keyboard layout. Then choose OK.

xs65_to_70_08

You will be prompted to load additional drivers. I don’t have any so I choose OK.

xs65_to_70_09

Accept the EULA.

xs65_to_70_10

If you run XenServer as a virtual machine, you will get a warning that Hardware Virtualization Assist is not available. This is correct since it is a virtual machine and cannot provide virtualization support for vm’s on it. Choose OK.

xs65_to_70_11

The installer will now detect your Citrix XenServer 6.5 installation, and will provide you with the upgrade option. How great is that! Choose Upgrade XenServer and then OK.

xs65_to_70_12

The installer will need to create a backup. Choose OK to continue.

xs65_to_70_14

Select the installation source. Because I am using a ISO I choose Local media. Choose OK to continue.

xs65_to_70_15

I will not be installing any supplemental packs. Choose NO to continue.

xs65_to_70_16

I choose not to verify the media, because I am sure it is ok since I just downloaded it successfully from the Citrix website. Choose OK to continue.

xs65_to_70_17

The installer has collected all the required information now to perform the upgrade. Choose Install XenServer to continue.

xs65_to_70_18

The installation will now start.

xs65_to_70_19

It will run trough a couple of screens, and then present you with the screen where it says Installation complete. At this point you can unmount the ISO from the virtual cd, and choose Enter to reboot.

xs65_to_70_21

After reboot you will be presented with the GRUB bootloader. Select the first option and press Enter. If you do not press a key during the GRUB bootloader, it will automatically choose the first option and start XenServer.

xs65_to_70_22

Wait for XenServer to load.

xs65_to_70_23

After it has booted completely you will be presented with the xsconsole. As we can see the upgrade went great and XenServer is running happily in my vm.

xs65_to_70_24

Setup XenCenter 7

To manage your new XenServer host you have to install XenCenter 7. Download the installer from Citrix (www.citrix.com) and start the setup. Click on Next.

xs65_to_70_25

The defaults work fine for me. Check that you set them according to your needs. Click Next to continue.

xs65_to_70_26

Click on Install to start the installation.

xs65_to_70_27

After the installation has finished, click on Finish.

xs65_to_70_28

Now it is time to start XenCenter.

xs65_to_70_29

As you can see it has detected my connection to my XenServer 6.5 host. Right-click that and click Connect.

xs65_to_70_30

You can then choose to enrol Health Check. I did not, so I just clicked on Close.

xs65_to_70_31

And we can see the XenServer host version information using XenCenter now.

xs65_to_70_32

So that’s it, the upgrade went great.

This concludes this tutorial. Feel free to contact me of you have any questions or comments. You can also follow me on twitter or add the rss feed from the blog and you will be notified when I add new posts.

How to upgrade XenServer 6.5 to XenServer 7.0 Read More

How to update XenServer 6.5 host with SP1

Reading Time: 3 minutes

With Citrix XenServer Supplemental Pack 1 (SP1) just released by Citrix I thought it would be nice to have a little tutorial on how to update your Citrix XenServer 6.5 hosts with SP1 using Citrix XenCenter.

What’s new in SP1:

  • more vm’s per host
  • Intel GVT-d GPU pass-through for Windows virtual machines
  • nVIDIA GPU pass-through for Linux virtual machines
  • support for new guest OS (Windows 10 and CoreOs)
  • improved performance for nVIDIA GRID

Requirements for the update:

  • Citrix XenCenter 6.5 (minimum)
  • Host running Citrix XenServer 6.5
  • Download SP1 for Citrix XenServer 6.5 from www.citrix.com

Homelab setup

My homelab setup is not that complex. I have just one host running Citrix XenServer 6.5, so let’s get to it. The hostname is:

  • xs01.vikash.nl

Installing SP1

Start up Citrix XenCenter and connect to the host. Check Citrix XenServer version in General -> Version Details:

update XenServer 6.5 host with SP1

In XenCenter click on Tools -> Install Update:

update XenServer 6.5 host with SP1


The Install Update wizard starts. Click on Next:

update XenServer 6.5 host with SP1

Remember to unpack the SP1 update. Then click on Add and browse to the update file (XS65ESP1.xsupdate). In the status column you will see Not. This means that this update is not yet applied to the selected host. Then click on Next:

update-xenserver65-sp1-05

Select the server on which this update will be applied. Then click on Next:

update-xenserver65-sp1-06

Citrix XenCenter will then start uploading the update file to the host. Wait for the upload to finish. Then click Next:

update-xenserver65-sp1-08

Citrix XenCenter will run prechecks on the host before applying the update. Wait for it to finish. Then click Next:

update-xenserver65-sp1-09

In the Update Mode screen leave the defaults. Then click on Install Update:

update-xenserver65-sp1-10

The installation process will start. When it is finished it will reboot your host.  At this time you don’t have to do anything but wait patiently.

update-xenserver65-sp1-12

Citrix XenCenter will monitor when the host is online again. It will run some checks. Then click on Finish:

update-xenserver65-sp1-13

Check that SP1 is now in the list of applied updates.

update-xenserver65-sp1-14


That’s it, you’re done. Feel free to contact me if you have any questions.


How to update XenServer 6.5 host with SP1 Read More