Creating a site with Citrix XenDesktop 7.18
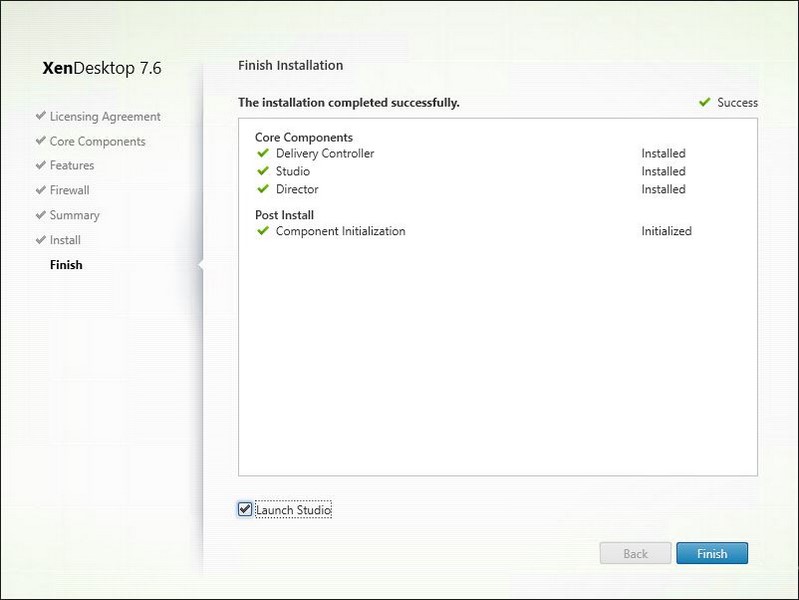
In my previous post here I showed how to install Citrix XenDesktop 7.18 Delivery Controller. Creating a site with Citrix XenDesktop 7.18 is the next step. This process can be complicated because there is SQL database connectivity involved. The requirement for SQL is version 2008 SP3 or higher. For a complete set of requirements check this link here.
Deliverables of this post:
- Configure a XenDesktop Site and connect it to SQL Server.
Requirements for the configuration:
- Microsoft SQL Server.
- Active Directory Domain.
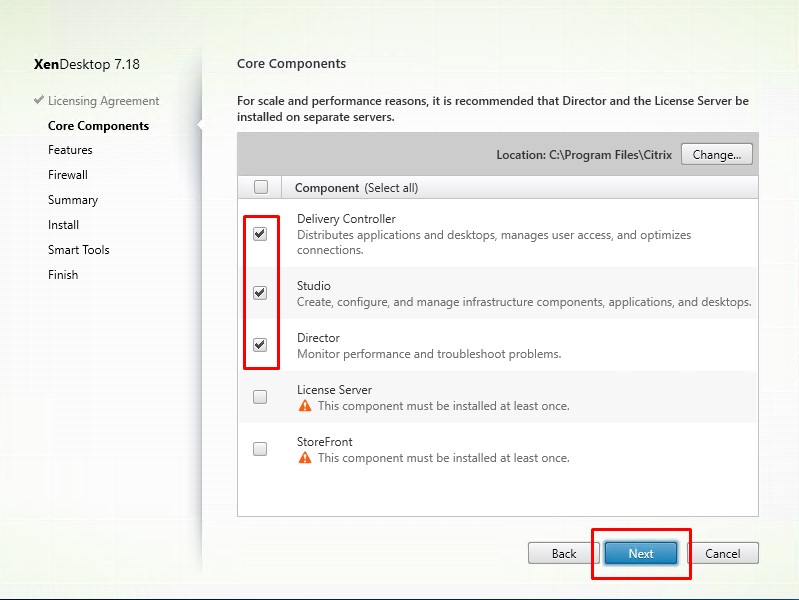
- Citrix XenDesktop 7.18 Delivery Controller.
Create a site using Citrix Studio
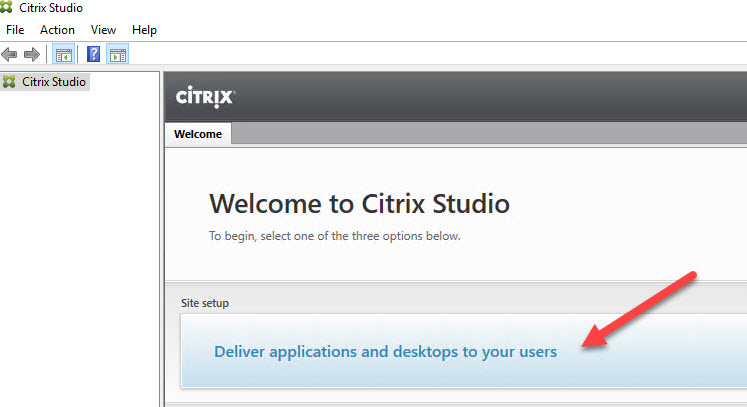
Creating a site with Citrix XenDesktop 7.18 is done using Citrix Studio. This management tool is automatically installed if you followed my post here.
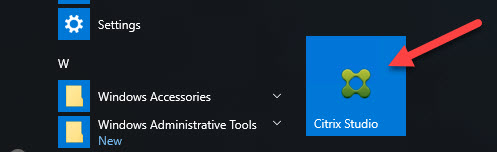
Start Citrix Studio from the start menu.
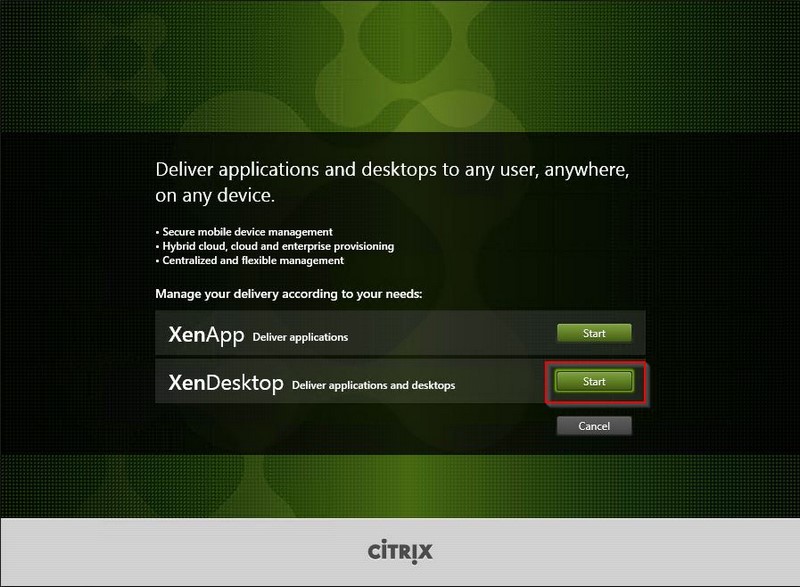
Click on the first option in the middle of the console: Deliver applications and desktops to your users.
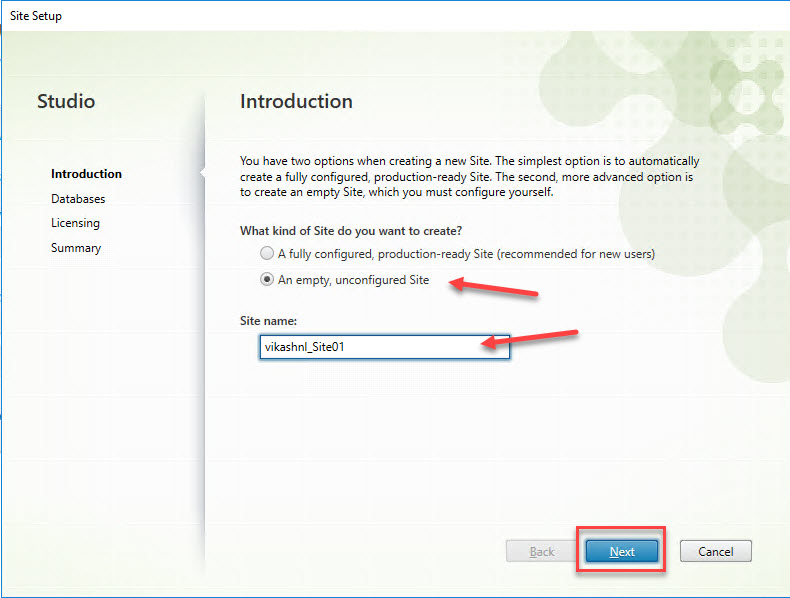
Select the option An empty, unconfigured Site. Enter the site name you want and click on Next.
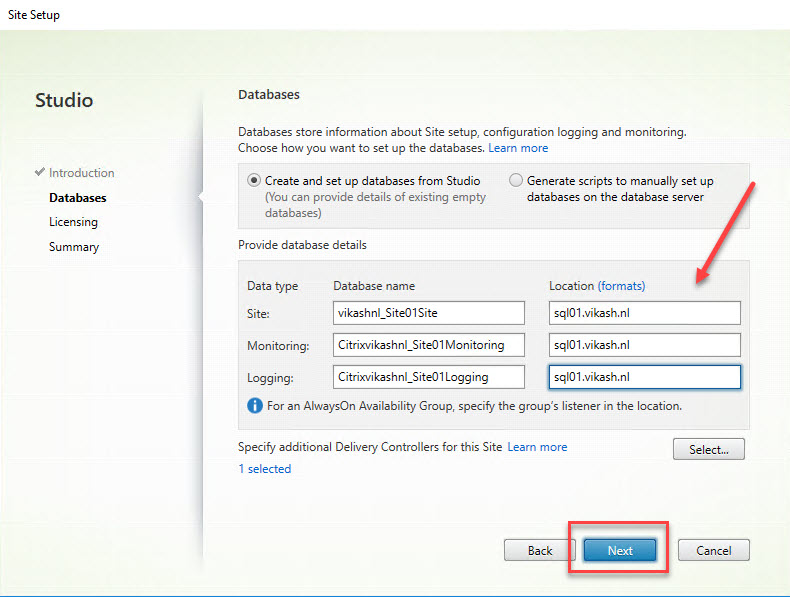
Now this is the part where you have to pay attention. Check the names of the databases that are created. Three databases are created. Enter the correct SQL connection information in the Location field. Click then on Next.
Enter the name (or ip address) of your license server. Then click on Connect.
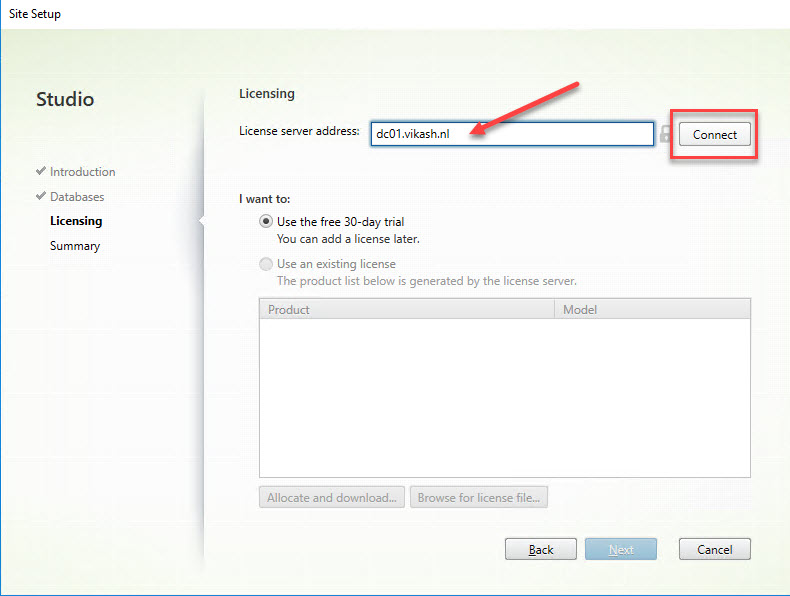
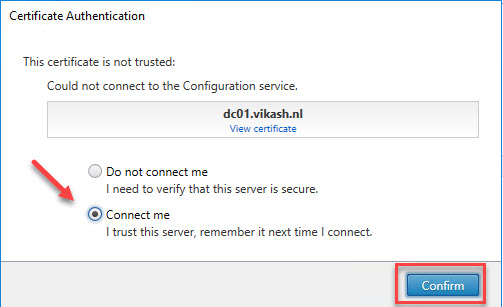
The setup wizard will connect to your license server. Because the Citrix License Server is installed with a self-signed certificate you will get a popup windows asking you if you trust the server. Select Connect me and click on Confirm.
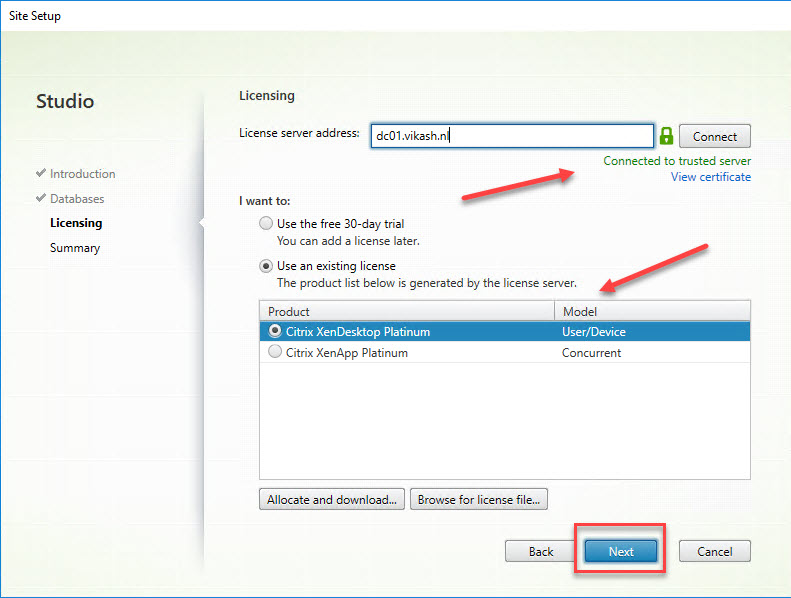
You will now be presented with a list of available licenses on the license server. Select the appropriate one and click on Next.
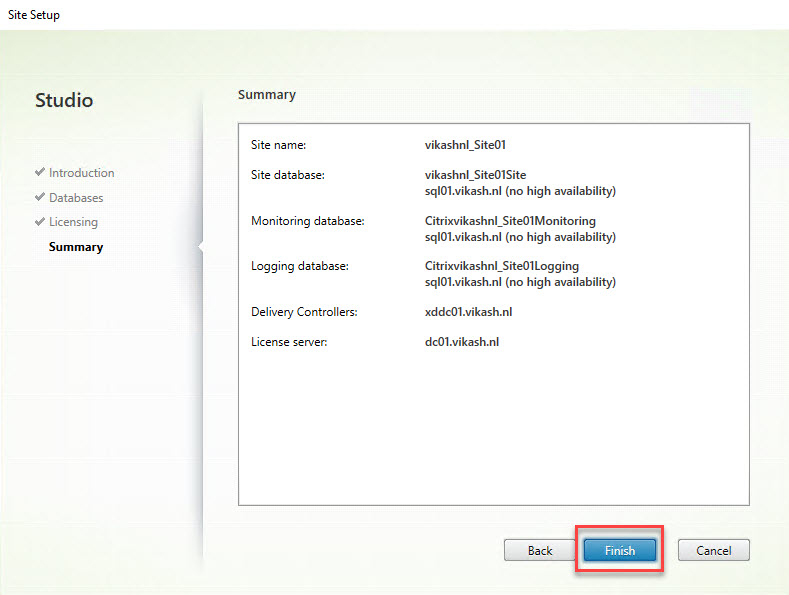
Finally you will be presented with a summary screen. Double check that all the options and names are correct and then click on Finish.
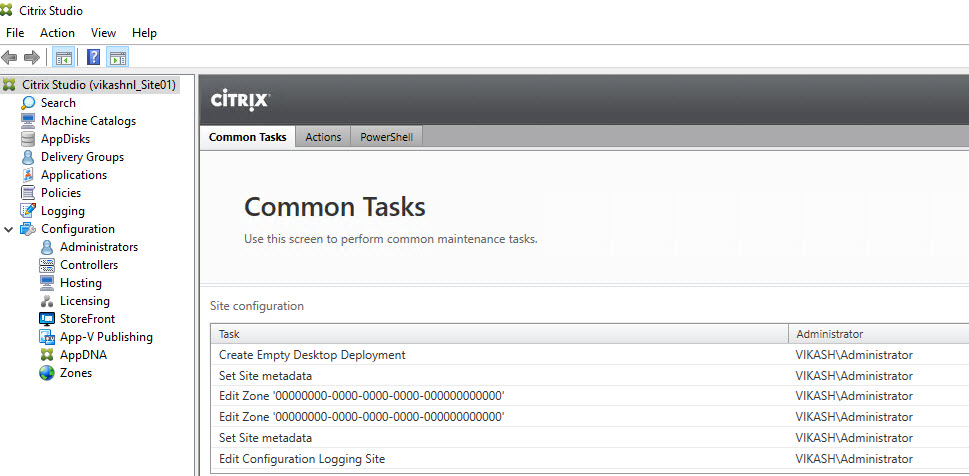
After the configuration is finished you will be presented with an overview in Citrix Studio. From here you can take following steps. In upcoming posts I will show you where to take from here.
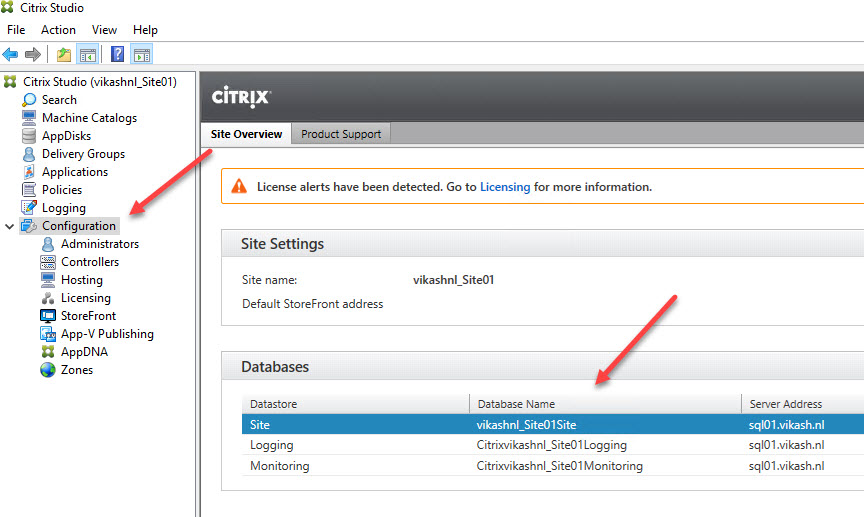
Check the database connections in Citrix Studio. Click on Configuration in the left column.
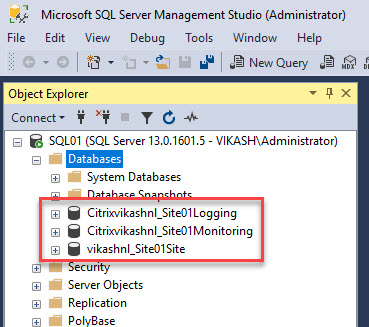
Using SQL Management Studio you can check the databases on your SQL server.
This concludes this blog post. In following posts I will show you what to do next to get your XenDesktop farm online. Feel free to contact me of you have any questions or comments.
You can follow me on twitter or add the RSS feed from my blog and you will be notified when I add new posts.
Creating a site with Citrix XenDesktop 7.18 Read More