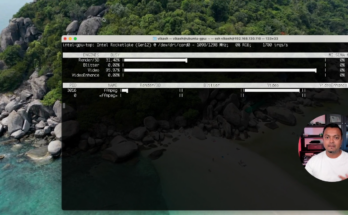
In this video, I will show you how to set up GPU passthrough for an Intel GPU for a Ubuntu virtual machine running on VMware vSphere 8. This way you can use the performance that GPU has for transcoding, encoding, or decoding large video files without stressing the CPU on your VMware ESXi host.
Official documentation from Intel to install graphics drivers on Ubuntu can be found here. Below are all the commands I used to install the drivers on my Ubuntu virtual machine:
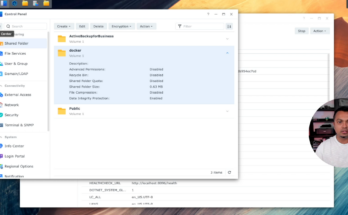
A while ago I made a video on how to create a storage pool on M.2 NVMe’s which you have in those slots in your Synology. Check that video here. In this video, I will show you how to move your docker containers to that new volume, take advantage of those M.2 NVMe’s performance, and keep all the persistent data and configuration.
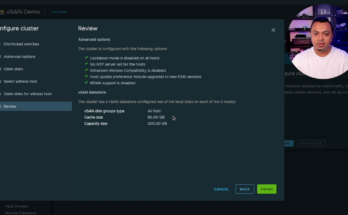
In this video, I will show you how to set up a Two-Node VMware vSAN Cluster with vSAN version 8.0 and benefit from all the enterprise features you would get when using a dedicated SAN infrastructure.
In this video, I will show you how to set up any brand M.2 NVMe you already have installed in your Synology NAS as a Storage Pool. Now you can benefit from the performance and low latency of those fast NVMe SSDs and leverage it for Virtual Machine storage for example. All the steps in this video are done with a script for the user 007revad on GitHub, so many thanks for automating that process.
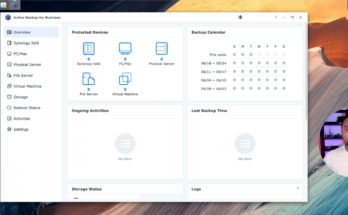
I am sure a lot of you are running your virtual machines on VMware. Now, if you have a Synology appliance (NAS) running in your network as well, no need to look further for a solid backup solution. You can read more about Synology Active Backup for Business here.
Utilize that Synology today and backup those virtual machines running on your VMware platform. It is easy, simple and fast.
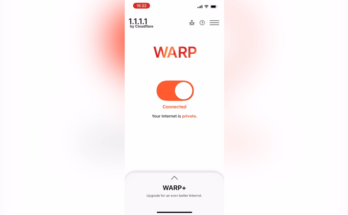
Using a VPN to access the internet or your corporate network is nothing new. But using Cloudflare WARP to do that ensures you that that connection is not only protected and fast, but also private! I am using it on a personal level but all the corporate-level requirements for compliance and security can be setup as well. In this video I will show you the Windows and the iOS version of the Cloudflare WARP client.
This website uses cookies to improve your experience. We'll assume you're ok with this, but you can opt-out if you wish.AcceptRejectRead More
Privacy & Cookies Policy
Privacy Overview
This website uses cookies to improve your experience while you navigate through the website. Out of these, the cookies that are categorized as necessary are stored on your browser as they are essential for the working of basic functionalities of the website. We also use third-party cookies that help us analyze and understand how you use this website. These cookies will be stored in your browser only with your consent. You also have the option to opt-out of these cookies. But opting out of some of these cookies may affect your browsing experience.
Necessary cookies are absolutely essential for the website to function properly. This category only includes cookies that ensures basic functionalities and security features of the website. These cookies do not store any personal information.
Any cookies that may not be particularly necessary for the website to function and is used specifically to collect user personal data via analytics, ads, other embedded contents are termed as non-necessary cookies. It is mandatory to procure user consent prior to running these cookies on your website.