

In my blog post here I showed you how to setup and configure WireGuard VPN Server side. I that blog post I also tell you what WireGuard is and what the benefits are. If you want to know more about WireGuard or how to configure WireGuard VPN server, check my blog post here. In this blog post I will show you how to setup WireGuard client on Windows. The Windows installation package is the same for all current Windows operating systems including Windows Server.
Requirement for this blog: Setup WireGuard VPN server by me.
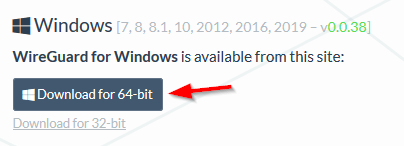
First we need to download WireGuard for Windows. The download is the same for server or client and can be downloaded from here. Choose the latest version under Windows:
The installation is very simple. Dubbleclick on the MSI package and WireGuard will install itself and start automatically:
The next part is to download the client configuration (wg0-client.conf) file from the DietPi server. You can do this using a program called WinSCP. You also need to install OpenSSH Server on DietPi for WinSCP to work. Installing OpenSSH on DietPi requires the same steps as WireGuard but instead search for OpenSSH and then select OpenSSH Server:
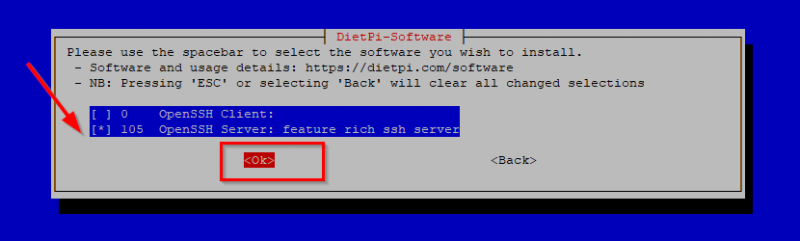
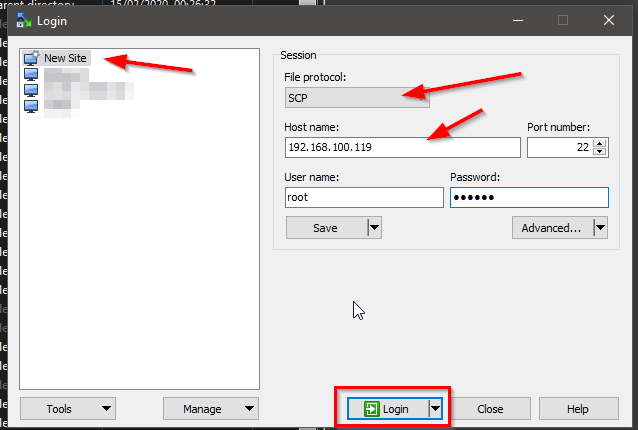
DietPi default comes with Dropbear SSH server which is a lightweight SSH server. The downside is that it does not support Secure Copy Protocol (SCP) and we need that to download our client configuration file. Just follow the steps on screen to install OpenSSH Server on DietPi. Then install WinSCP on your Windows 10 client and connect to your DietPi server with the following session settings:
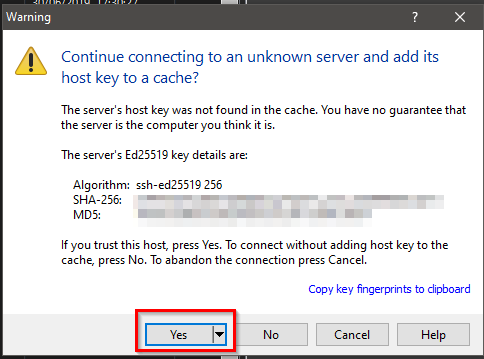
You will get a prompt for a Unknown Certificate.Click on Yes to add it:
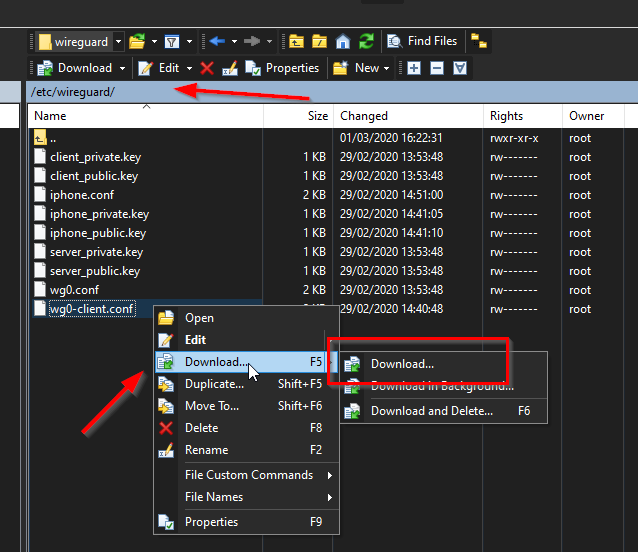
Once WinSCP is connected to your DietPi server browse to the folder /etc/wireguard. Download the wg0-client.conf file to a location on your Windows 10 machine:
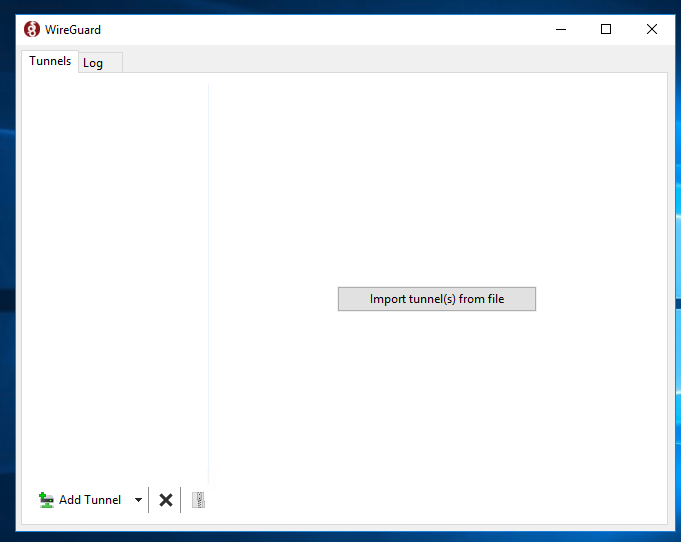
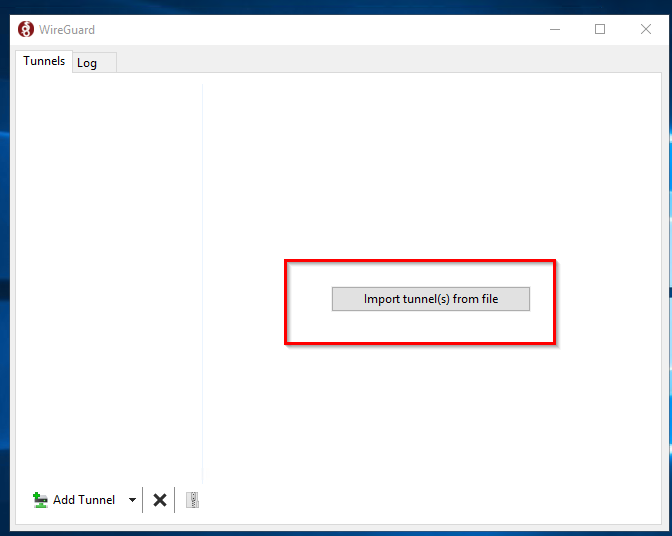
Go back to the WireGuard window and click on Import tunnel(s) from file to import the wg0-client.conf file:
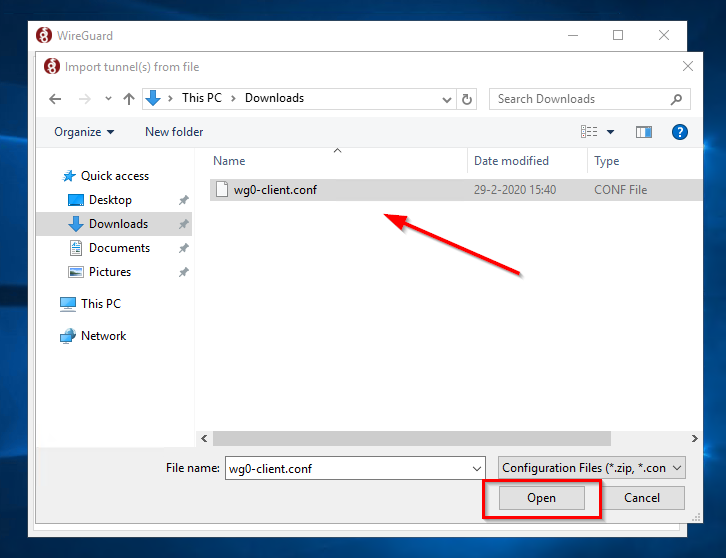
Select the wg0-client.conf file:
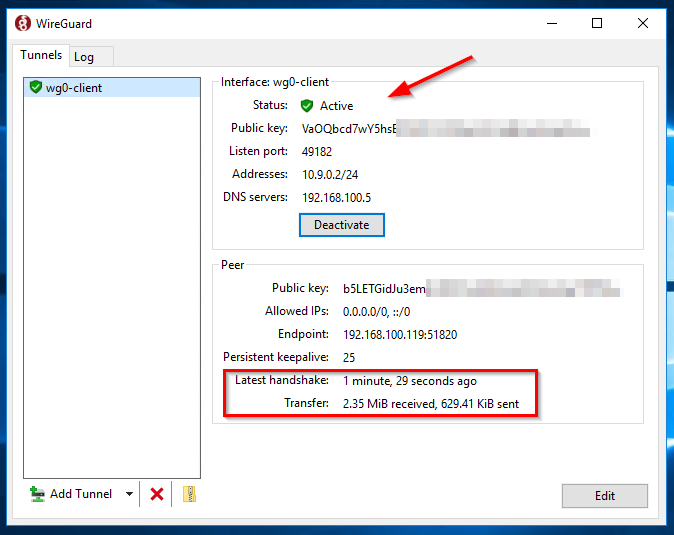
Now you will see that WireGuard has created the tunnel on your Windows 10 machine at it is ready to connect. If you click on Activate it will connect the tunnel and you are good to go:

After connecting the tunnel you will see that all traffic from you Windows 10 client now goes trough your WireGuard server:
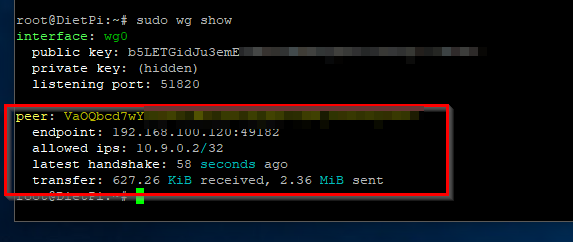
You can check the status of WireGuard on your DietPi with the following command:
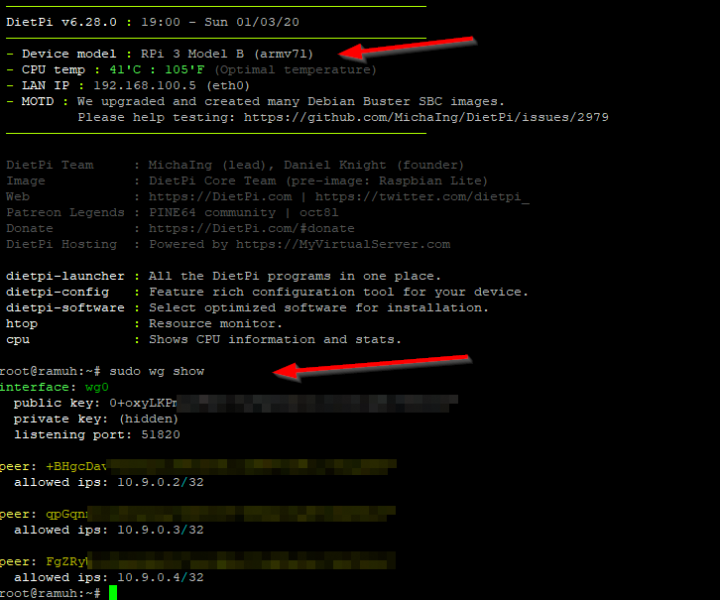
sudo wg show
You will see a screen like this showing the Windows 10 client connected:
That is basically it for running WireGuard client on Windows 10.
Performance tests
In the blog post where I talk about setting up WireGuard server I also said I would do performance tests. I am impressed with WireGuard and as I mentioned in my previous post I am running WireGuard server on a Raspberry Pi 3B:
Check out the load while copying a file over the WireGuard tunnel between my Windows 10 client and the WireGuard server:
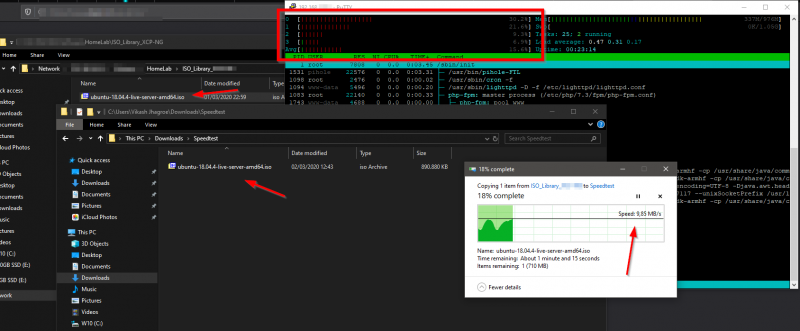
It is pulling almost the maximum of 100Mbit without breaking a sweat. It is a beast :).


One Comment on “Setup WireGuard client on Windows”