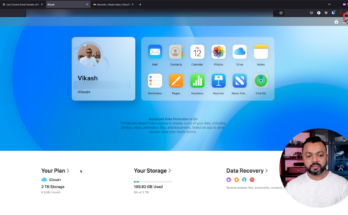
Use a custom domain name for email with Apple iCloud+
In this video, I will show you how to set up a custom domain name with Apple iCloud+ and use that to send emails.
Use a custom domain name for email with Apple iCloud+ Read More
Pragmatic IT Solutions

In this video, I will show you how to set up a custom domain name with Apple iCloud+ and use that to send emails.
Use a custom domain name for email with Apple iCloud+ Read More
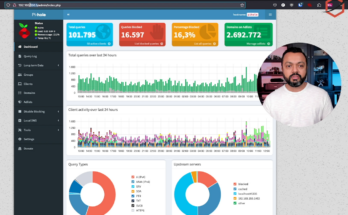
This video will show real-world statistics of DNS-based adblocking and tracking protection based on Pi-hole.
Official Netgate DNS redirect article for pfSense: https://docs.netgate.com/pfsense/en/latest/recipes/dns-redirect.html.
Below are the blocklists that I use:
– https://raw.githubusercontent.com/StevenBlack/hosts/master/hosts
– https://raw.githubusercontent.com/hagezi/dns-blocklists/main/adblock/doh-vpn-proxy-bypass.txt
– https://adguardteam.github.io/HostlistsRegistry/assets/filter_2.txt
– https://justdomains.github.io/blocklists/lists/adguarddns-justdomains.txt
– https://raw.githubusercontent.com/Perflyst/PiHoleBlocklist/master/AmazonFireTV.txt
– https://raw.githubusercontent.com/Perflyst/PiHoleBlocklist/master/android-tracking.txt
– https://s3.amazonaws.com/lists.disconnect.me/simple_ad.txt
– https://justdomains.github.io/blocklists/lists/easylist-justdomains.txt
– https://justdomains.github.io/blocklists/lists/easyprivacy-justdomains.txt
– https://adaway.org/hosts.txt
– https://v.firebog.net/hosts/AdguardDNS.txt
– https://v.firebog.net/hosts/Admiral.txt
– https://raw.githubusercontent.com/anudeepND/blacklist/master/adservers.txt
– https://v.firebog.net/hosts/Easylist.txt
– https://raw.githubusercontent.com/jdlingyu/ad-wars/master/hosts
– https://v.firebog.net/hosts/Easyprivacy.txt
– https://raw.githubusercontent.com/nextdns/cname-cloaking-blocklist/master/domains
– https://phishing.army/download/phishing_army_blocklist.txt
– https://raw.githubusercontent.com/klabacita/pmoreno-list/main/proxies.txt
– https://perflyst.github.io/PiHoleBlocklist/SmartTV.txt
– https://blocklistproject.github.io/Lists/tiktok.txt
– https://raw.githubusercontent.com/WindowsLies/BlockWindows/master/hostslist
– https://raw.githubusercontent.com/bambenek/block-doh/master/doh-hosts.txt
– https://raw.githubusercontent.com/dibdot/DoH-IP-blocklists/master/doh-domains_abandoned.txt
– https://raw.githubusercontent.com/dibdot/DoH-IP-blocklists/master/doh-domains.txt
– https://raw.githubusercontent.com/oneoffdallas/dohservers/master/list.txt
– https://raw.githubusercontent.com/Sekhan/TheGreatWall/master/TheGreatWall.txt
– https://big.oisd.nl
– https://raw.githubusercontent.com/hagezi/dns-blocklists/main/domains/tif.txt
– https://raw.githubusercontent.com/hagezi/dns-blocklists/main/domains/ultimate.txt
DNS-based adblocking walktrough with real-world statistics based on Pi-hole DNS sinkhole Read More
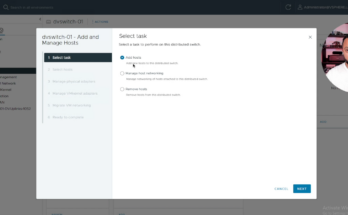
In this video, I will show you how to configure and move from a standard vSwitch to a Distributed Switch on VMware vSphere 8.
Move from standard vSwitch to Distributed Switch on VMware vSphere 8 Read More
In this video, I will show you how to protect the VMware vCenter management interface with a reverse proxy and LetsEncrypt certificate. To set this up, I am using pfSense as my firewall, HA Proxy, and Acme client on pfSense. The principle applies to other brands and vendors as well.
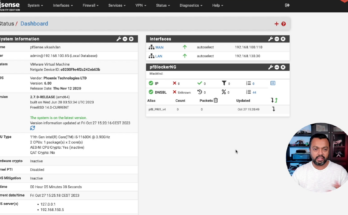
In this video, I will show you how to migrate from pfSense Plus to pfSense CE when running pfSense on your own hardware.
In this video, I will show you how to set up network-wide ad-blocking and tracking protection using pfSense and pfBlocker-NG. Because it is nobody’s business what you are doing on the internet!
Check my previous blogs:
– Setup pfBlockerNG python mode with pfSense
– How to run pfSense Plus on VMware vSphere 8
Set up network-wide ad-blocking and tracking protection using pfSense and pfBlocker-NG Read More