Basic setup Citrix Provisioning Services 7.6
So I got some free time now to continue setting up my homelab. I decided to start with a basic setup and configuration of Citrix Provisioning Services 7.6 (PVS). I will be needing this component to stream my desktops and servers. Citrix Provisioning Services (PVS) eliminates the need to manage, update and patch individual systems. Instead it allows us to use a master image to provision computers. This master image (vDisk) can be used simultaneously by multiple computers.
In this post I will show you how to:
- Install PVS
- Basic configuration using the PVS wizard
- Creating a farm
My lab setup:
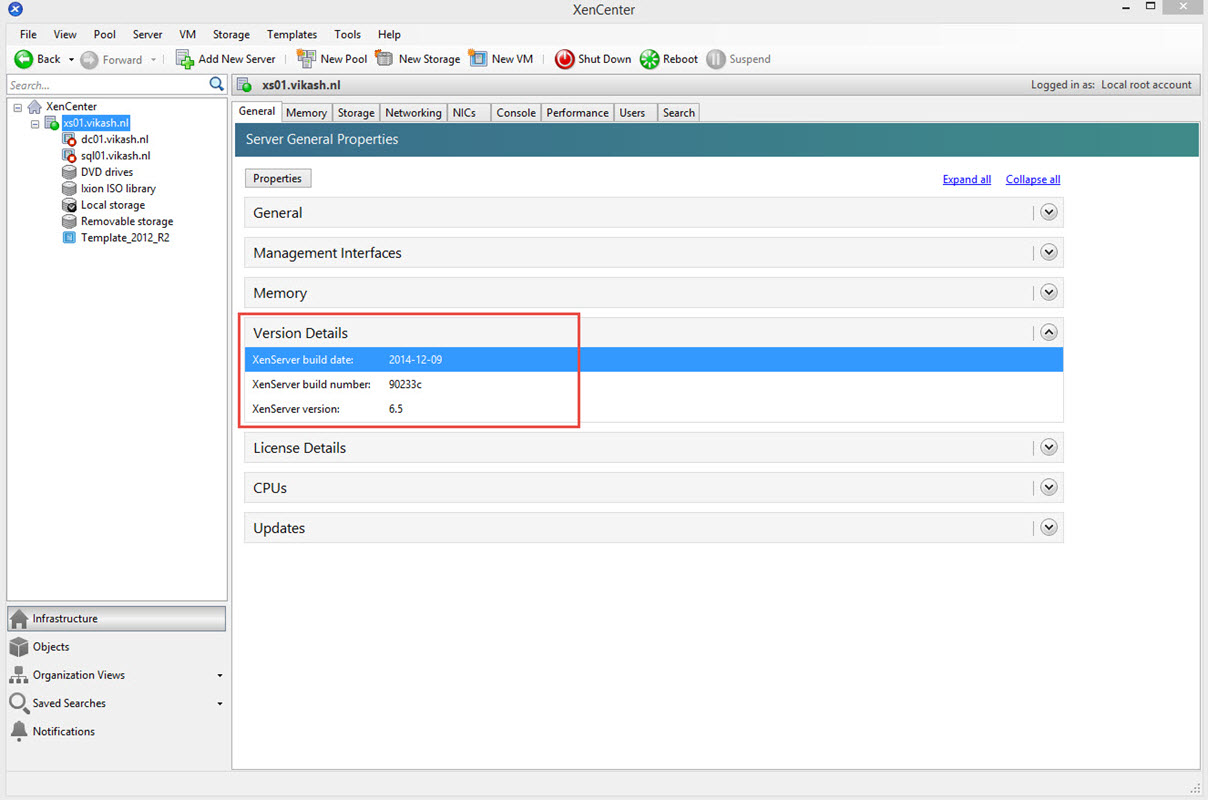
- Host running Citrix XenServer 6.5 SP1
- Windows 2012 R2 server with patches and updates which I will be using to install PVS
- Downloaded PVS ISO from www.citrix.com
- Service Account in Active Directory
Install Citrix Provisioning Services 7.6
Using XenCenter mount the ISO on the Windows 2012 Server VM and start the setup. The setup will start. Click on Server Installation.

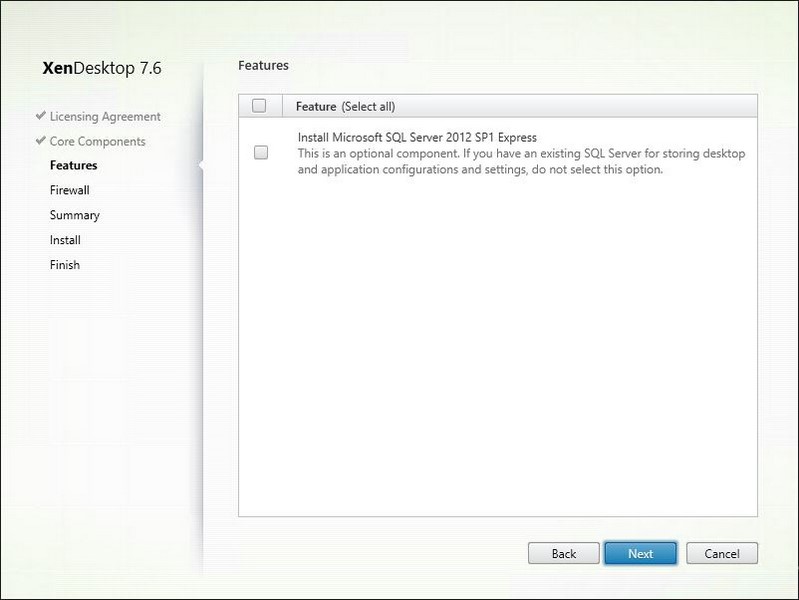
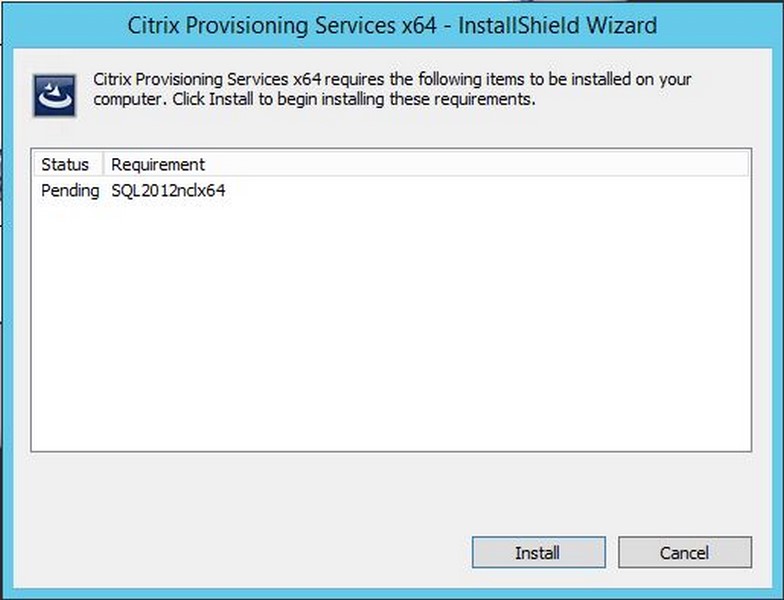
If there are additional items to be installed, you will be prompted for them. Click on Install.
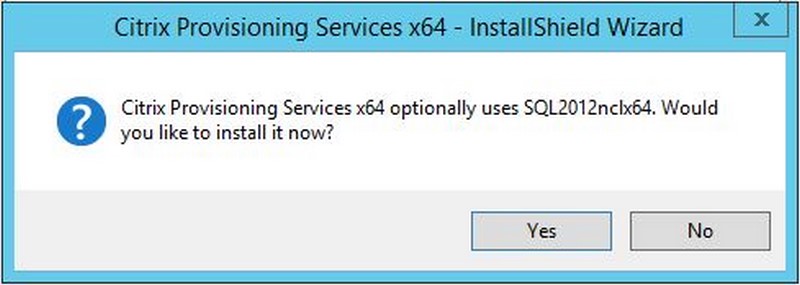
Click on YES.
Click on Next.

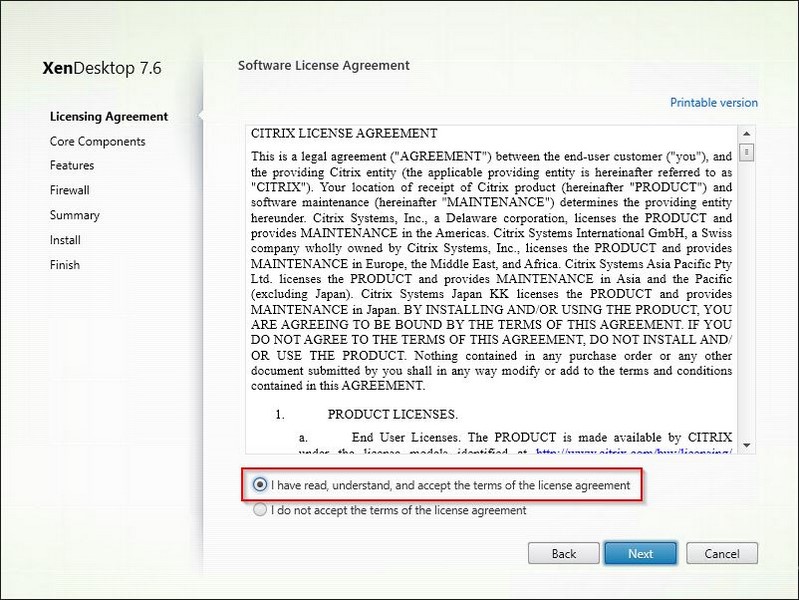
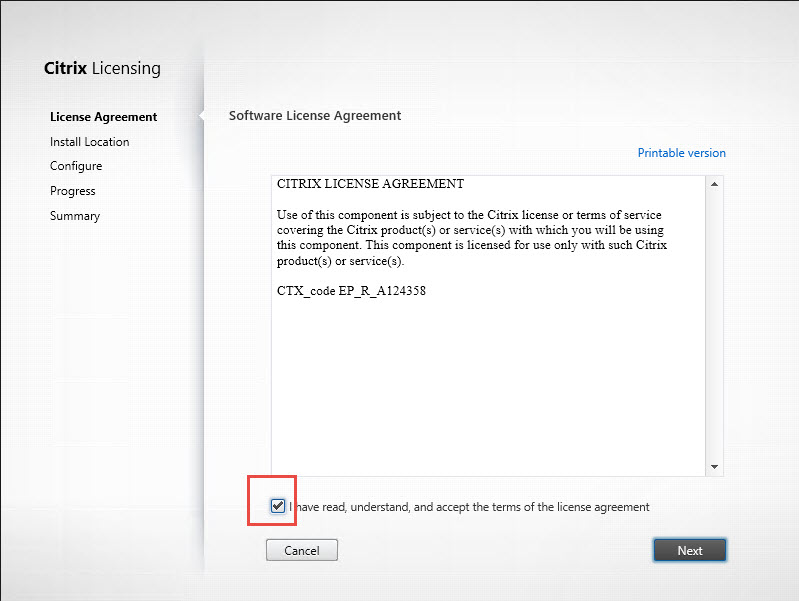
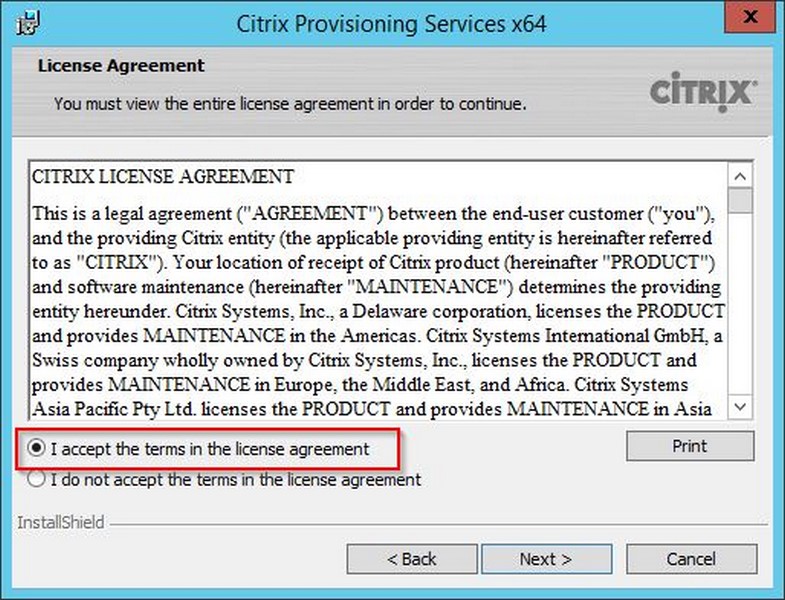
Accept the License Agreement and click on Next.
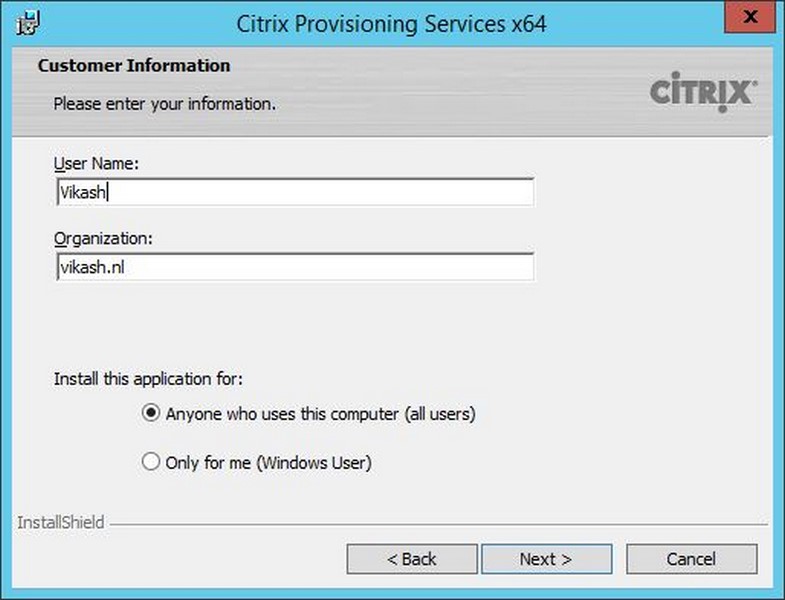
Enter your customer information in the User Name field and the Organization field. Select the option you need for “Install this application for”. Click Next.
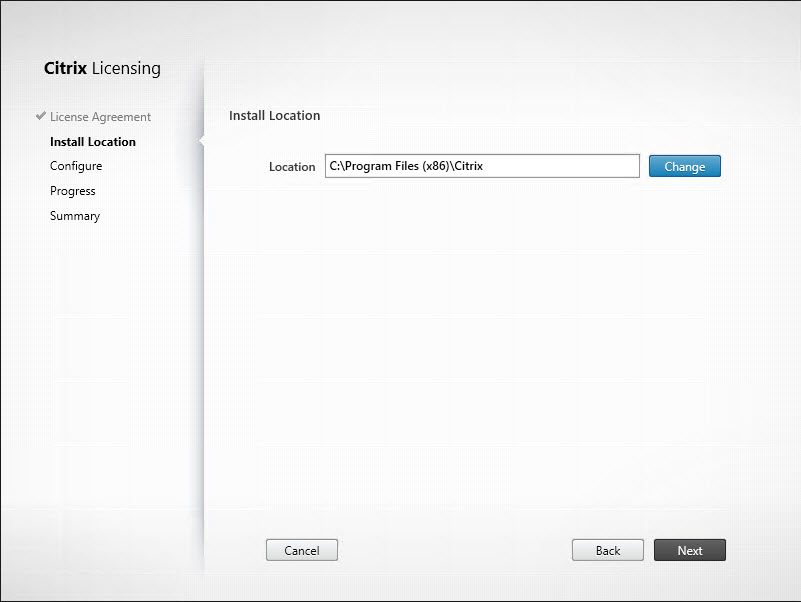
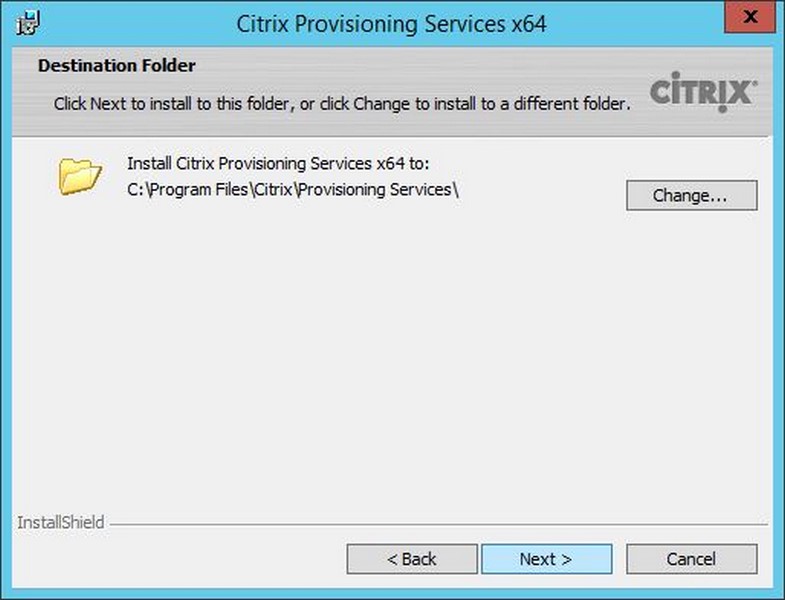
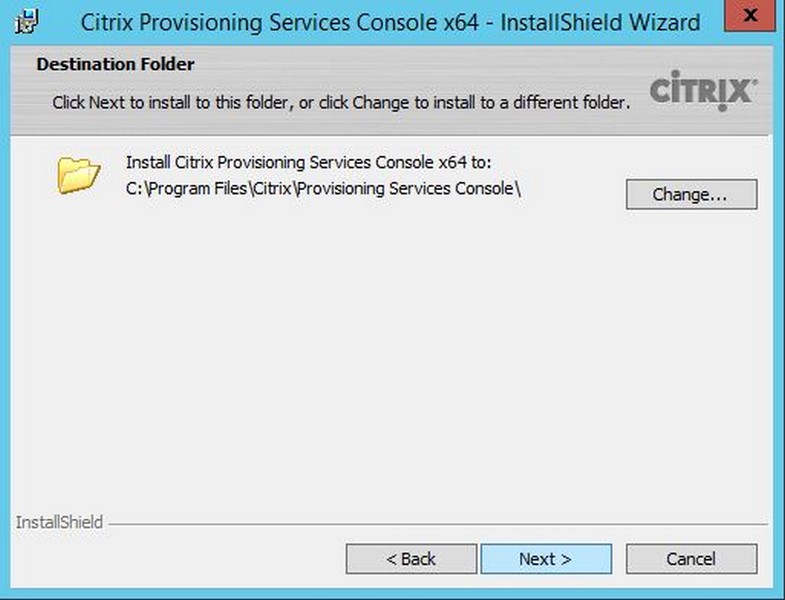
Select the installation folder. In my case I left it default. Click Next.
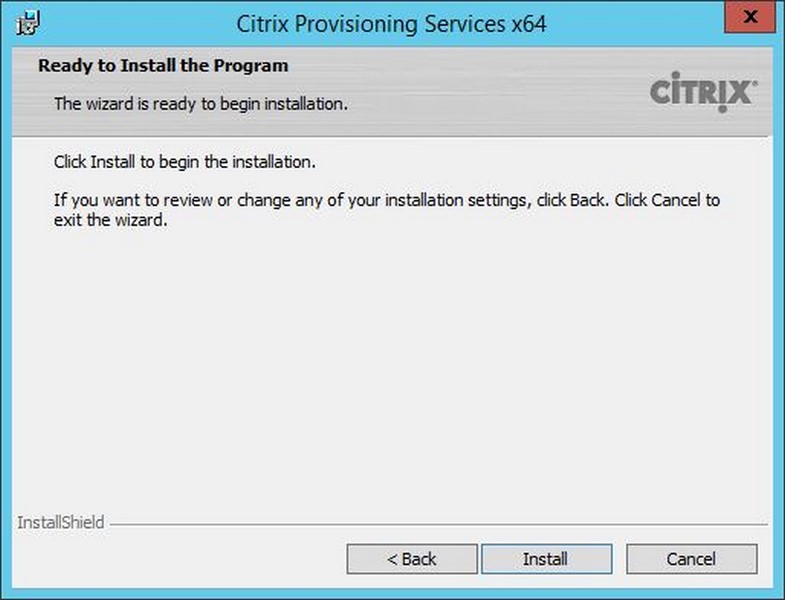
Then click on Install to begin the installation.
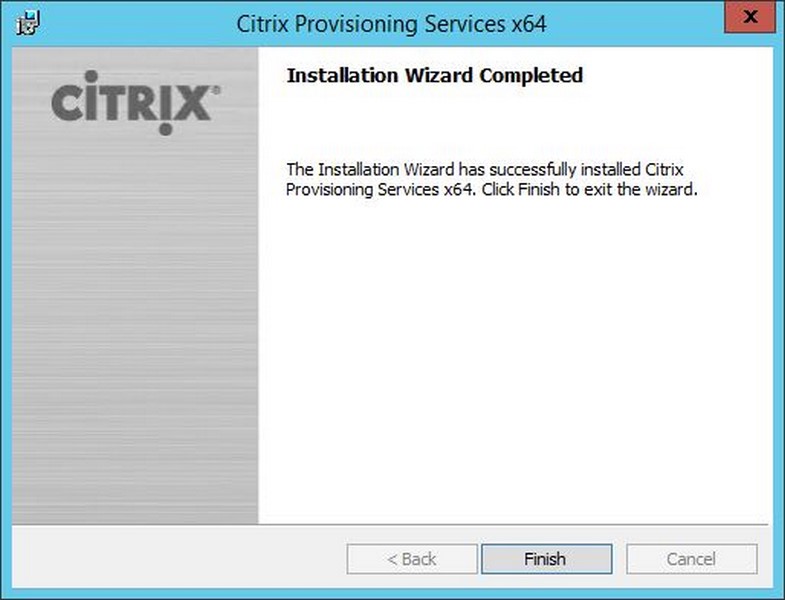
Click on Finish the start the configuration wizard.
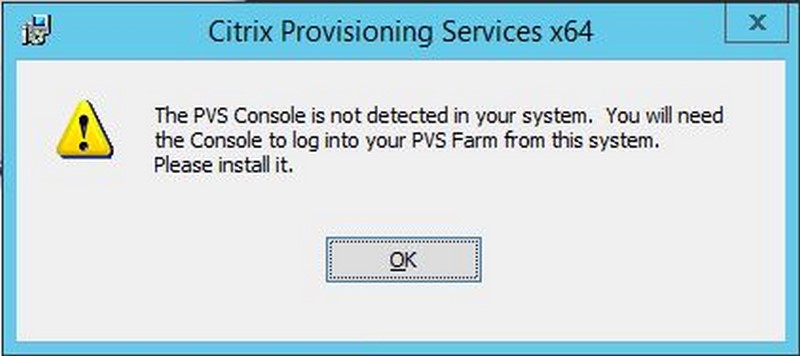
You will get a warning about the PVS console not detected on your system. Just click on OK, we will deal with this later.
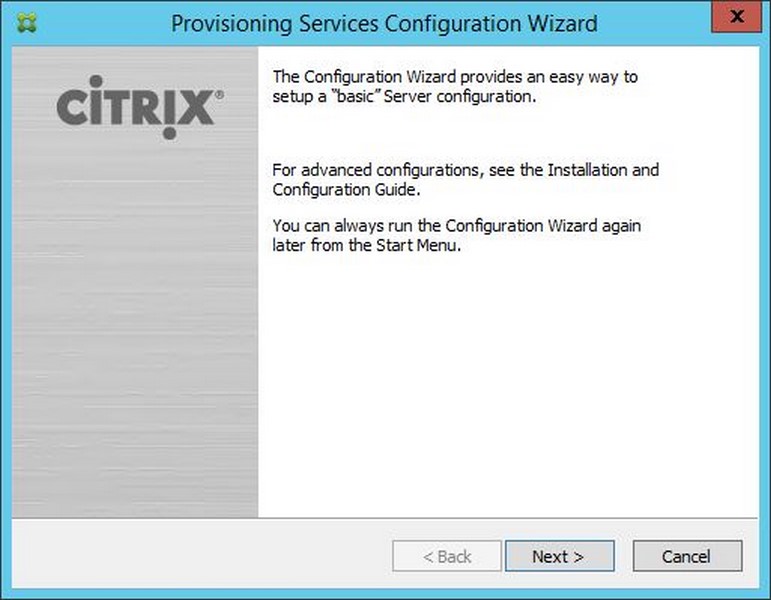
The configuration wizards start, click on Next to begin configuration.
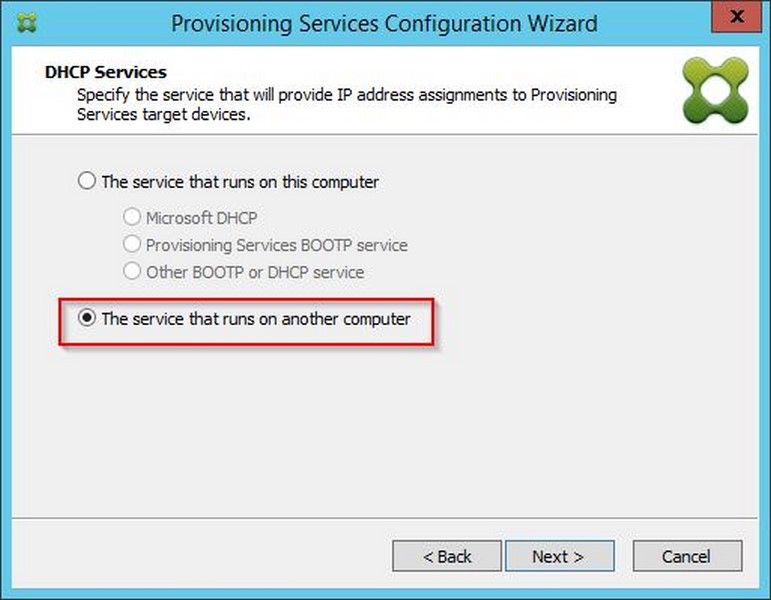
Configure the DHCP options according to your infrastructure. I have selected the option “The service that runs on another server”. Select this option is you have a separate DHCP server installed. Click on Next.
For the PXE services I have selected “The service that runs on another computer”. This is the scenario I see in most of the cases with customers running PVS. In many cases they have a seperate PXE server running for Thin-Clients. Select the option you see fit for your infrastructure. Click on Next.

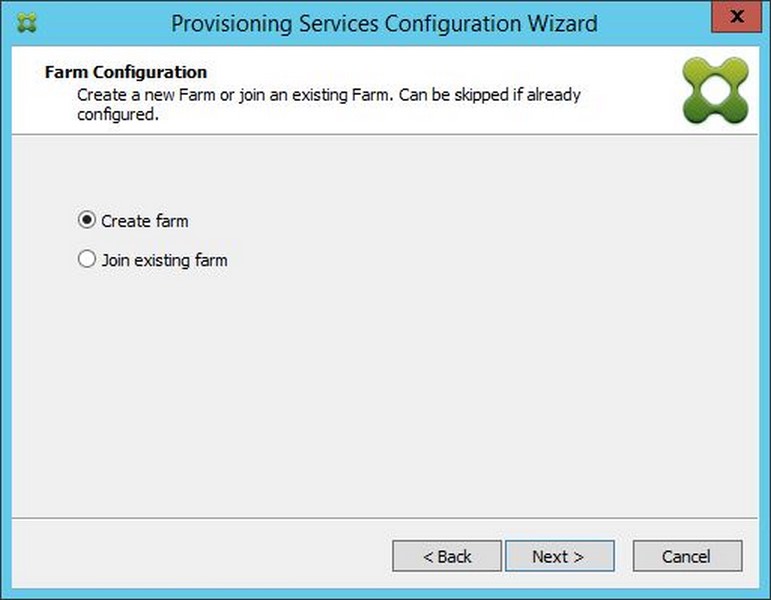
Now we have to create the PVS farm. In another post I will cover the “Join existing farm” option. For now let’s create a new one. Click on Next.
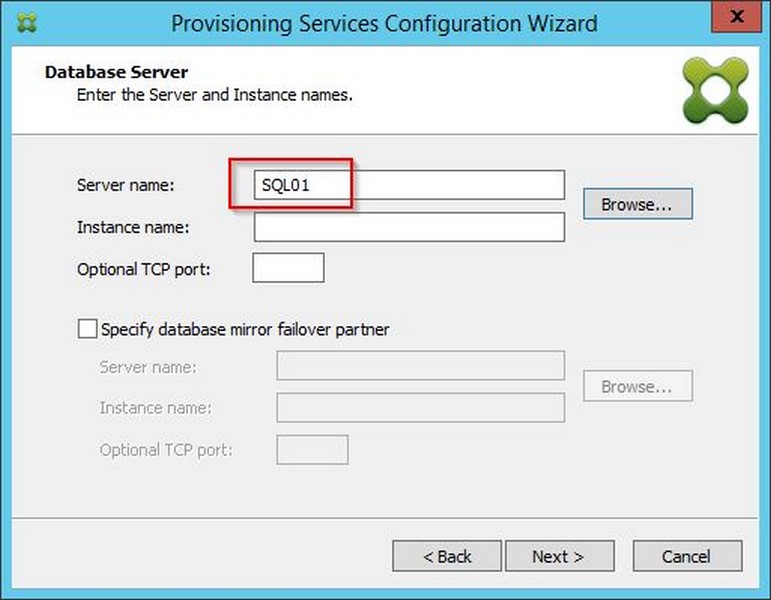
Enter the information to setup the PVS database on the SQL server. Select the appropriate instance, otherwise leave blank. Click on Next.
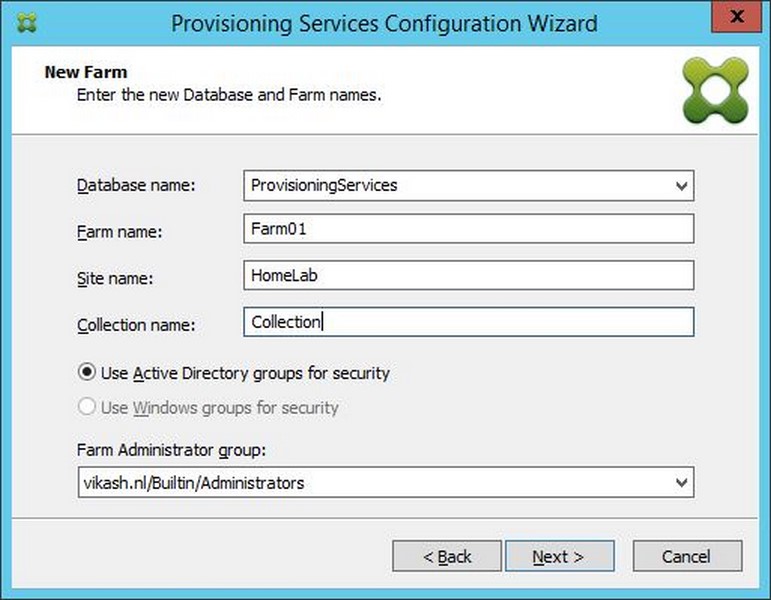
In the New Farm windows enter the information according to your company/infrastructure. It will already suggest the database name. You can change it, or select the appropriate database. I also added the Active Directory Administrators group. Click on Next.
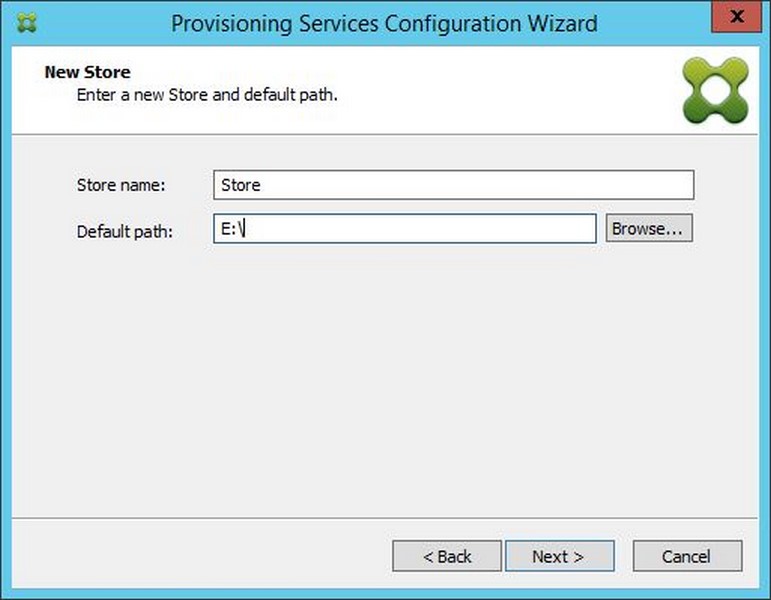
Enter the Store name and the path where you vDisks will be stored. Click on Next.
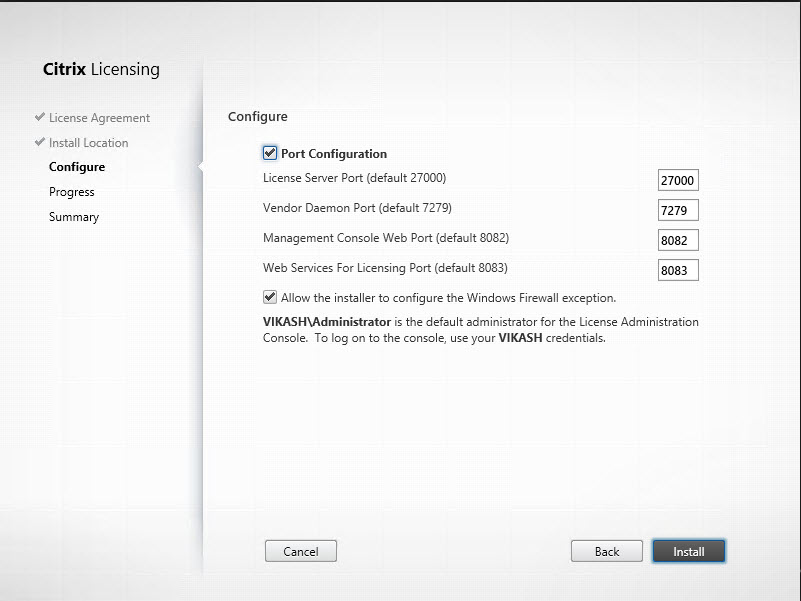
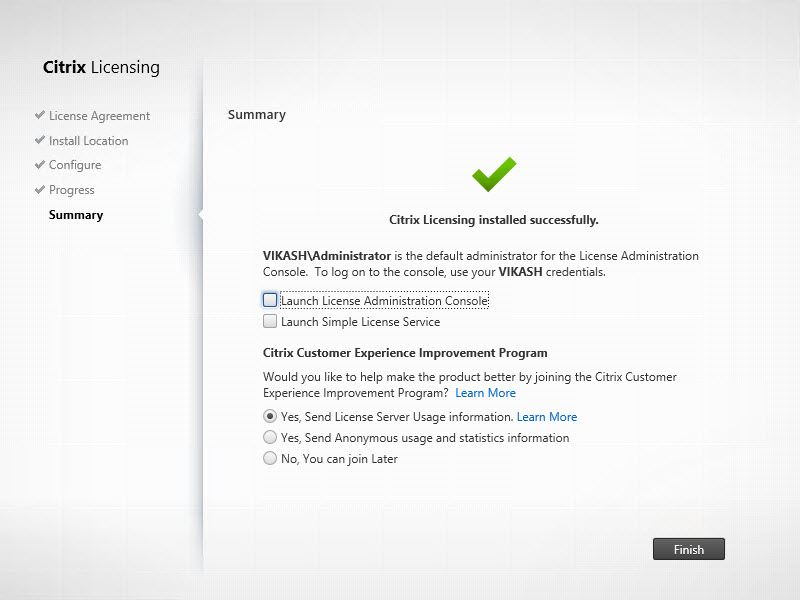
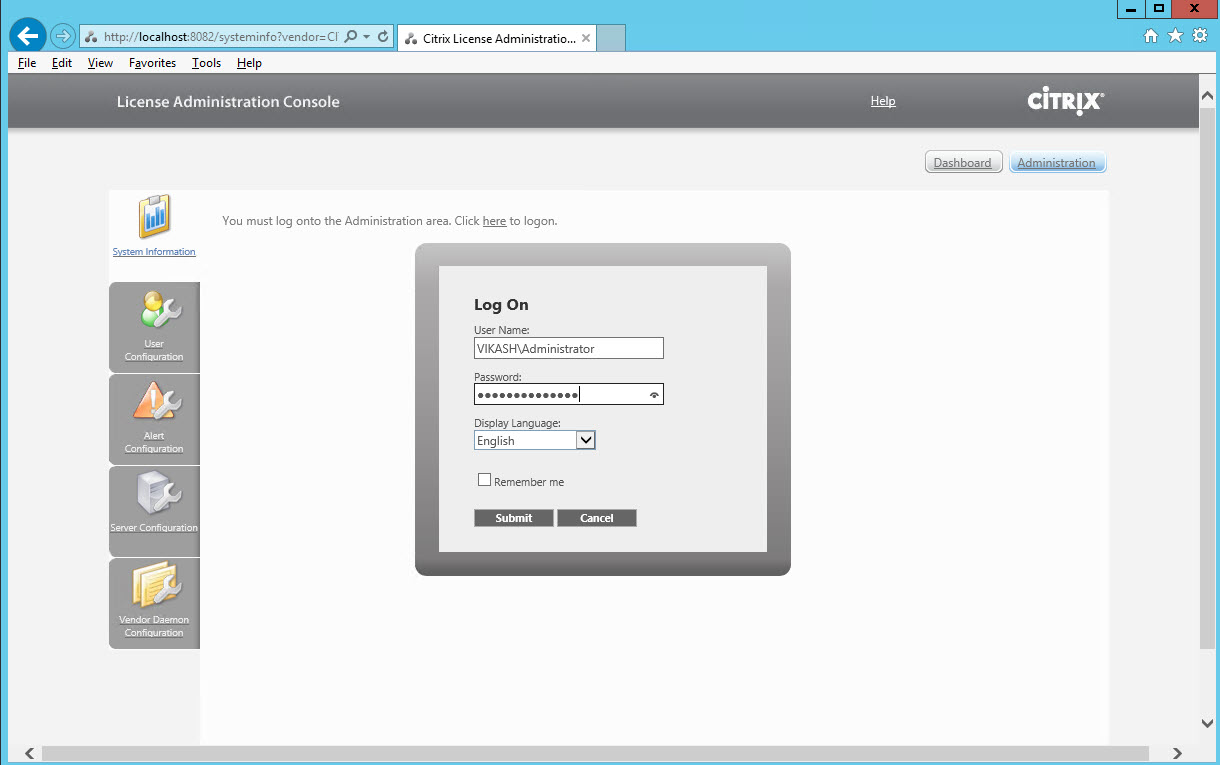
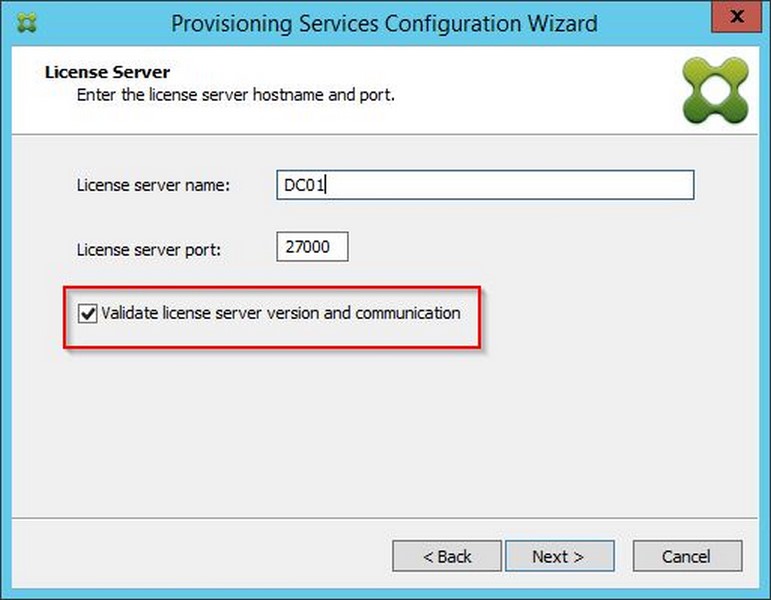
Enter the hostname or ipadress of you licensen server. I also checked the option “Validate license server version and communication”.  Click on Next.
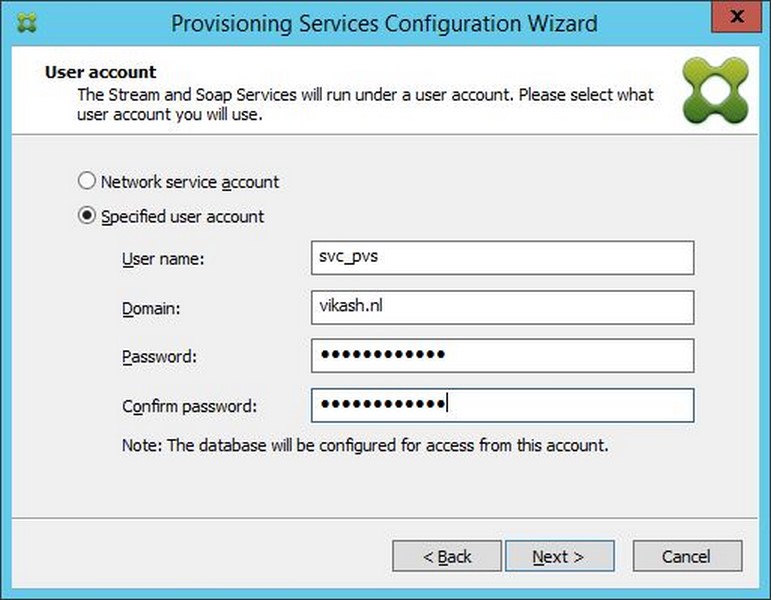
Enter the service account you created in Active Directory to setup the Stream and Soap services. This service account will also be used to setup the database. Note that this user must have db_writer and db_reader access, so I made this account the owner of the PVS database. Click on Next.
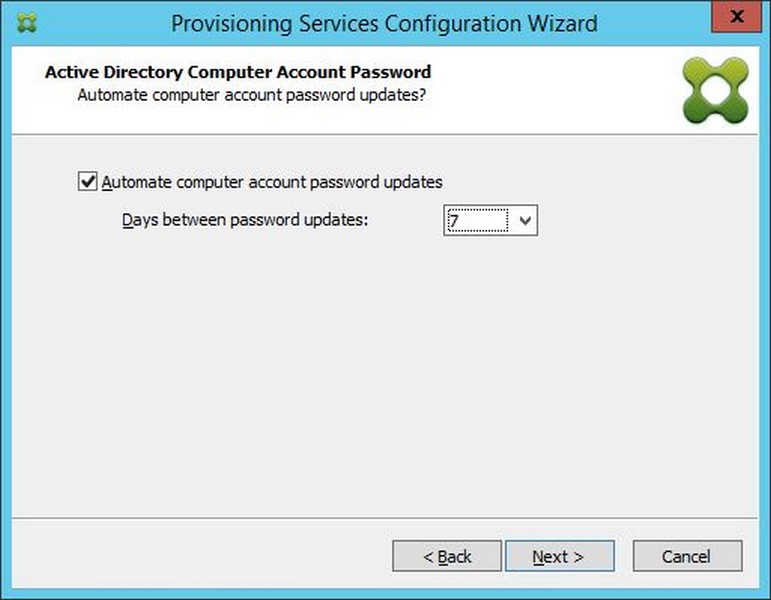
I use the default to update the computer password in the Active Directory. Click on Next.
Select the network card for management and streaming, in my case there is only one. Check the communication ports. I left them default. Click on Next.

I choose not to install TFTP server, as I will be booting using an ISO. This ISO tells my client device (target) where my PVS server is. I will cover this in a later post. Click on Next.

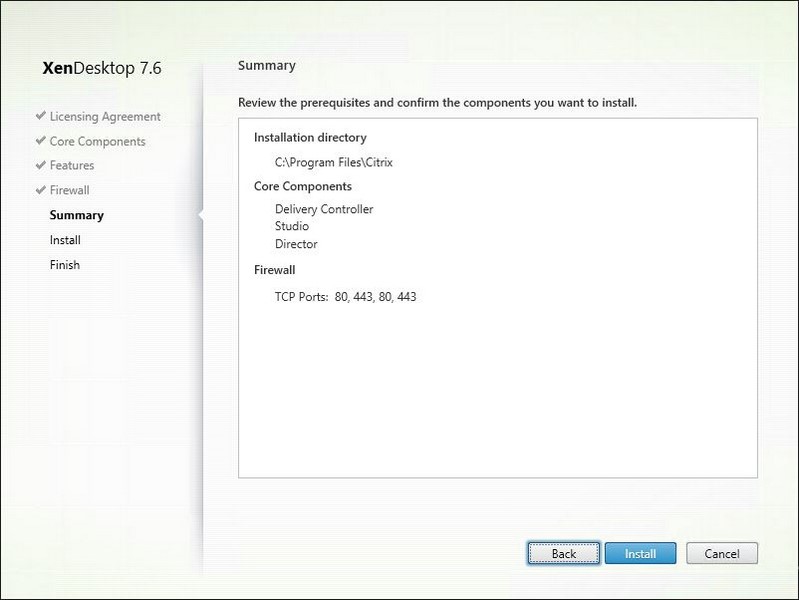
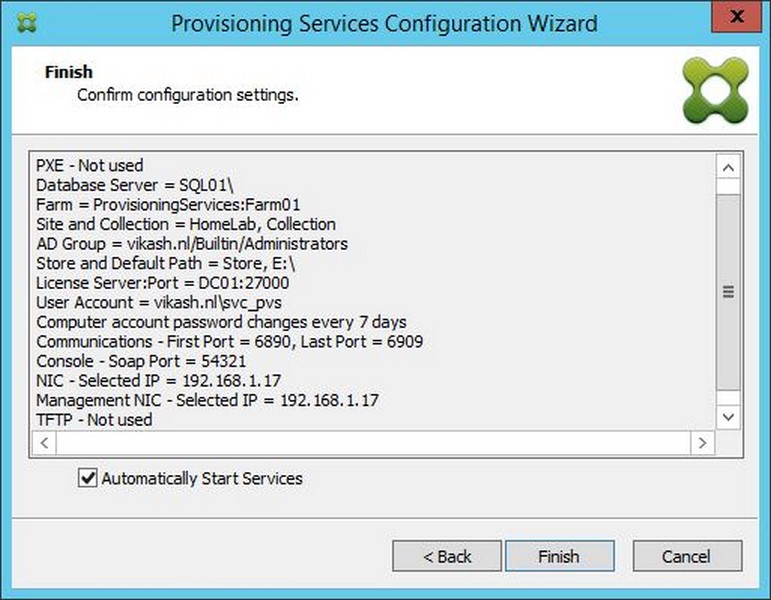
Check the information on the overview screen. Click on Finish.
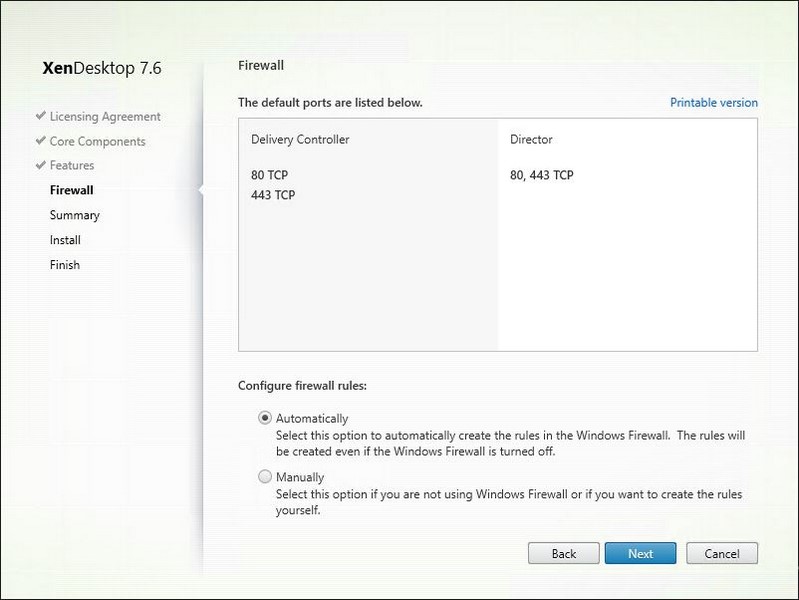
You will get a notification about the firewall. Click on OK.

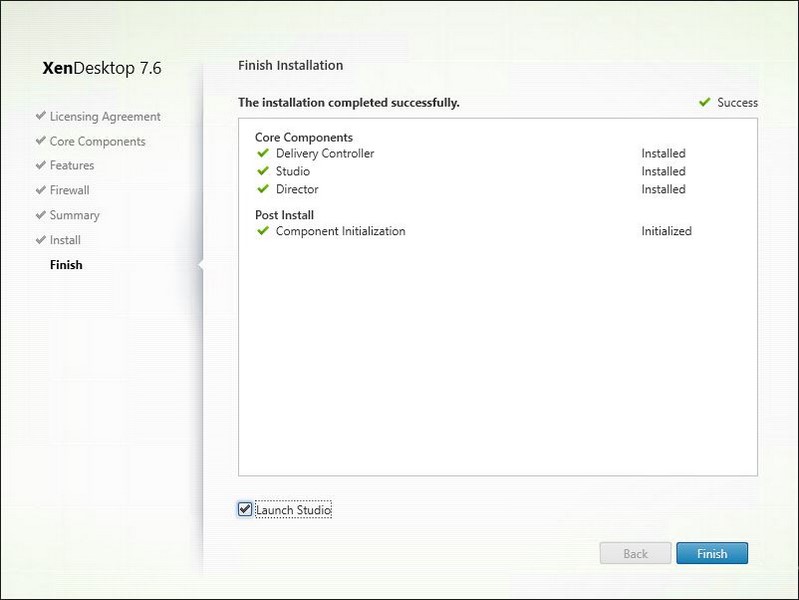
Now wait for the wizard to complete the configuration. It should end with all the green checkmarks. Click on Done.

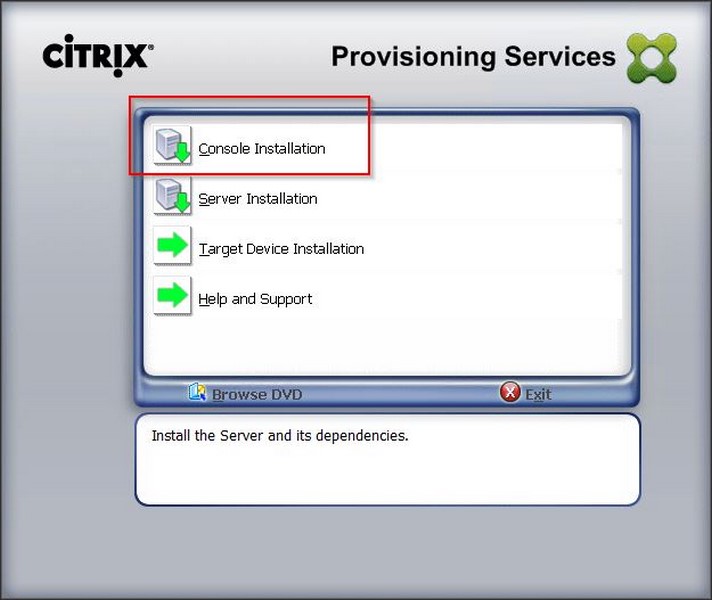
Install Provisioning Services Management Console
Now we need to install the PVS Console for management purpose. This console can be installed on a remote server (like a management server). I choose to install this on my local PVS server.
Start the setup from the Provisioning Services installation ISO. Click on Console Installation.
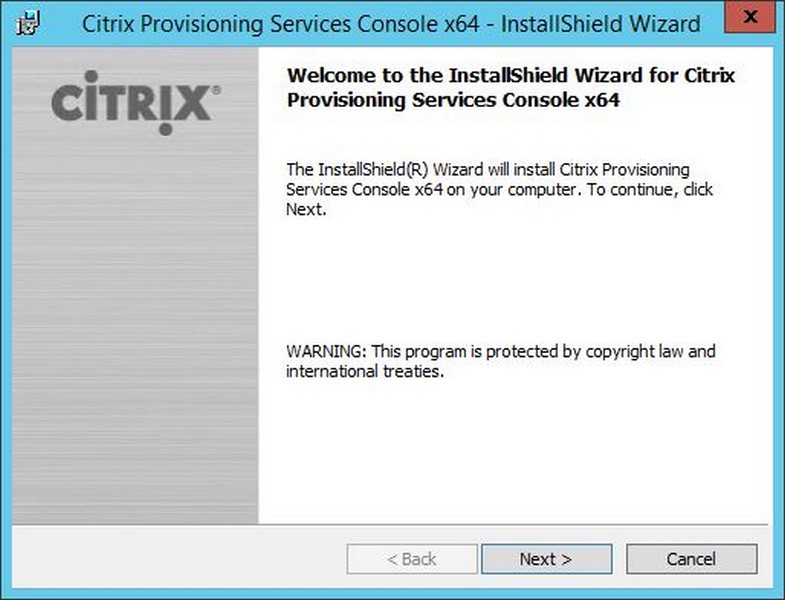
Click on Next in the Welcome screen.
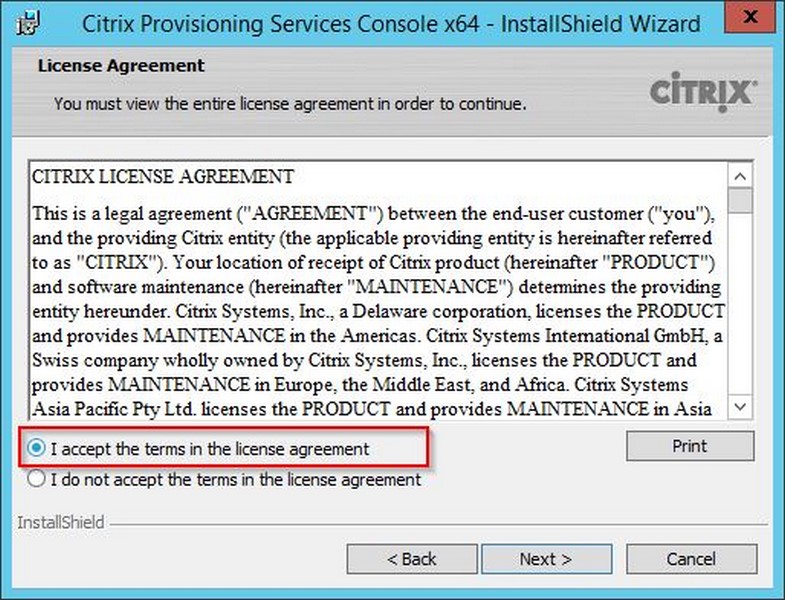
Accept the license agreement. Click on Next.
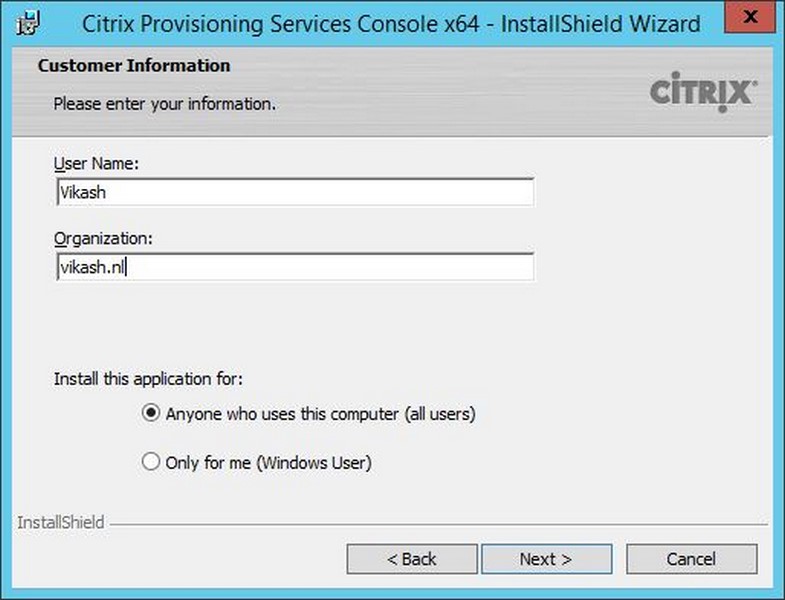
Enter your customer information in the User Name field and the Organization field. Select the option you need for “Install this application for”. Click Next.
Choose the installation folder. I left mine default. Click on Next.
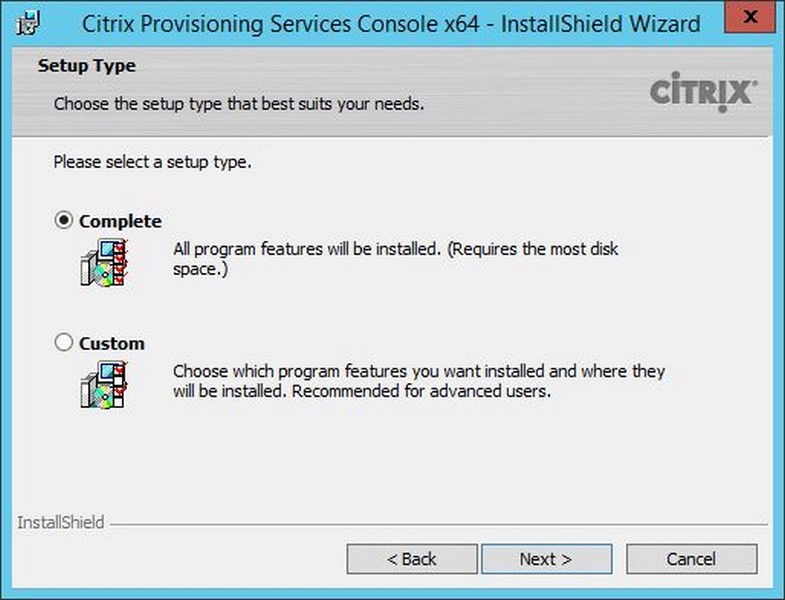
Select the setup type. Click on Next.
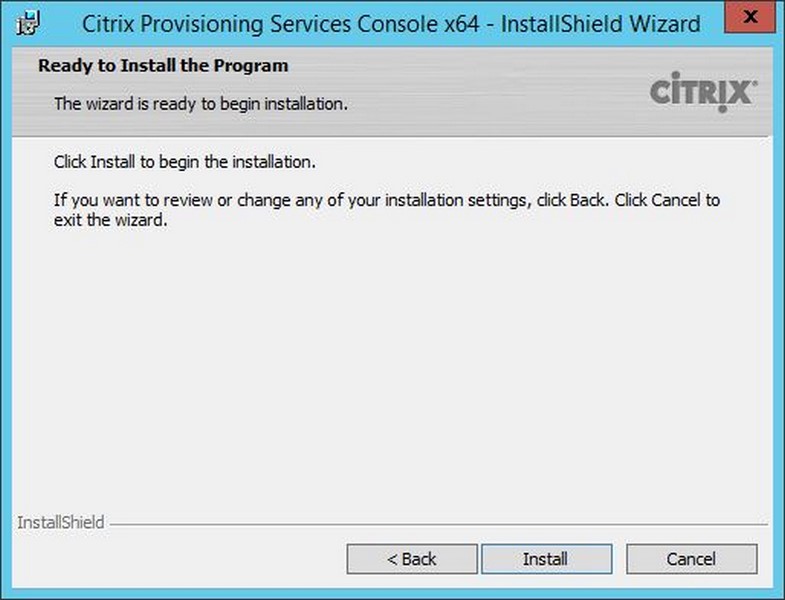
We are now ready to install. Click on Install.
Click on Finish.

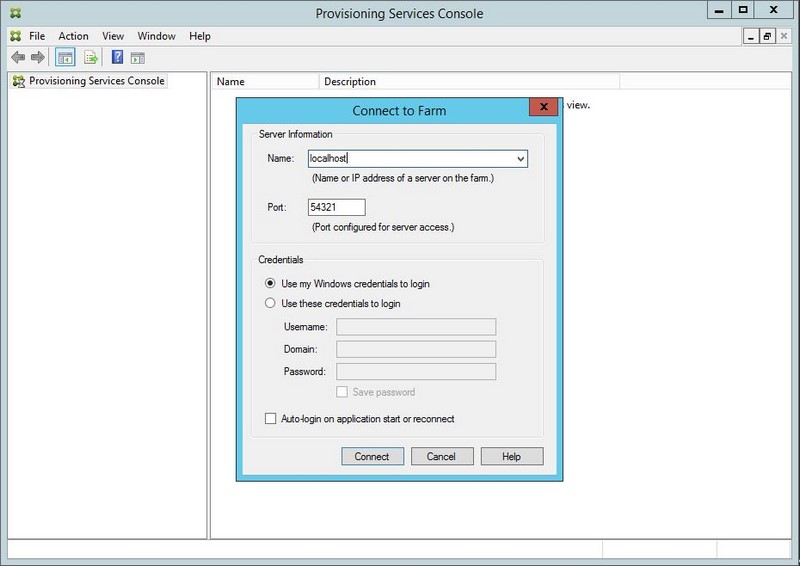
Start the PVS console and enter the information of the PVS server. Click on Connect.
We now have a working Provisioning Services server. In another post I will show you how to create and configure master images using Provisioning Services.
You can also follow me on twitter or add the rss feed from the blog and you will be notified when I add new posts. If you have any questions feel free to contact me.
Basic setup Citrix Provisioning Services 7.6 Read More