
I already did an installation and configuration of previous versions of Citrix License Server. Now that I am active again on my blog it is time to set up my homelab. In the past I had my homelab running on Hyper-V 2016 and to be honest I was not a fan ot it. Constantly having to updating the operating system, performance issues and lack of flexibility were driving me mad. But I had no choice as the hardware I was running my homelab on only supported Windows. Now I have new hardware for my homelab and I made sure it was compatible with VMware ESXi!
So I have to start from the basics and one of the basics is Citrix License Server. Let’s start.
My environment:
- Citrix Licensing Server 11.15 (Build 24100) for Windows (www.citrix.com);
- Windows 2016;
- Domain name: vikash.nl;
- Account for setup: Administrator (VIKASH\Administrator).
Installing License Server 11.15
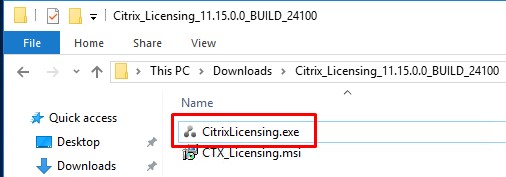
Unpack the zip file and double click CitrixLicensing.exe.
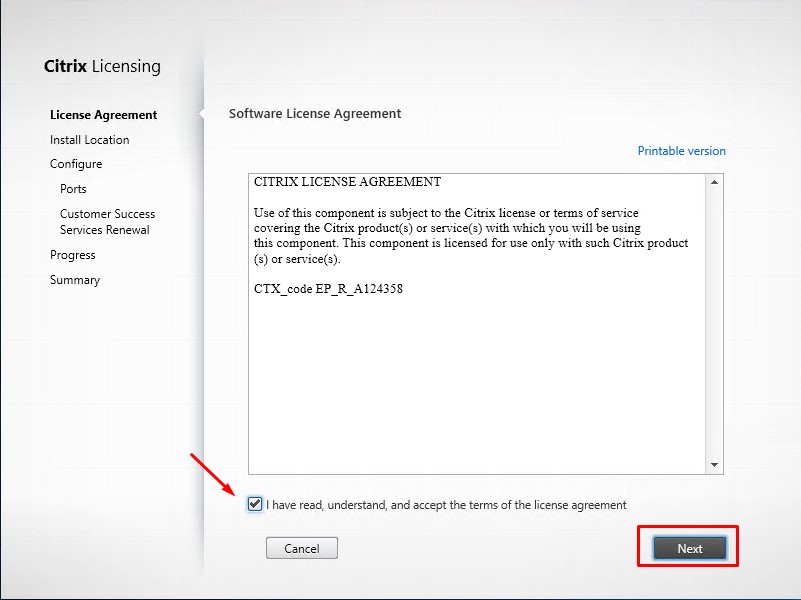
You will be presented with the screen below. Accept the license agreement and click on Next.
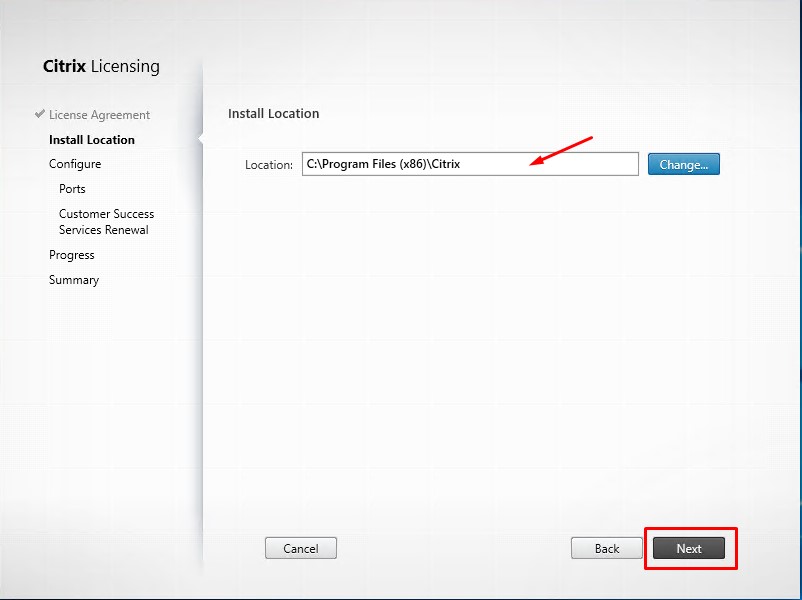
Select the directory to install Citrix License Server. Click then on Next.
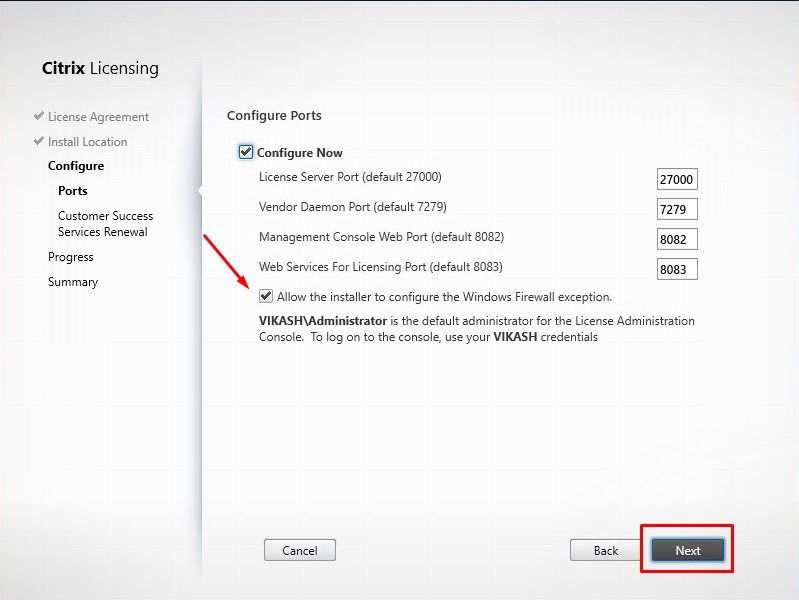
Make sure the box to configure the firewall is checked. You can change the ports if you need to. Also not in this screen the wizard is telling you what account will be automatically added to manage the server. Take notes. After you made your changes click on Next.
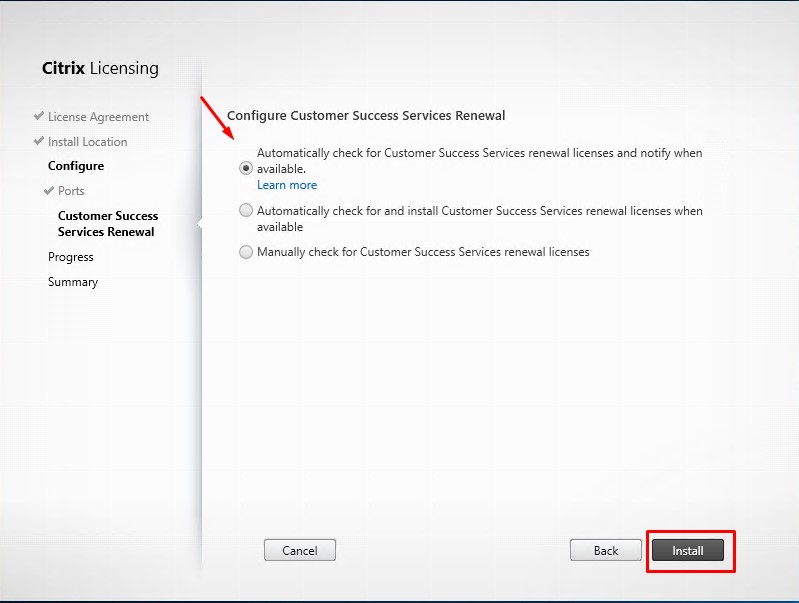
Select the option that matches your contract. Click on Install to start the installation.
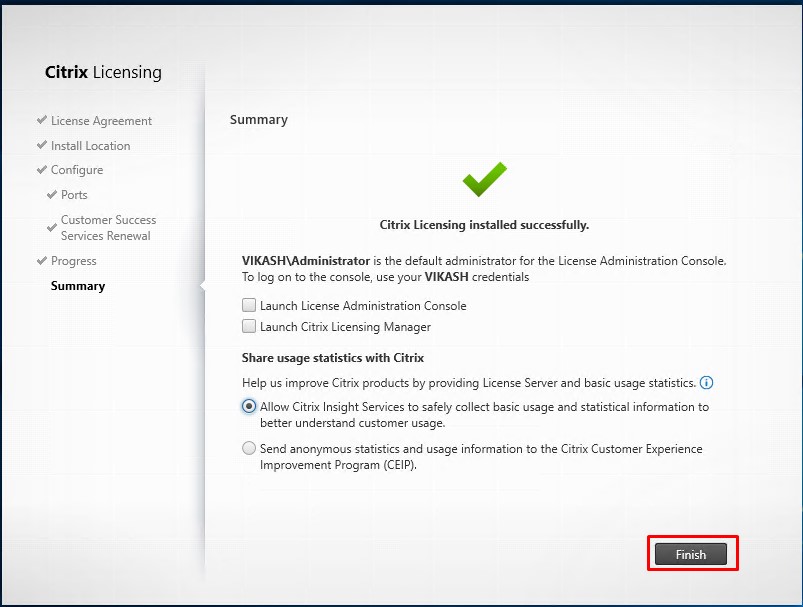
The wizard completes the installation. Click on Finish.
Add licenses to Citrix License Server
Now that we have the license server running it is time to add some licenses. Go to the Start menu and click on Citrix License Administration Console.

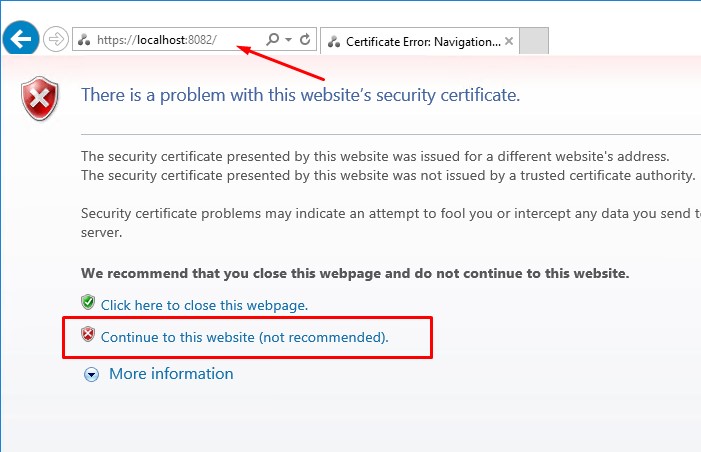
Internet Explorer will now open and prompt you with a certificate warning. This is because the default certificate for Citrix License Server is a self-singed certificate. You can click on Continue to this website. Note the URL to access this console.
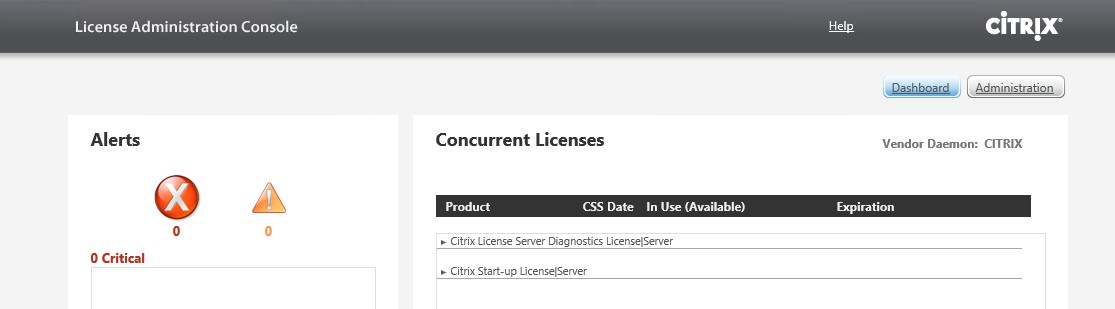
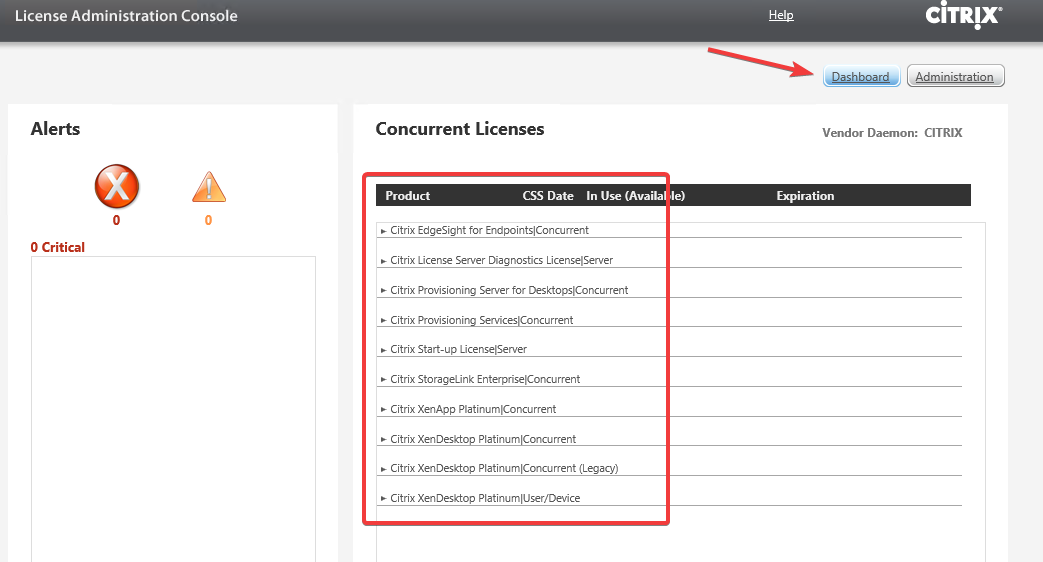
You will be presented with the dashboard of the administration console. As you can see there are no licenses yet for Citrix products.
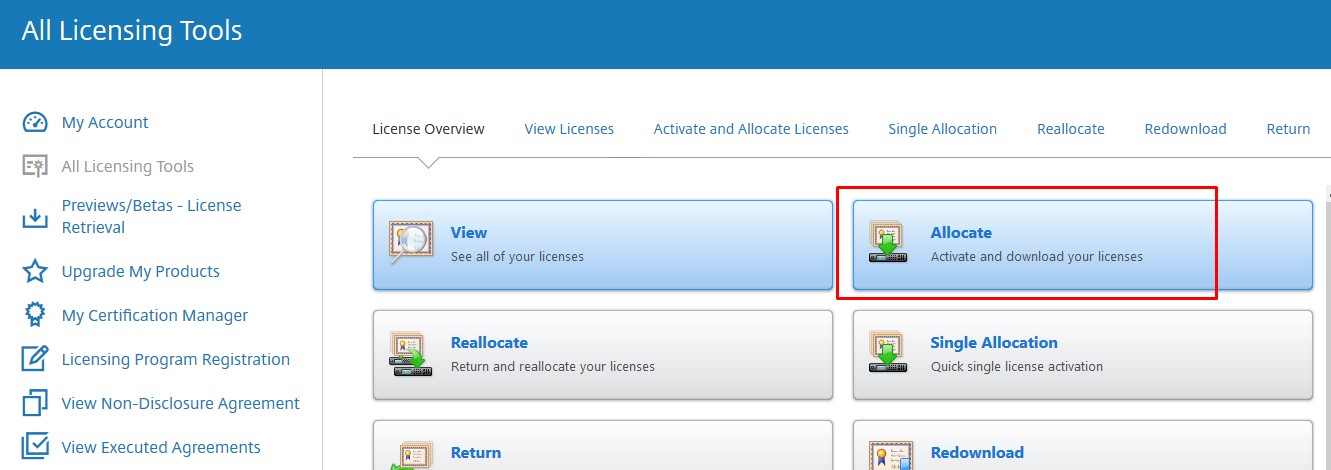
Login on the Citrix website and go to licenses. Click on Allocate to allocate a license and download it to your desktop.
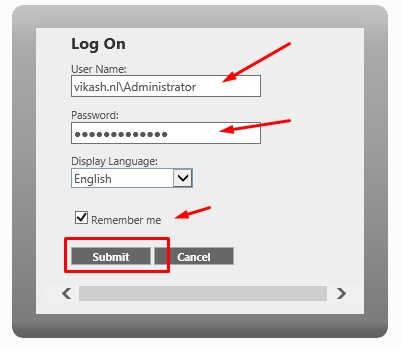
Return to the Citrix License Administration Console and click on Administration to login. Use the account you used to install the license server. Click then on Submit.
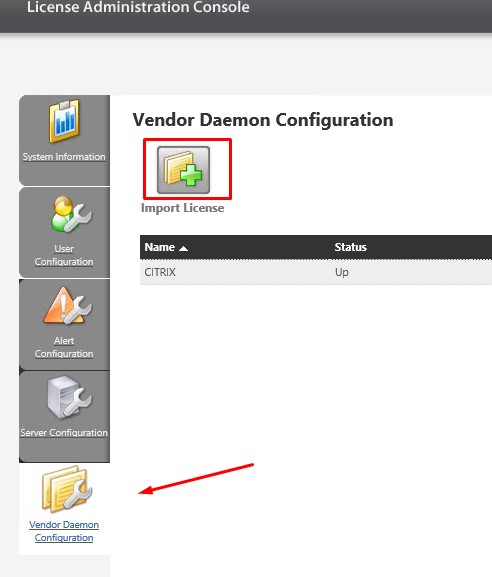
Now we have to upload the license file we downloaded from the Citrix license portal. Click on Vendor Deamon Configuration and then on Import License.
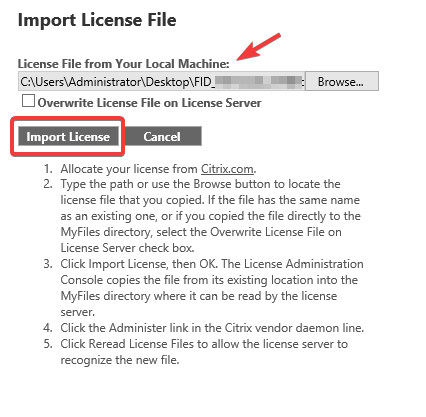
Select the license file and click on Import.
Click on OK.

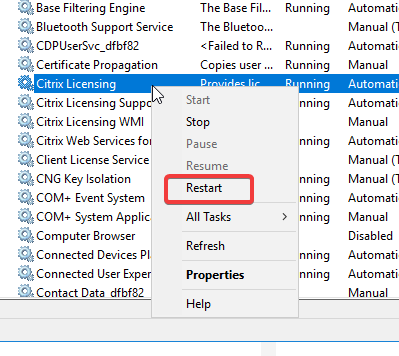
For the license to be active you have to restart the server or the Citrix Licensing service.
Now return to the dashboard of the Citrix License Administration Console and the licenses you just added should be visible.
So that’s it. Thanks for reading.
This concludes this tutorial. Feel free to contact me of you have any questions or comments. You can also follow me on twitter or add the rss feed from the blog and you will be notified when I add new posts.